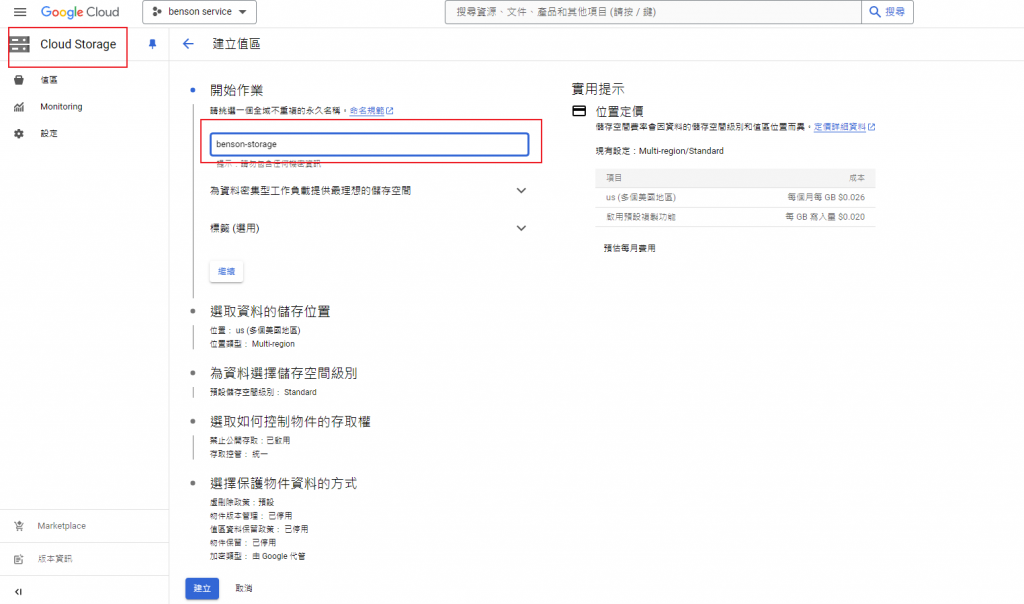
首先先創建一個CLoud Storage,按下建立之後選擇禁止公開存取!這很重要不然每一個GB都是算錢的!!
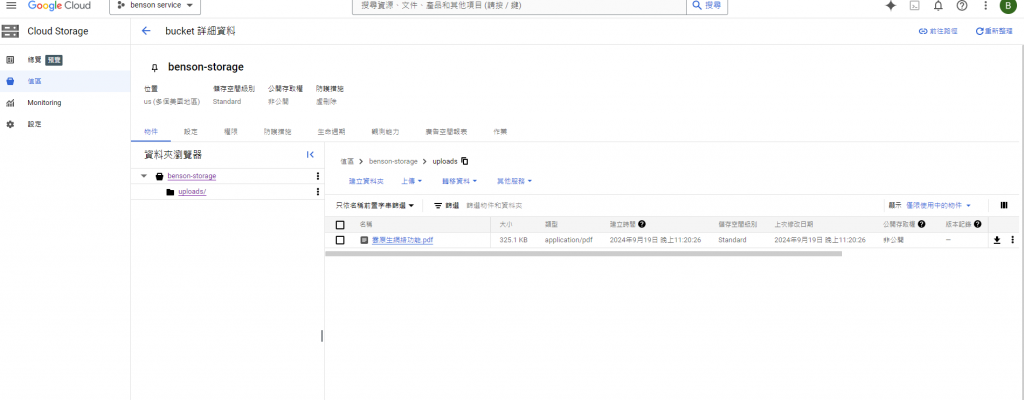
我們先試做一個API接口把他上傳到Storage上,設定好.env BUCKET_NAME及init storage,解釋一下程式,給他一個bucket 名稱讓他去找到我專案底下的bucket並且已存在,還需要先寫好一個路徑f'uploads/{file.filename}' 這個意思就是會幫我產生一個uploads的資料夾,裡面會有這個檔案名稱,最後做一個上傳的動作,return 一個file name及檔案位置!
from google.cloud import storage

BUCKET_NAME=os.getenv('BUCKET_NAME')

storage_client = storage.Client()

@app.post("/upload_gcs")
async def upload_gcp(file: UploadFile = File(...)):
    bucket = storage_client.bucket(BUCKET_NAME)
    blob_path = f'uploads/{file.filename}'
    blob = bucket.blob(blob_path)
    blob.upload_from_file(file.file, content_type=file.content_type)
    return {"msg:" f"{file.filename}, path: {blob_path}"}
再來測試一下這個API是否有打通~

測試之後看起來是沒有問題的啦! 這邊要注意一下,上傳一樣的路徑及名字是會直接覆蓋過去的,那有上傳也會有刪除功能,並且有些組合技可以做出一些操作如copy到另一個bucket或者是改檔名等,詳細的話可以看一下API實作文件!indexing會再我們後續大調整之後做一個整合!
參考資料:https://cloud.google.com/python/docs/reference/storage/latest
