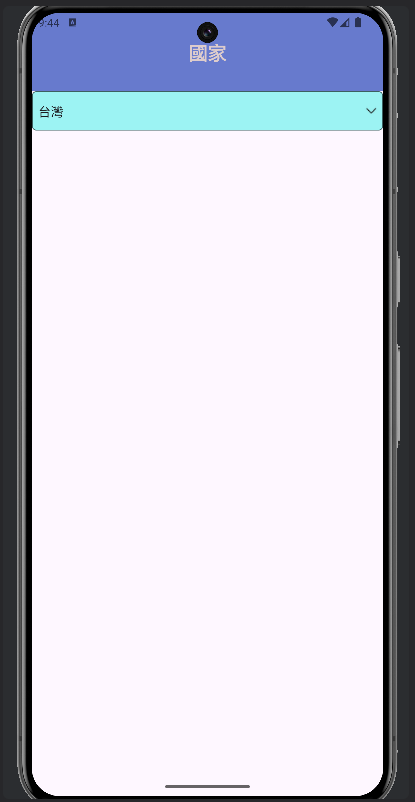
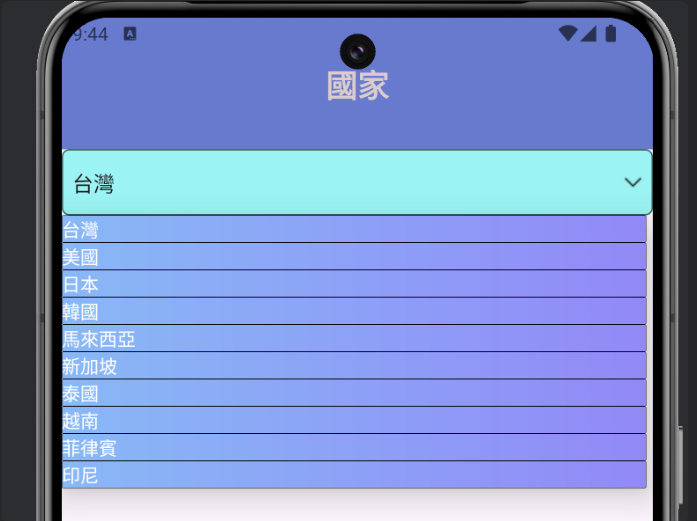
今天來介紹的是下拉式選單Spinner元件,Spinner是一組設定好的資料選項,提供標準的下拉式選單介面,供使用者選擇1個選項。
Palette搜尋Spinner,再移動Spinner到白色區域
.xml 介面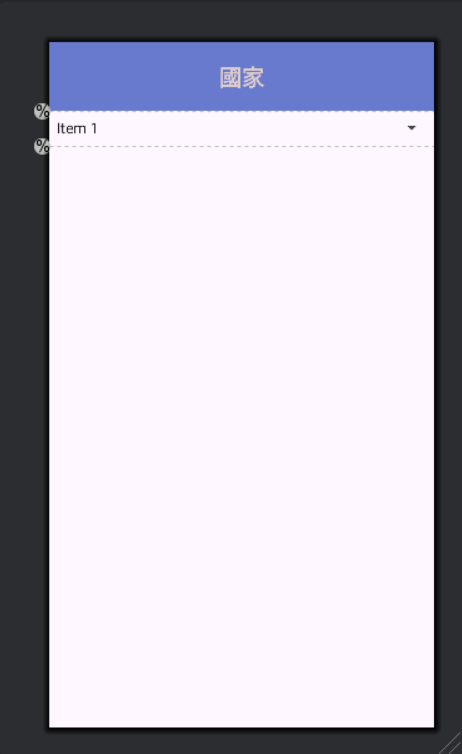
Spinner記得新增id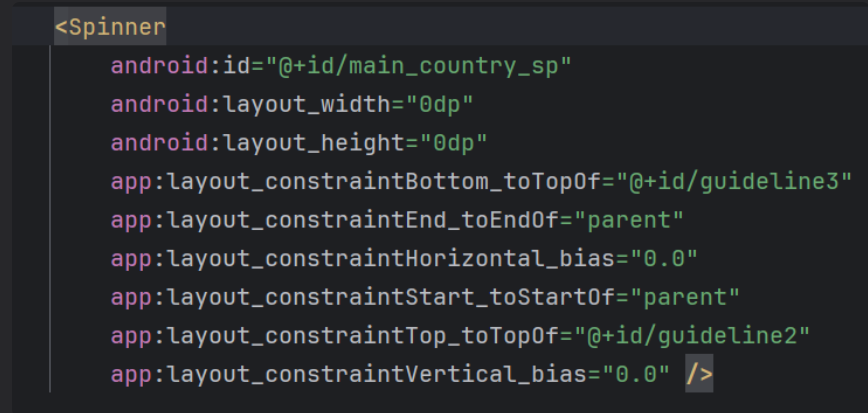
(完整程式碼)
<?xml version="1.0" encoding="utf-8"?>
<androidx.constraintlayout.widget.ConstraintLayout xmlns:android="http://schemas.android.com/apk/res/android"
    xmlns:app="http://schemas.android.com/apk/res-auto"
    xmlns:tools="http://schemas.android.com/tools"
    android:id="@+id/main"
    android:layout_width="match_parent"
    android:layout_height="match_parent"
    tools:context=".MainActivity">

    <Spinner
        android:id="@+id/main_country_sp"
        android:layout_width="0dp"
        android:layout_height="0dp"
        app:layout_constraintBottom_toTopOf="@+id/guideline3"
        app:layout_constraintEnd_toEndOf="parent"
        app:layout_constraintHorizontal_bias="0.0"
        app:layout_constraintStart_toStartOf="parent"
        app:layout_constraintTop_toTopOf="@+id/guideline2"
        app:layout_constraintVertical_bias="0.0" />

    <androidx.constraintlayout.widget.Guideline
        android:id="@+id/guideline2"
        android:layout_width="wrap_content"
        android:layout_height="wrap_content"
        android:orientation="horizontal"
        app:layout_constraintGuide_percent="0.1" />

    <androidx.constraintlayout.widget.Guideline
        android:id="@+id/guideline3"
        android:layout_width="wrap_content"
        android:layout_height="wrap_content"
        android:orientation="horizontal"
        app:layout_constraintGuide_percent="0.15" />

    <TextView
        android:id="@+id/main_theme_tw"
        android:layout_width="0dp"
        android:layout_height="0dp"
        android:background="#677ACD"
        android:gravity="center"
        android:text="國家"
        android:textColor="#DDCCCC"
        android:textSize="24sp"
        android:textStyle="bold"
        app:layout_constraintBottom_toTopOf="@+id/main_country_sp"
        app:layout_constraintEnd_toEndOf="parent"
        app:layout_constraintStart_toStartOf="parent"
        app:layout_constraintTop_toTopOf="parent" />

</androidx.constraintlayout.widget.ConstraintLayout>
public class MainActivity extends AppCompatActivity {
    //宣告
    private Spinner countrySpinner;

    //字串
    final static String[] country = {"台灣","美國","日本","韓國","馬來西亞","新加坡","泰國","越南","菲律賓","印尼"};

    @Override
    protected void onCreate(Bundle savedInstanceState) {
        super.onCreate(savedInstanceState);
        EdgeToEdge.enable(this);
        setContentView(R.layout.activity_main);

        //綁定
        countrySpinner = findViewById(R.id.main_country_sp);

        //Spinner
        ArrayAdapter adapter = new ArrayAdapter(this, android.R.layout.simple_spinner_item,country);
        adapter.setDropDownViewResource(android.R.layout.simple_spinner_item);
        countrySpinner.setAdapter(adapter);
    }
}
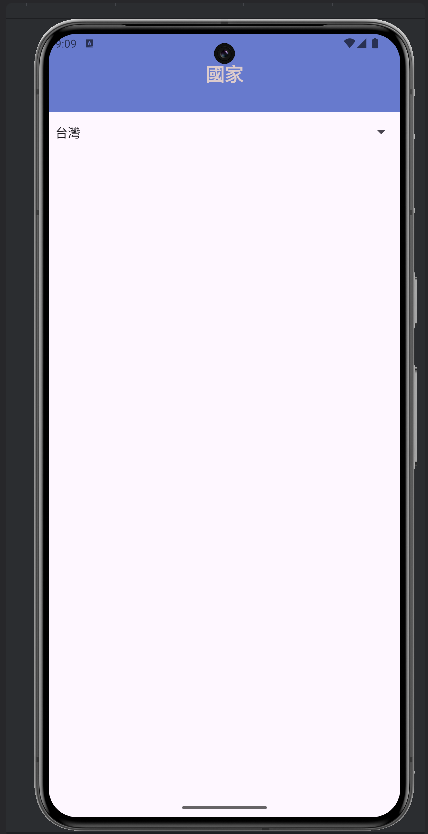
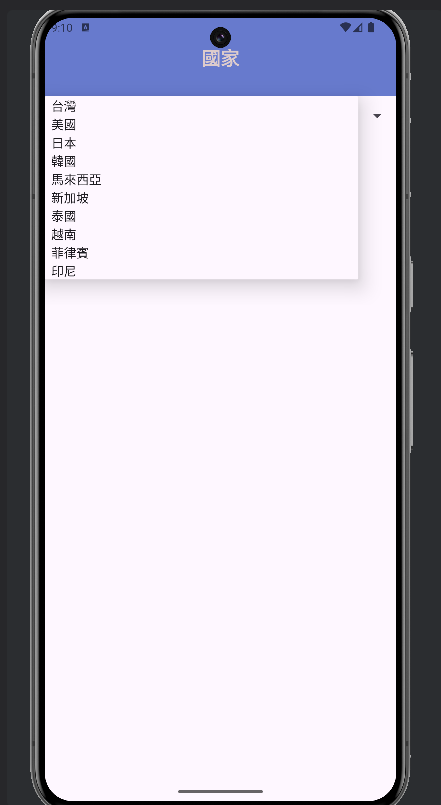
一開始我們的Spinner特別單調,而且我們要去設定別的背景顏色時會發現,箭頭會消失不見。
因此客製化可以解決這件事。
Spinner客製化比較複雜一點,跟著我一步一步慢慢做~
我們需要在drawable,移到New點擊Drawable Resource File,命名好點擊OK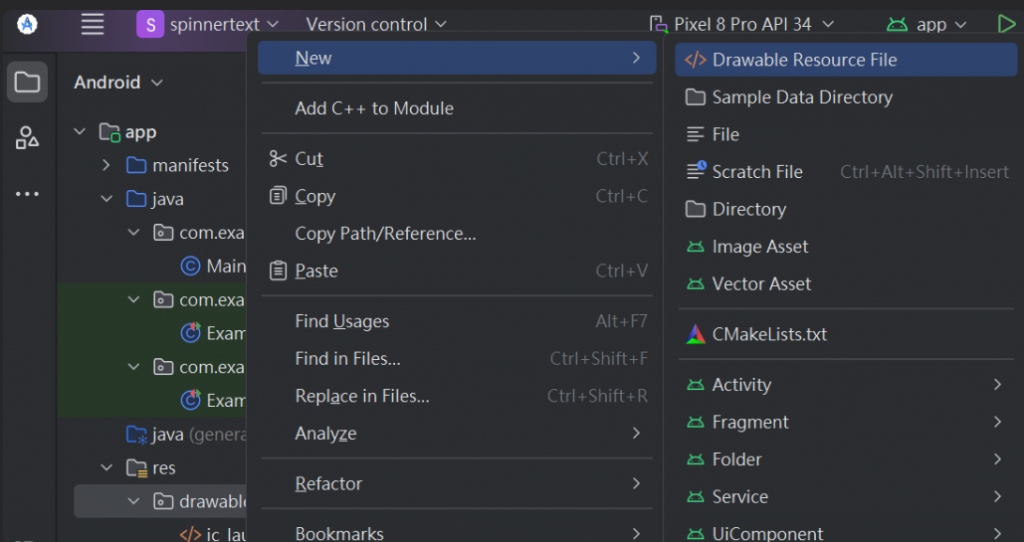
這裡需要新增兩個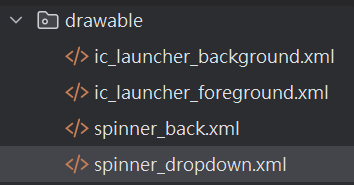
我們還需要在layout,移到New點擊Layout Resource File,命名好點擊OK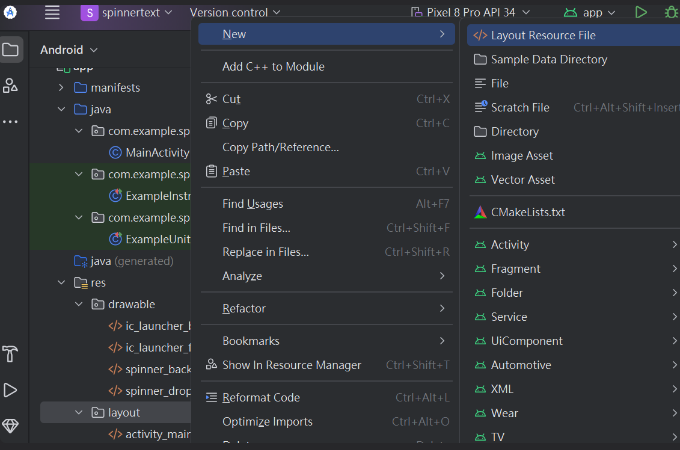
新增完成
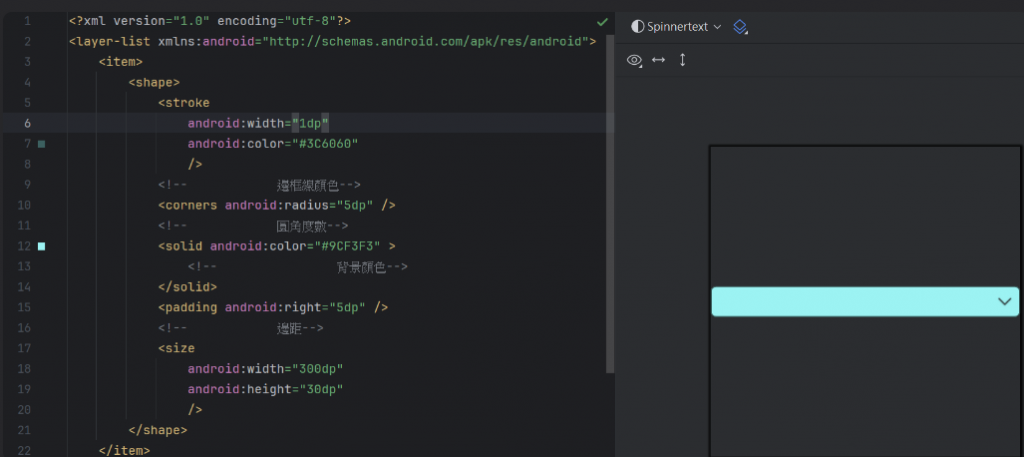
<?xml version="1.0" encoding="utf-8"?>
<layer-list xmlns:android="http://schemas.android.com/apk/res/android">
    <item>
        <shape>
            <stroke
                android:width="1dp"
                android:color="#3C6060"
                />
            <!--            邊框線顏色-->
            <corners android:radius="5dp" />
            <!--            圓角度數-->
            <solid android:color="#9CF3F3" >
                <!--                背景顏色-->
            </solid>
            <padding android:right="5dp" />
            <!--            邊距-->
            <size
                android:width="300dp"
                android:height="30dp"
                />
        </shape>
    </item>
    <!--    第二組item 插入圖片(spinner箭頭)-->
    <item>
        <bitmap
            android:gravity="end"
            android:src="@drawable/down"
            android:antialias="true"
            />
    </item>
</layer-list>
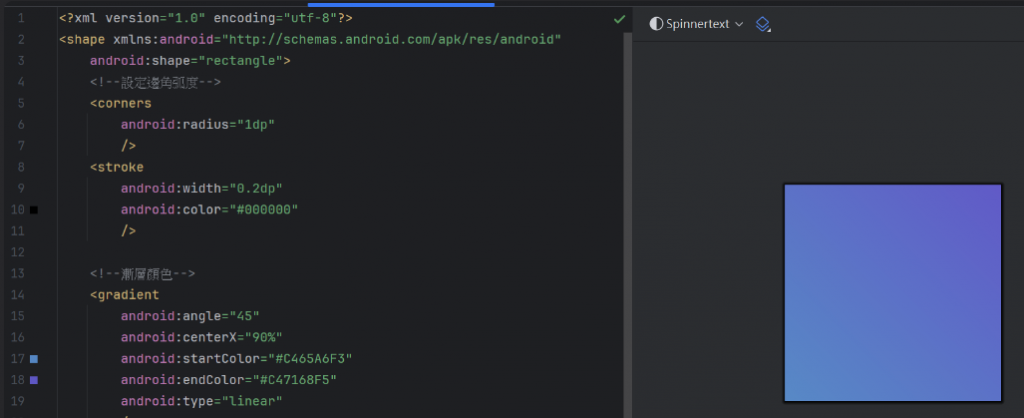
<?xml version="1.0" encoding="utf-8"?>
<shape xmlns:android="http://schemas.android.com/apk/res/android"
    android:shape="rectangle">
    <!--設定邊角弧度-->
    <corners
        android:radius="1dp"
        />
    <stroke
        android:width="0.2dp"
        android:color="#000000"
        />

    <!--漸層顏色-->
    <gradient
        android:angle="45"
        android:centerX="90%"
        android:startColor="#C465A6F3"
        android:endColor="#C47168F5"
        android:type="linear"
        />
    <padding
        android:left="0dp"
        android:top="0dp"
        android:right="0dp"
        android:bottom="0dp"
        />

</shape>
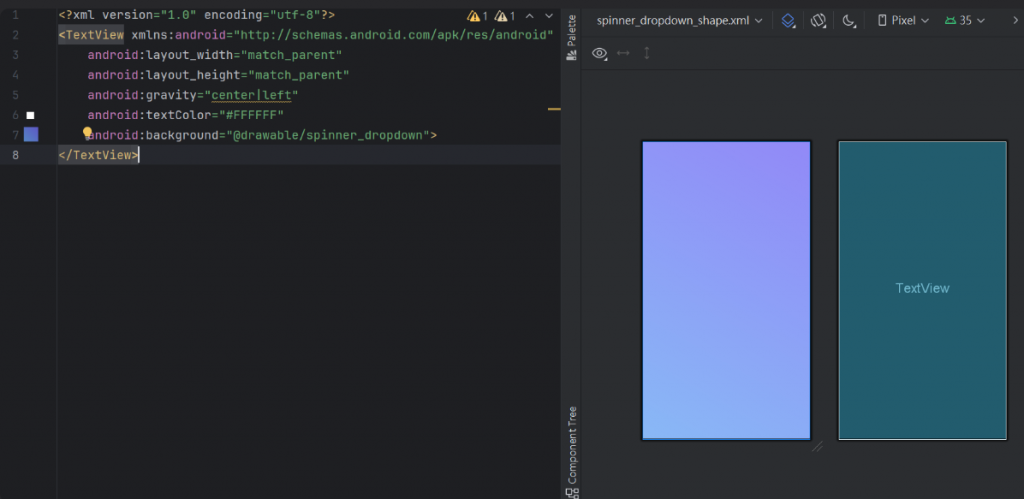
<?xml version="1.0" encoding="utf-8"?>
<TextView xmlns:android="http://schemas.android.com/apk/res/android"
    android:layout_width="match_parent"
    android:layout_height="match_parent"
    android:gravity="center|left"
    android:textColor="#FFFFFF"
    android:background="@drawable/spinner_dropdown">
</TextView>
activity_main.xml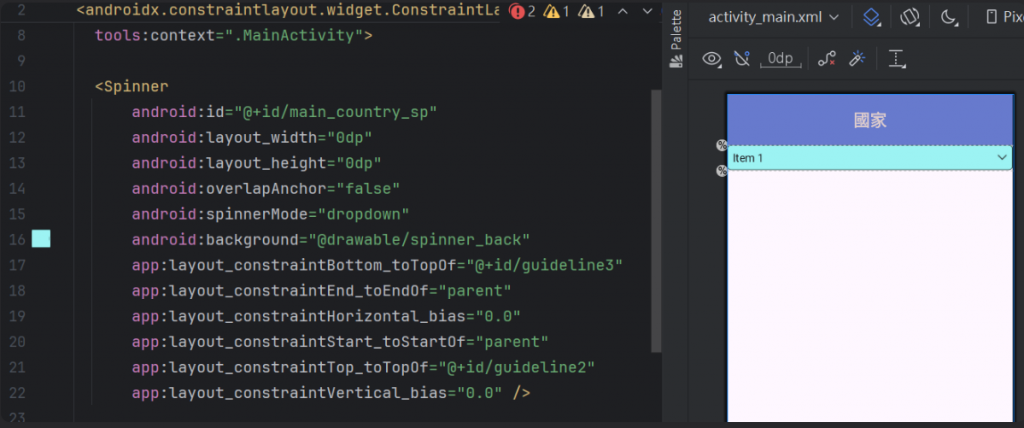
MainActivity需更改反白區域
這樣就完成啦!
