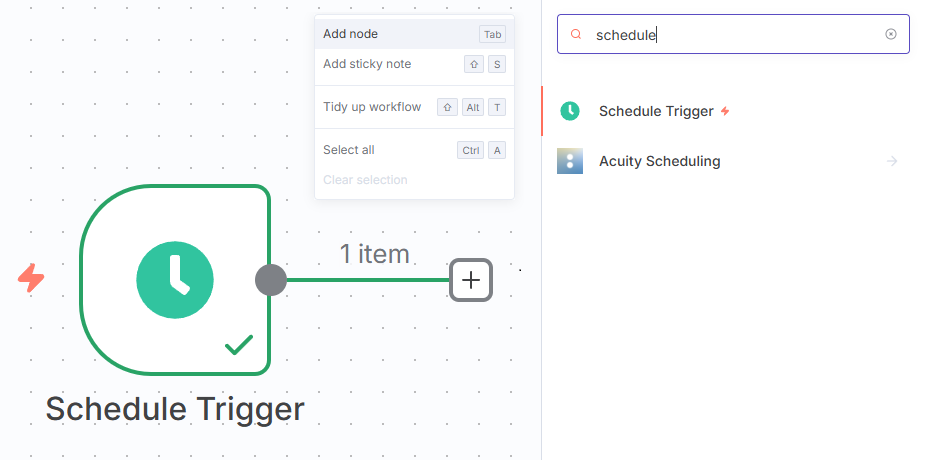
在熟悉 n8n 的介面與基本概念後,今天我們來實作第一個完整的 Workflow。
這個流程的目標是:每天定時從 arXiv 抓取一篇最新論文,並將標題與摘要發送到 Email。
+ New Workflow,
GET
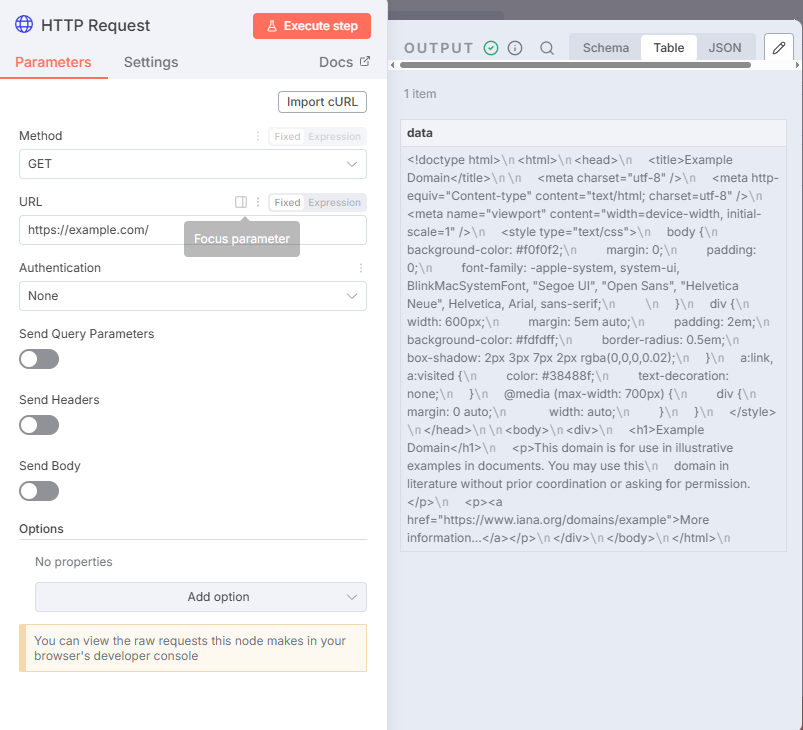
然後來測試arxiv的API
http://export.arxiv.org/api/query?search_query=cat:cs&start=0&max_results=1&sortBy=submittedDate&sortOrder=descending
cat:cs.AI 可指定人工智慧子領域;max_results=1 僅取一篇;sortBy=submittedDate 依提交日期排序。
搜尋tag title 可以發現 arxiv 回傳了一篇2025-09-17最新發布的論文:Apertus: Democratizing Open and Compliant LLMs for Global Language\n Environments
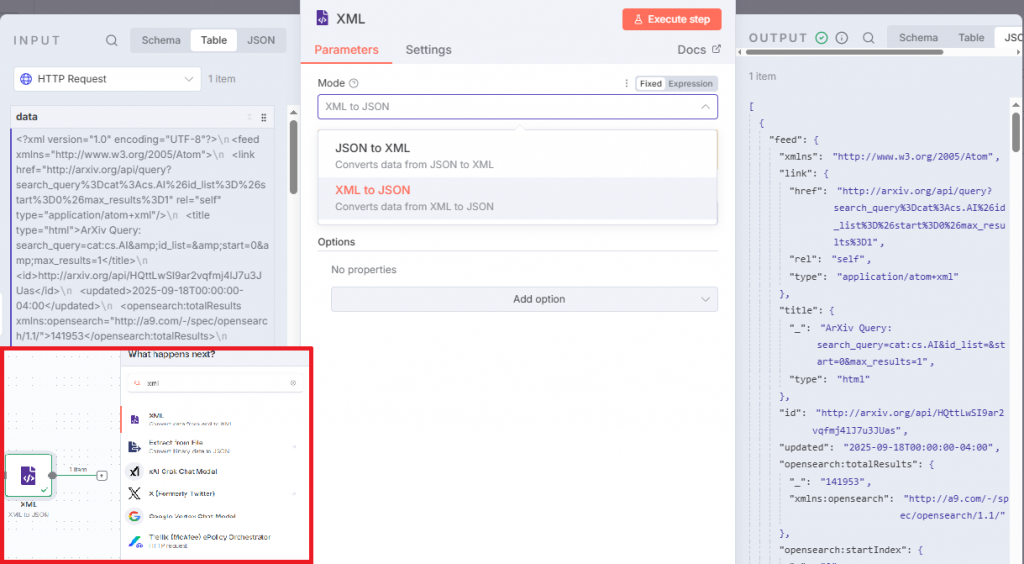
arXiv 會回傳 XML 格式的資料,我們透過 XML → JSON 節點,將資料轉換為 JSON 方便我們取得 title 與 summary 欄位
用 Gmail Send 節點把標題與摘要寄出
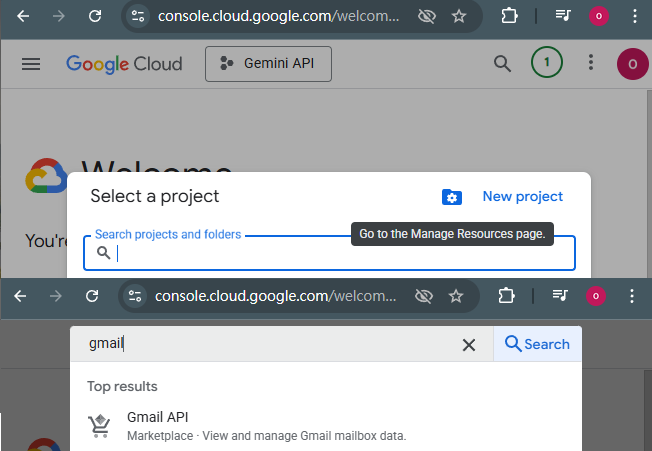
到google cloud取建立專案,取得API憑證,包含了google sheet、google日歷 、gemini 等等的API都會在這邊來管理
接下來我是參考geekaz大大的文章n8n 串接憑證教學:
照著內文一步步完成就可以申請到API憑證了
用寄送節點,左側可以拖拉要傳送的元素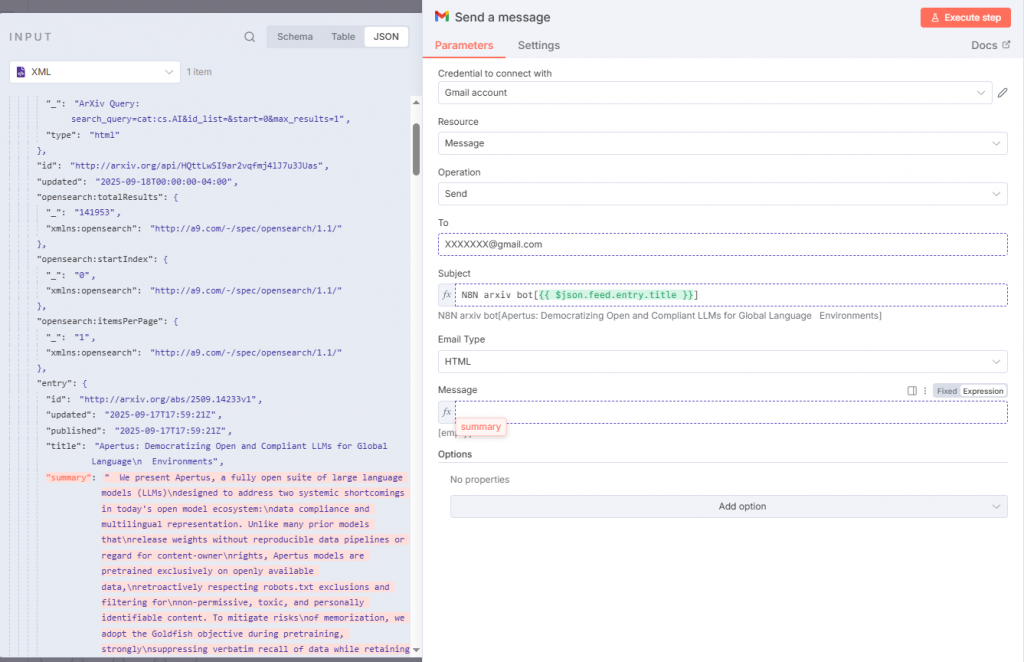
測試成功!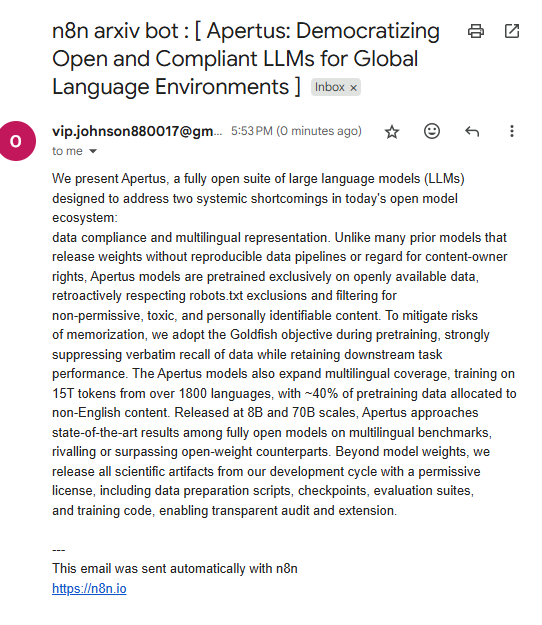
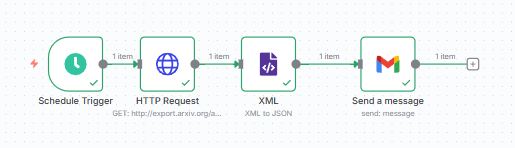
完整流程如下:
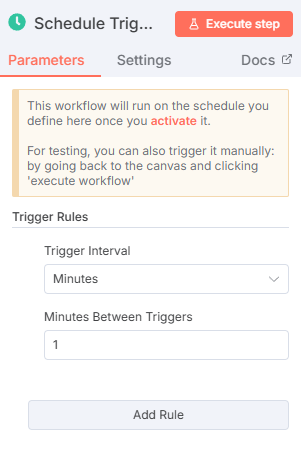
接下來設定寄信的頻率然後點Active 就可以啟動啦
基本格式
https://export.arxiv.org/api/query?search_query=all:{關鍵字}&start=0&max_results=1&sortBy=submittedDate&sortOrder=descending
範例 1:搜尋 "LLM"
https://export.arxiv.org/api/query?search_query=all:LLM&start=0&max_results=1&sortBy=submittedDate&sortOrder=descending
範例 2:多關鍵字(AND)
https://export.arxiv.org/api/query?search_query=all:AI+AND+all:robot&start=0&max_results=1
範例 3:限定領域 + 關鍵字
https://export.arxiv.org/api/query?search_query=cat:cs.AI+AND+all:LLM&start=0&max_results=1
小結
今天完成了一個可用的自動化流程:定時→抓取→解析→寄送。
在明天的章節會介紹如何把結果串接 Gemini,將內文轉為結構化的筆記並寄出。

