由於預計要來用 python 寫,那就來用 uv 控管專案吧
uv 是什? https://docs.astral.sh/uv/
An extremely fast Python package and project manager, written in Rust.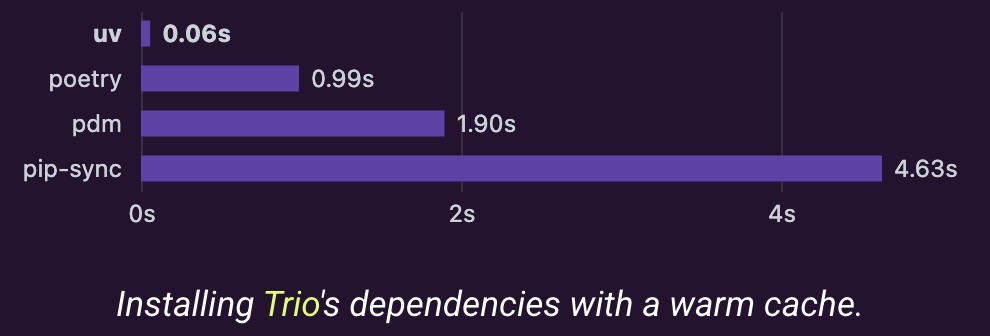
uv 的作用與好處 (generated by chatgpt)?
TL;DR:
uv 的作用
pip + virtualenv + poetry 的結合)。uv 的好處
uv.lock) 確保跨環境一致。uv run 就能執行程式並自動建立/使用虛擬環境,不必手動切換。這裡有詳細的安裝方法,適用各種 os
https://docs.astral.sh/uv/getting-started/installation/
安裝完 uv 後直接來 init 我們的專案
uv init agent-brain
來看一下 uv 幫我們生成的專案架構
agent-brain
├── .git
├── .gitignore
├── .python-version
├── main.py
├── pyproject.toml
└── README.md

2 directories, 5 files
除了架構之外 也幫忙設定好 git 了 (記得安裝 git)
非常懶人呢
直接來跑跑看吧 (要先進到資料夾)
uv run main.py
output:
Using CPython 3.9.23
Creating virtual environment at: .venv
Hello from agent-brain!
執行後發現python版本有點舊 (default 抓電腦上的 python)
更改 .python_version 成 3.13
echo 3.13 > .python-version
再 run 一次 uv run main.py
Using CPython 3.13.7
Removed virtual environment at: .venv
Creating virtual environment at: .venv
Hello from agent-brain!
看起來不錯,先推一版 commit
先加 remote
git remote add origin git@github.com:Aquila-f/agent-brain.git
git add .
git commit -m "init commit"
git push origin master
透過 ruff 跟 pre commit,強制讓我們推上去的 code 變得整齊
ruff repo: https://github.com/astral-sh/ruff
uv tool install pre-commit --with pre-commit-uv
pre-commit install
然後開一個 .pre-commit-config.yaml file for configuration
repos:
  - repo: https://github.com/astral-sh/ruff-pre-commit
    rev: v0.13.1
    hooks:
      - id: ruff-format
      - id: ruff-check
        args: [--fix, --exit-non-zero-on-fix]
設定完後應該就有效果了(?
來做個實驗:
打開 main.py 然後加一堆換行在最前面
## 一堆換行
def main():
    print("Hello from agent-brain!")


if __name__ == "__main__":
    main()
然後
git add .
git commit -m "pre commit setting"
output:
[INFO] Initializing environment for https://github.com/astral-sh/ruff-pre-commit.
[INFO] Installing environment for https://github.com/astral-sh/ruff-pre-commit.
[INFO] Once installed this environment will be reused.
[INFO] This may take a few minutes...
[INFO] Using pre-commit with uv 0.8.19 via pre-commit-uv 4.1.5
ruff format....................................................Failed
- hook id: ruff-format
- files were modified by this hook

1 file reformatted
ruff check.....................................................Passed
會看到第一次會先安裝一些必要的東西
然後可以看到 1 file reformatted
代表他抓到了某個檔案 format 跑掉並且做了修改
這時候透過 git status 應該就會發現 main.py 被更動了
這時候重新 add + commit 就好了喔
另外 ruff 還能安裝在 vscode 上 https://github.com/astral-sh/ruff-vscode
大家再自己看一下吧
水了一個 repo setup 不過都蠻重要的