本文示範如何把 LLM 產生的 Markdown/Blocks(如 Gemini 筆記)寫入 Notion。流程包含 Notion Integration 建立、授權頁面/資料庫、在 n8n 建立 Notion 憑證,最後用 Notion Node 建立新頁面並附上內容 Blocks。
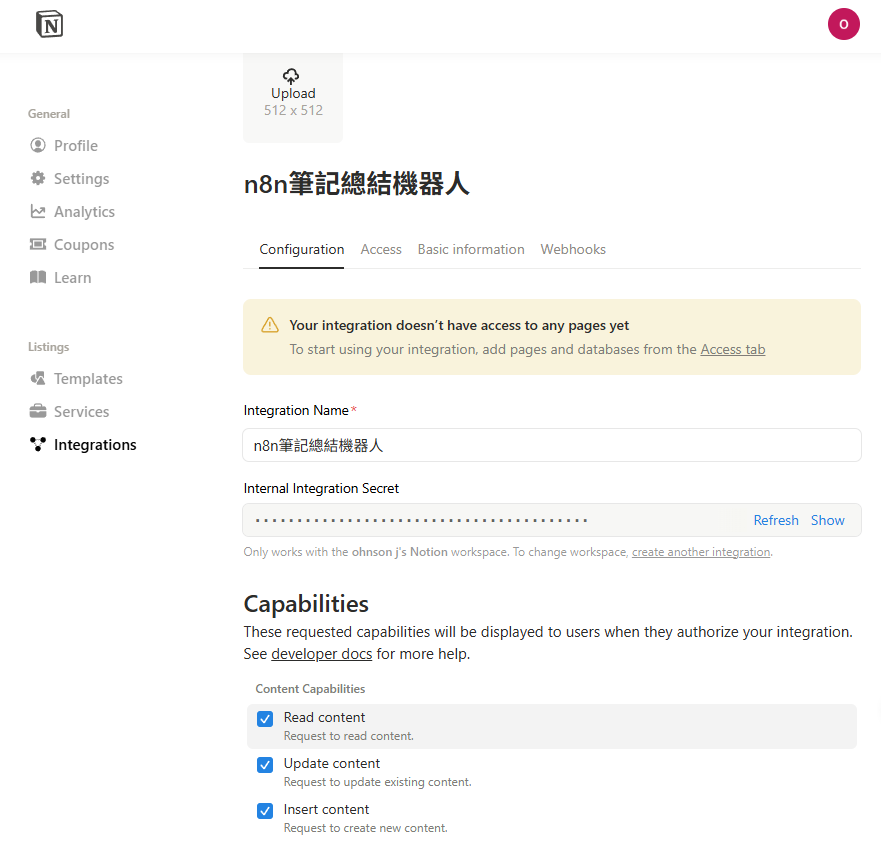
建議權限包含:Read content / Update content / Insert content(若要建立頁面)。
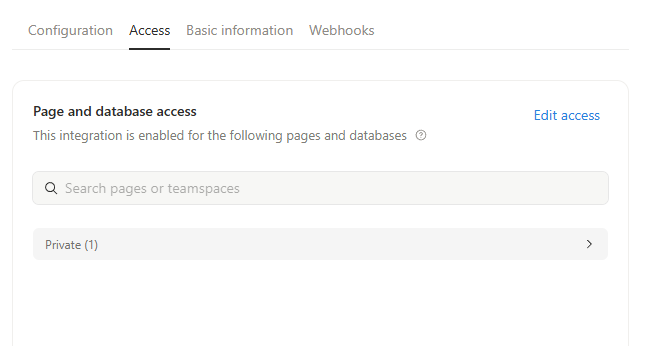
回到 Notion,打開你要寫入的 Database(或 Page):
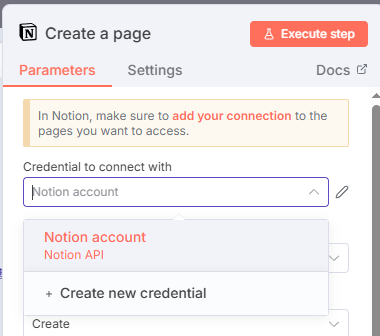
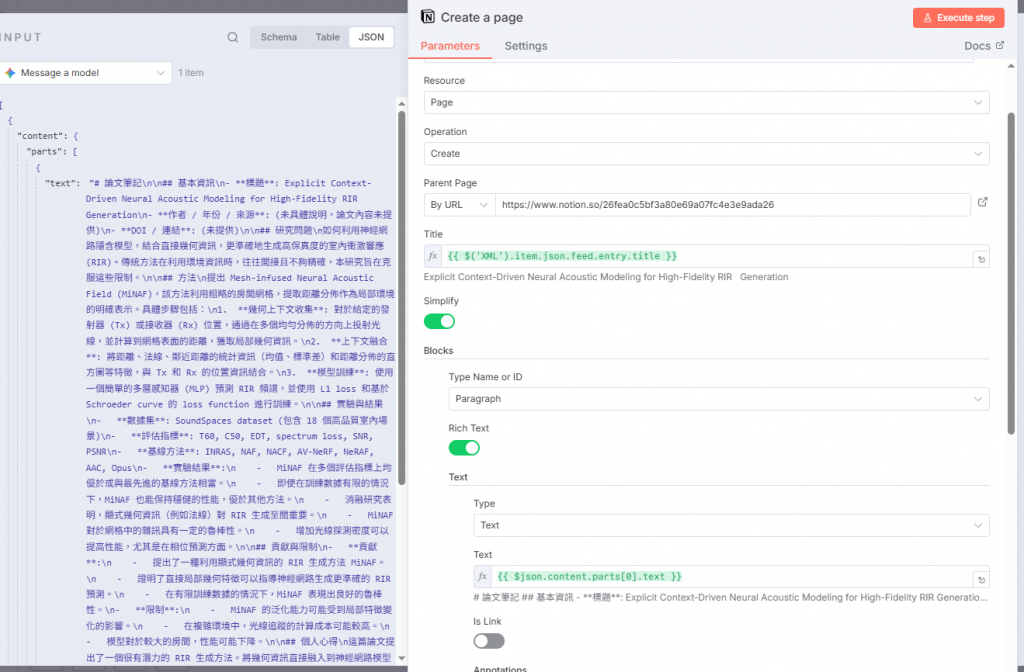
Page
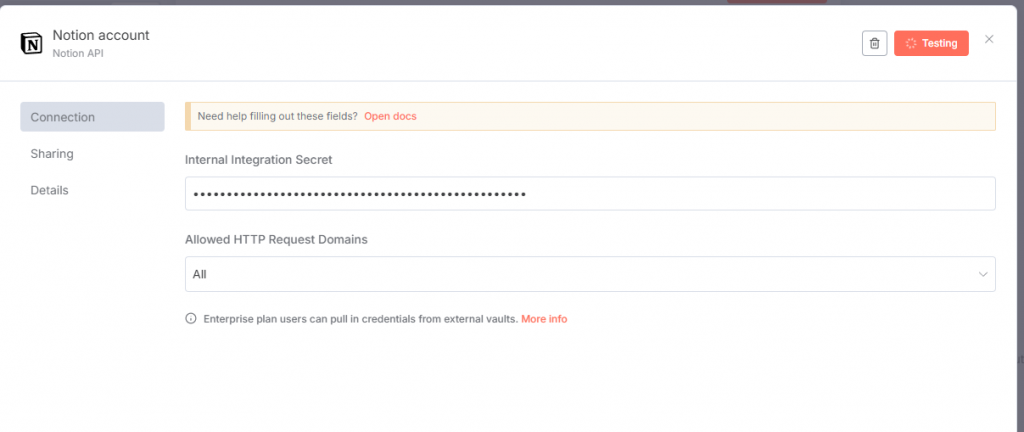
Create
Title → 填入論文名稱,使用前面節點輸出的欄位(例如 {{ $('XML').item.json.feed.entry.title }}){{ $json.content.parts[0].text }}
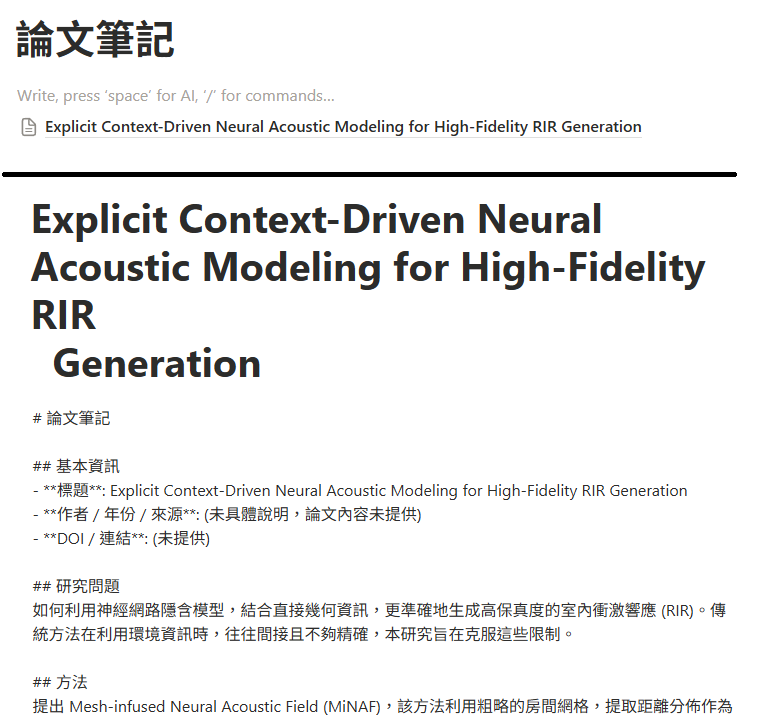
執行 Workflow 後,你會在指定資料庫看到一筆新頁面,標題為論文名稱,內文為Gemini總結的筆記了。
接下來會介紹如何把markdown格式轉換成notion的block整理好。


 iThome鐵人賽