
昨天我們已經在本機端成功完成 Google News 預訓練 Word2Vec (300 維度) + XGBoost 的分類任務。
程式在本機環境可以執行,結果也能正常產生出比 baseline 還高的分數,而今天的目標,就是要把整個流程搬到 Kaggle Notebook。
大家可以選擇開一個新的 Notebook 命名為 v2 把昨天下載好的GoogleNews-vectors-negative300檔案上傳到 這個新的 kaagle notebook。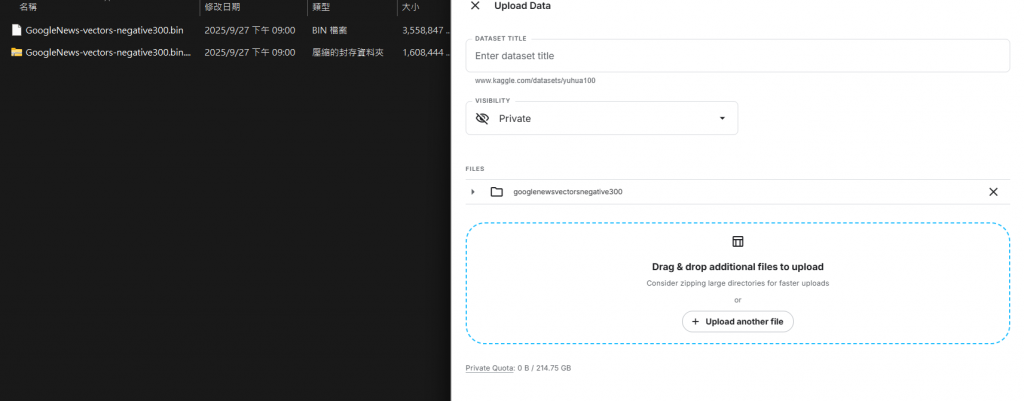
我的作法是把 GoogleNews-vectors-negative300.bin 檔上傳,然後將它命名為 googlenews-vectors-negative300,所以路徑會是"/kaggle/input/googlenews-vectors-negative300/GoogleNews-vectors-negative300.bin",下面程式碼跟昨天相比只有路徑做小小改動。
import numpy as np
import pandas as pd
from gensim.models import KeyedVectors
from sklearn.model_selection import train_test_split
from sklearn.metrics import accuracy_score
import xgboost as xgb

# 載入預訓練 Word2Vec (Google News 300d)
# 先把模型上傳成 Dataset 然後從本地路徑載入
w2v_path = "/kaggle/input/googlenews-vectors-negative300/GoogleNews-vectors-negative300.bin" #這邊要換成自己的路徑名稱
w2v = KeyedVectors.load_word2vec_format(w2v_path, binary=True)
# 把句子轉成向量
def sentence_to_vec(sentence, model, dim=300):
    words = [w for w in sentence.split() if w in model]
    if len(words) == 0:
        return np.zeros(dim)
    return np.mean(model[words], axis=0)
X_text = train["body"].astype(str).tolist()
X_vec = np.vstack([sentence_to_vec(text, w2v) for text in X_text])
y = train["rule_violation"].values
# 切分資料
X_tr, X_val, y_tr, y_val = train_test_split(
    X_vec, y, test_size=0.2, random_state=42, stratify=y
)

# 訓練 XGBoost 分類器
clf = xgb.XGBClassifier(
    n_estimators=500,
    max_depth=6,
    learning_rate=0.05,
    subsample=0.8,
    colsample_bytree=0.8,
    random_state=42,
    n_jobs=-1,
    use_label_encoder=False,
    eval_metric="logloss"
)
clf.fit(X_tr, y_tr)

# 驗證
y_pred = clf.predict(X_val)
print("Word2Vec + XGBoost Accuracy:", accuracy_score(y_val, y_pred))
下面開始是今天新的部分,訓練完成後,我們用整份資料重新訓練,再對 test.csv 做推論並輸出。
final_clf = xgb.XGBClassifier(
    n_estimators=500,
    max_depth=6,
    learning_rate=0.05,
    subsample=0.8,
    colsample_bytree=0.8,
    random_state=42,
    n_jobs=-1,
    use_label_encoder=False,
    eval_metric="logloss"
)

X_vec_test = np.vstack([sentence_to_vec(t, w2v) for t in test["body"].astype(str)])#把 test.csv 的文字轉成向量
final_clf.fit(X_vec, y)
test_pred = final_clf.predict(X_vec_test)


submission = submission.copy()
submission.iloc[:, 1] = test_pred
submission.to_csv("submission.csv", index=False)
print("Submission 檔案已產生:submission.csv")

我們已經完成 Word2Vec (Google News 預訓練 300 維),把每一句文字轉換成向量,然後用 mean pooling 壓成一個句子向量,最後交給 XGBoost 做分類。
在本地驗證集的結果非常亮眼,Accuracy = 0.736。但是!當我們把結果丟到 Kaggle leaderboard 驗證,分數卻掉到了 0.535。
看起來模型在「家裡」表現很好,但到「外面比賽」就馬上跌倒了。
這裡我猜有兩個可能原因:
(A) 向量表達過於簡單
我用的是 mean pooling,也就是把句子所有詞的向量「平均起來」
問題是語意會被稀釋掉。例如:
「don’t ban this user」
「ban this user」
這兩句平均後可能非常接近,但意思卻完全相反。
(B) 模型限制
XGBoost 很擅長結構化數據,但對於「語意向量」這種高維稠密資料,可能能力有限,文字任務其實更適合 LSTM 或 Transformer 類的模型,因為它們能捕捉序列與上下文
根據目前結果光用 Word2Vec + mean pooling + XGBoost 還不夠,在 validation set 分數高,不代表能泛化到 leaderboard,所以我們需要更強大的語言表徵方式,才能有效提升模型泛化能力,提升分數。
未來計畫
程式的路就是這樣,一邊 debug,一邊升級,慢慢讓模型更聰明。還有很多進步空間呢!

 iThome鐵人賽