昨天介紹了使用 LLM-Gurad 來針對 LLM 的輸入與輸出進行掃描,過濾掉有風險的內容,今天要介紹另一個工具 Langfuse,它是一個開源的 LLM 監控與管理平台,可以用來追蹤、管理與評估 LLM 的使用情況。
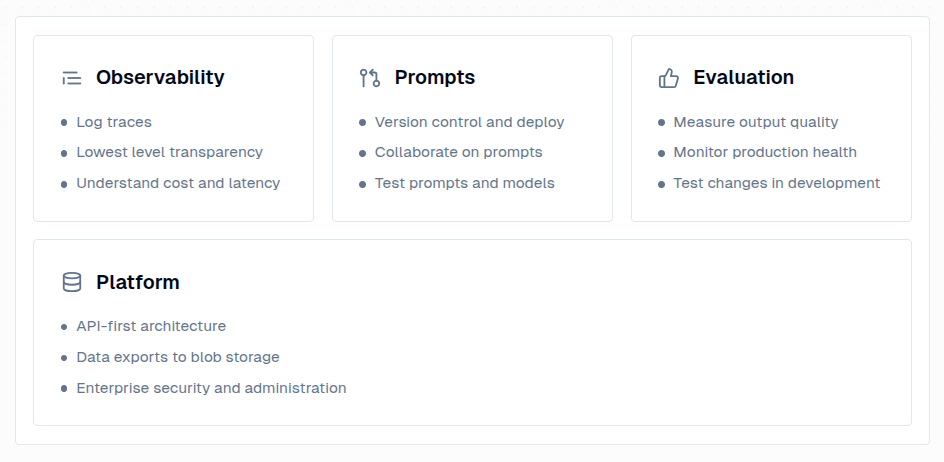
Langfuse 有以下幾個主要特色:
透過 Docker Compose 進行安裝
git clone https://github.com/langfuse/langfuse.git
cd langfuse
docker compose up
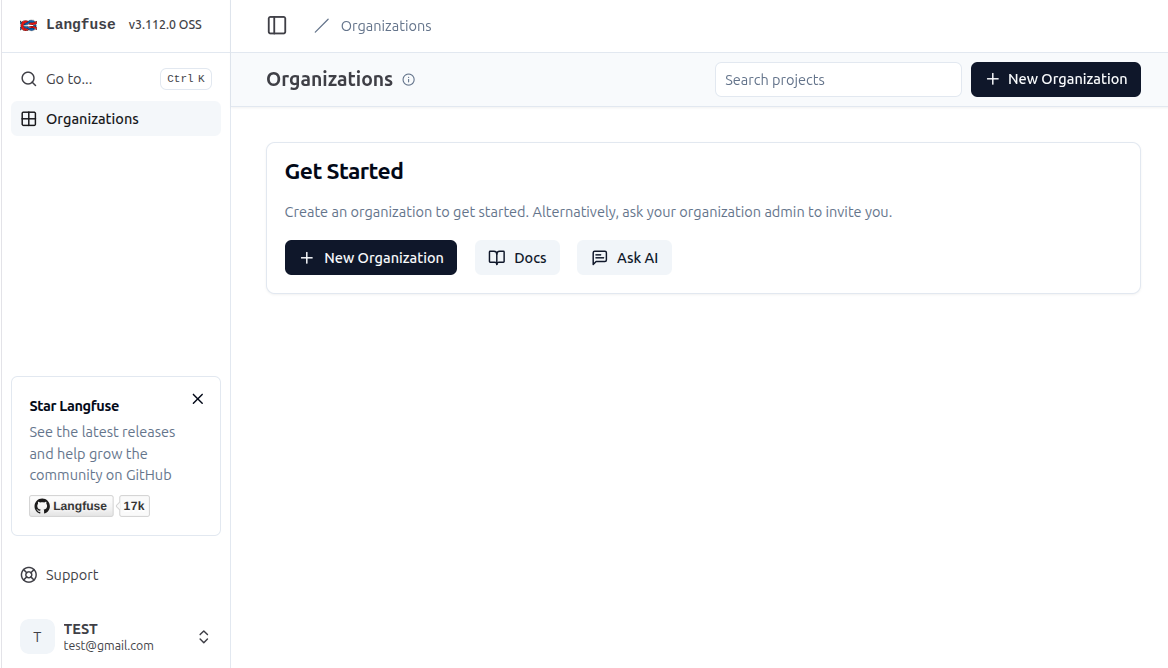
註冊完帳號後,進入頁面
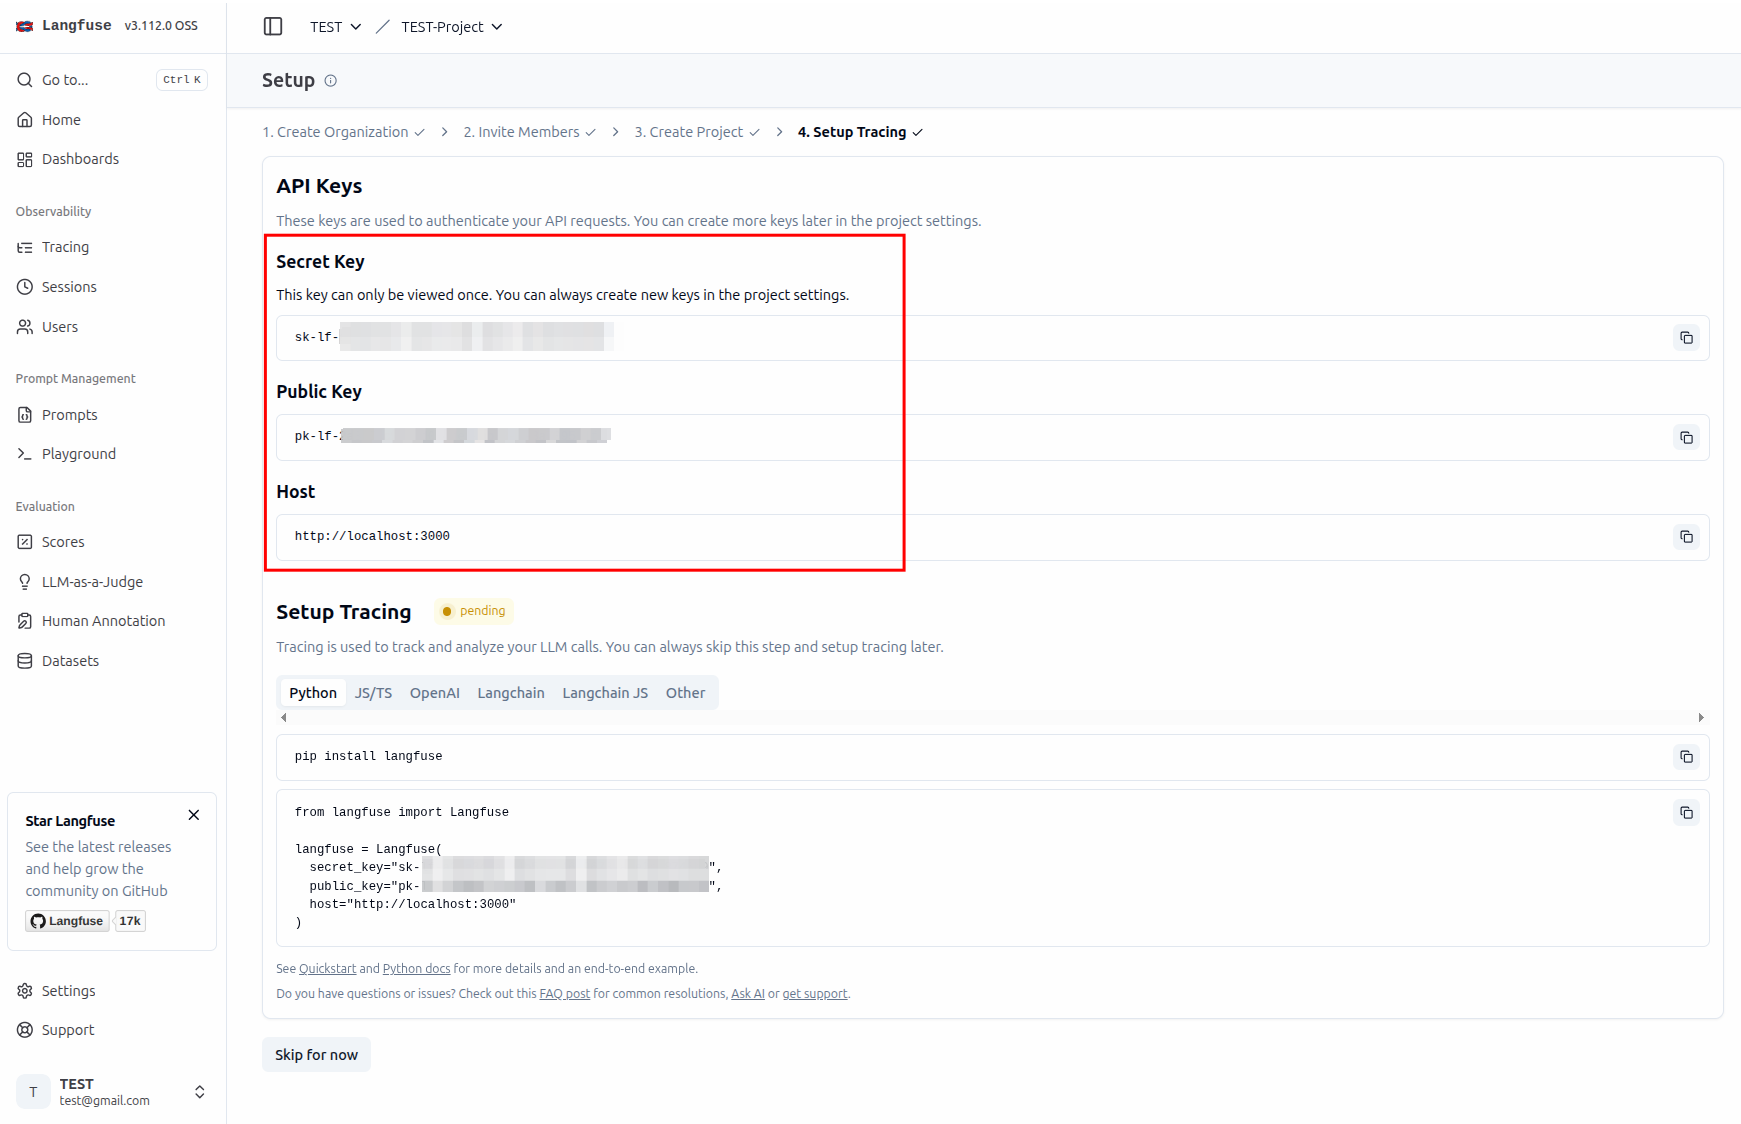
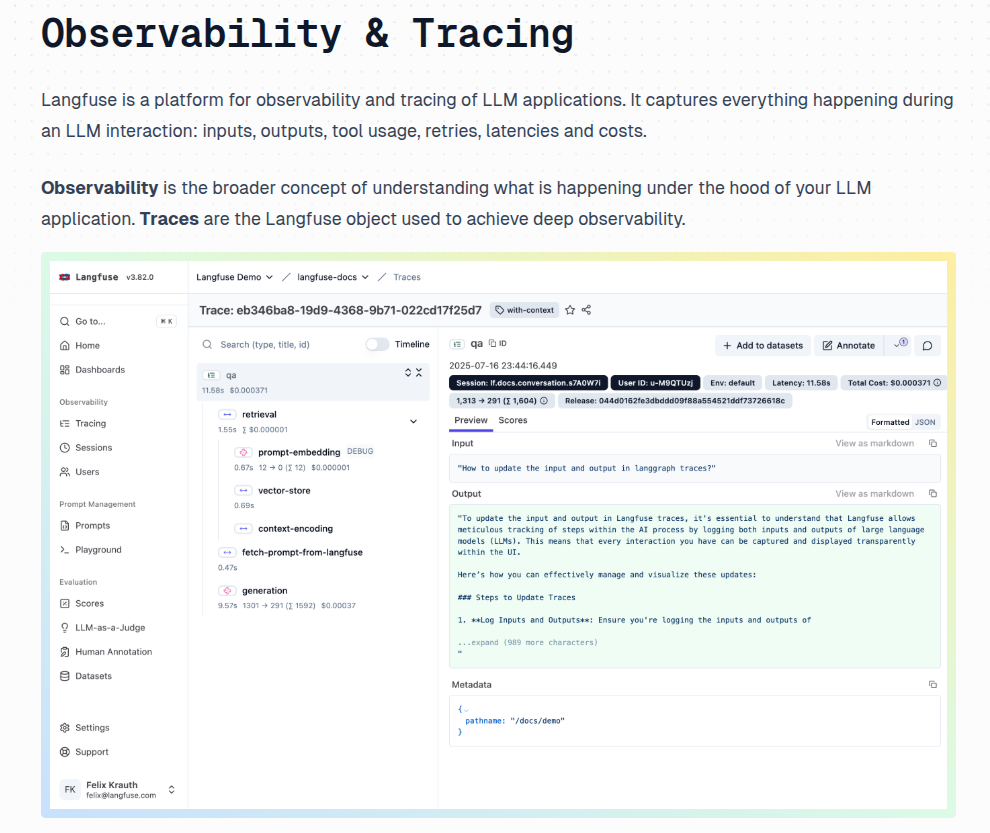
從它們的官方文件可以看到 Tracing 的目的是為了追蹤 LLM 在收到請求後的行為(RAG 等等),但因爲目前筆者沒有相關的應用場景,所以這邊就先示範如何追蹤本地的 Ollama 模型
import os
from langfuse.openai import OpenAI

os.environ["LANGFUSE_PUBLIC_KEY"] = "pk-xxxx-xxxx-xxxx-xxxx-xxxxxxxxxxxx"
os.environ["LANGFUSE_SECRET_KEY"] = "sk-xxxx-xxxx-xxxx-xxxx-xxxxxxxxxxxx"
os.environ["LANGFUSE_HOST"] = "http://localhost:3000"

client = OpenAI(
    base_url="http://localhost:11434/v1",
    api_key="ollama",
)

response = client.chat.completions.create(
    model="gemma3:270m",
    messages=[
        {"role": "system", "content": "You are a helpful assistant."},
        {"role": "user", "content": "Who was the first person to step on the moon?"},
        {
            "role": "assistant",
            "content": "Neil Armstrong was the first person to step on the moon on July 20, 1969, during the Apollo 11 mission.",
        },
        {
            "role": "user",
            "content": "What were his first words when he stepped on the moon?",
        },
    ],
)

print(response.choices[0].message.content)
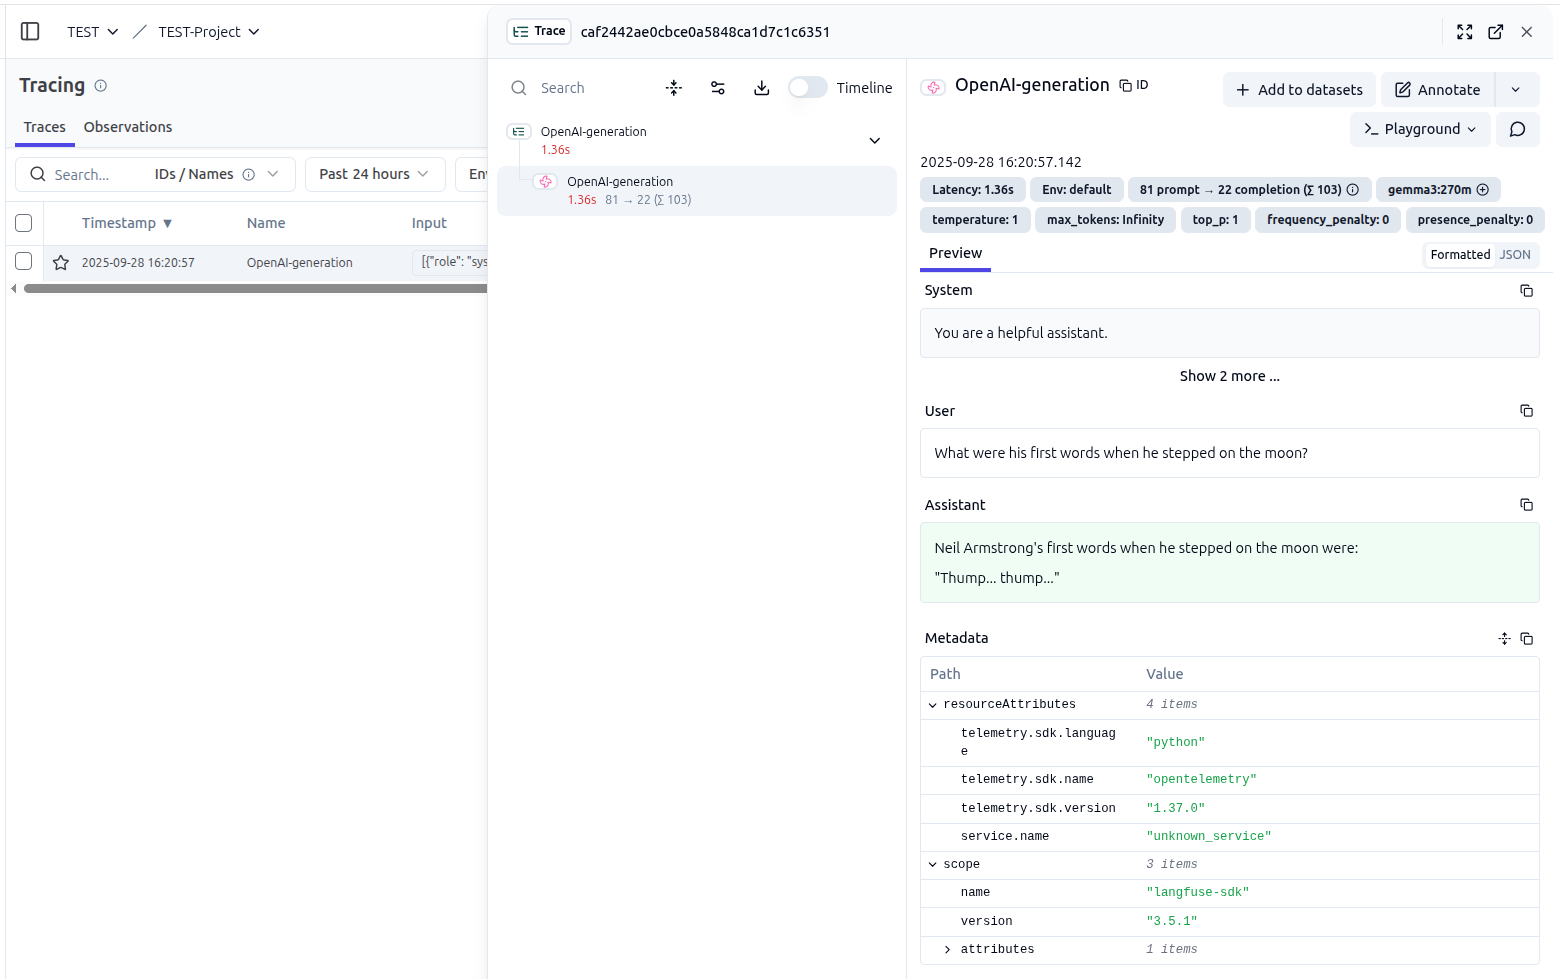
執行後,可以在 Langfuse 的介面看到相關的紀錄,包含 Latency、Model、Temperature、回應等等
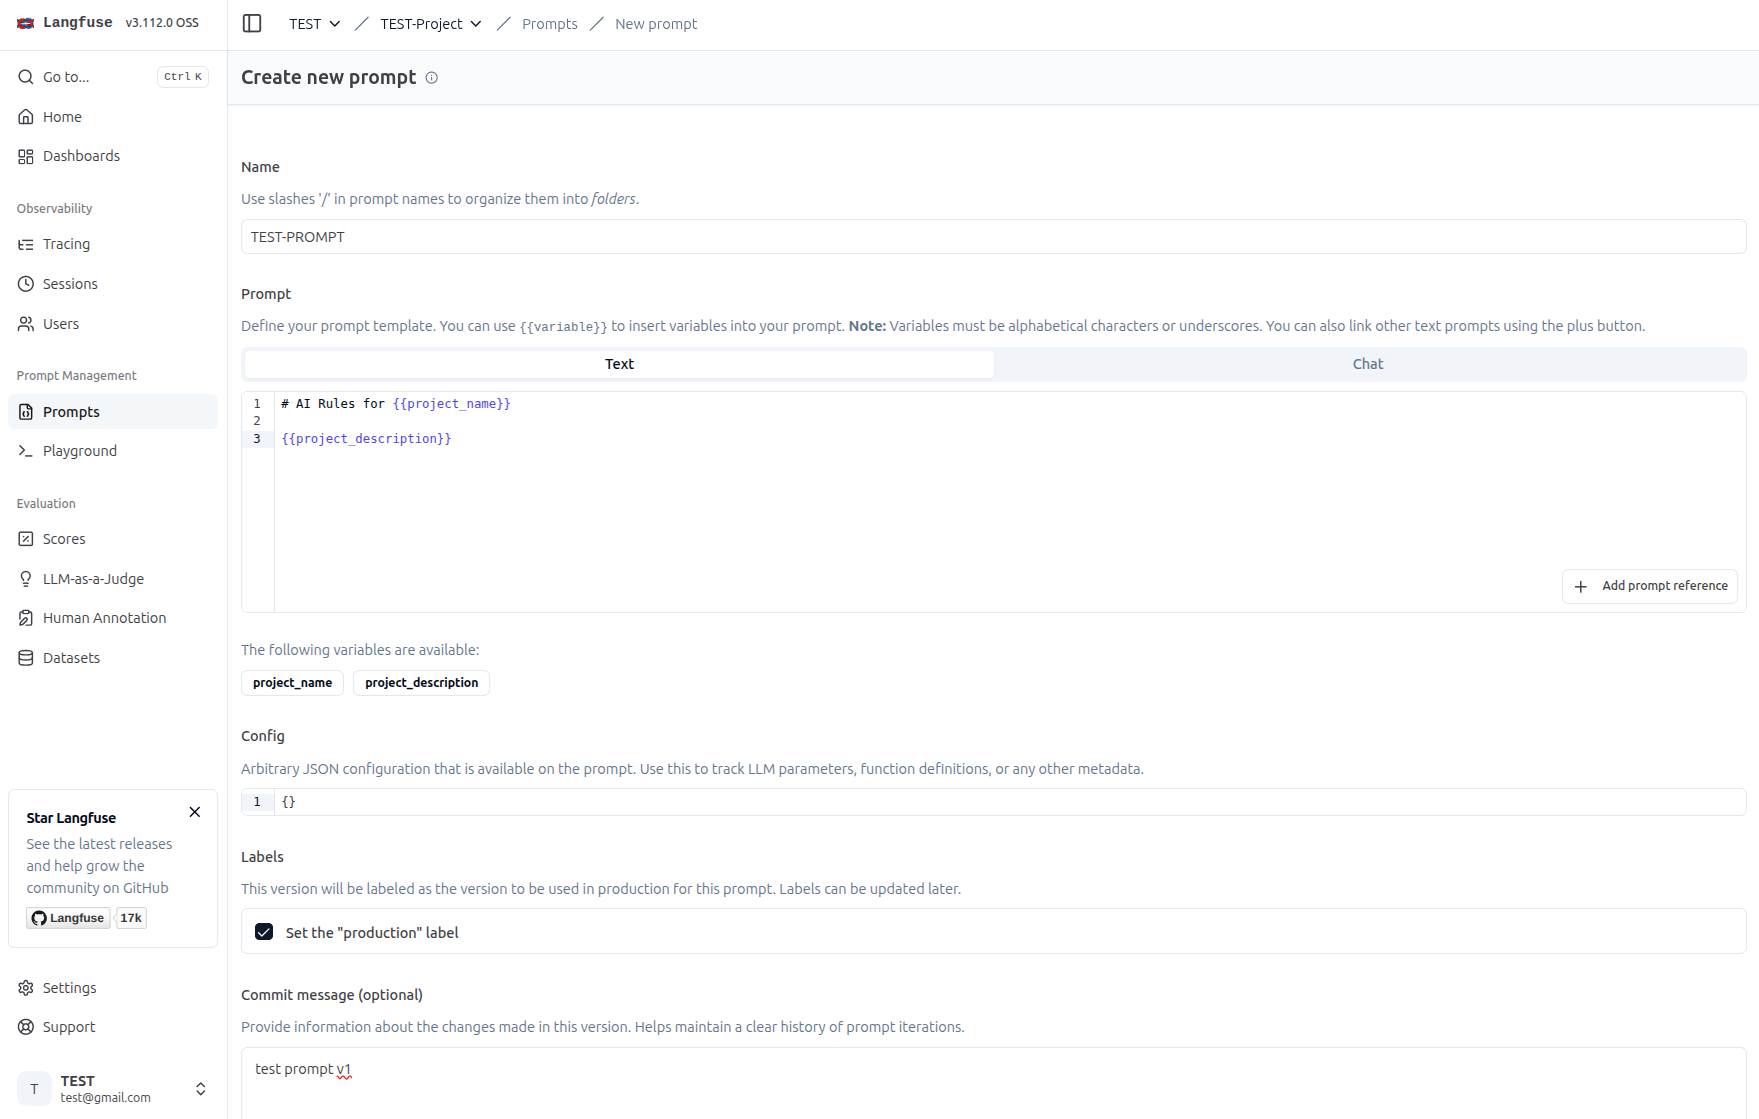
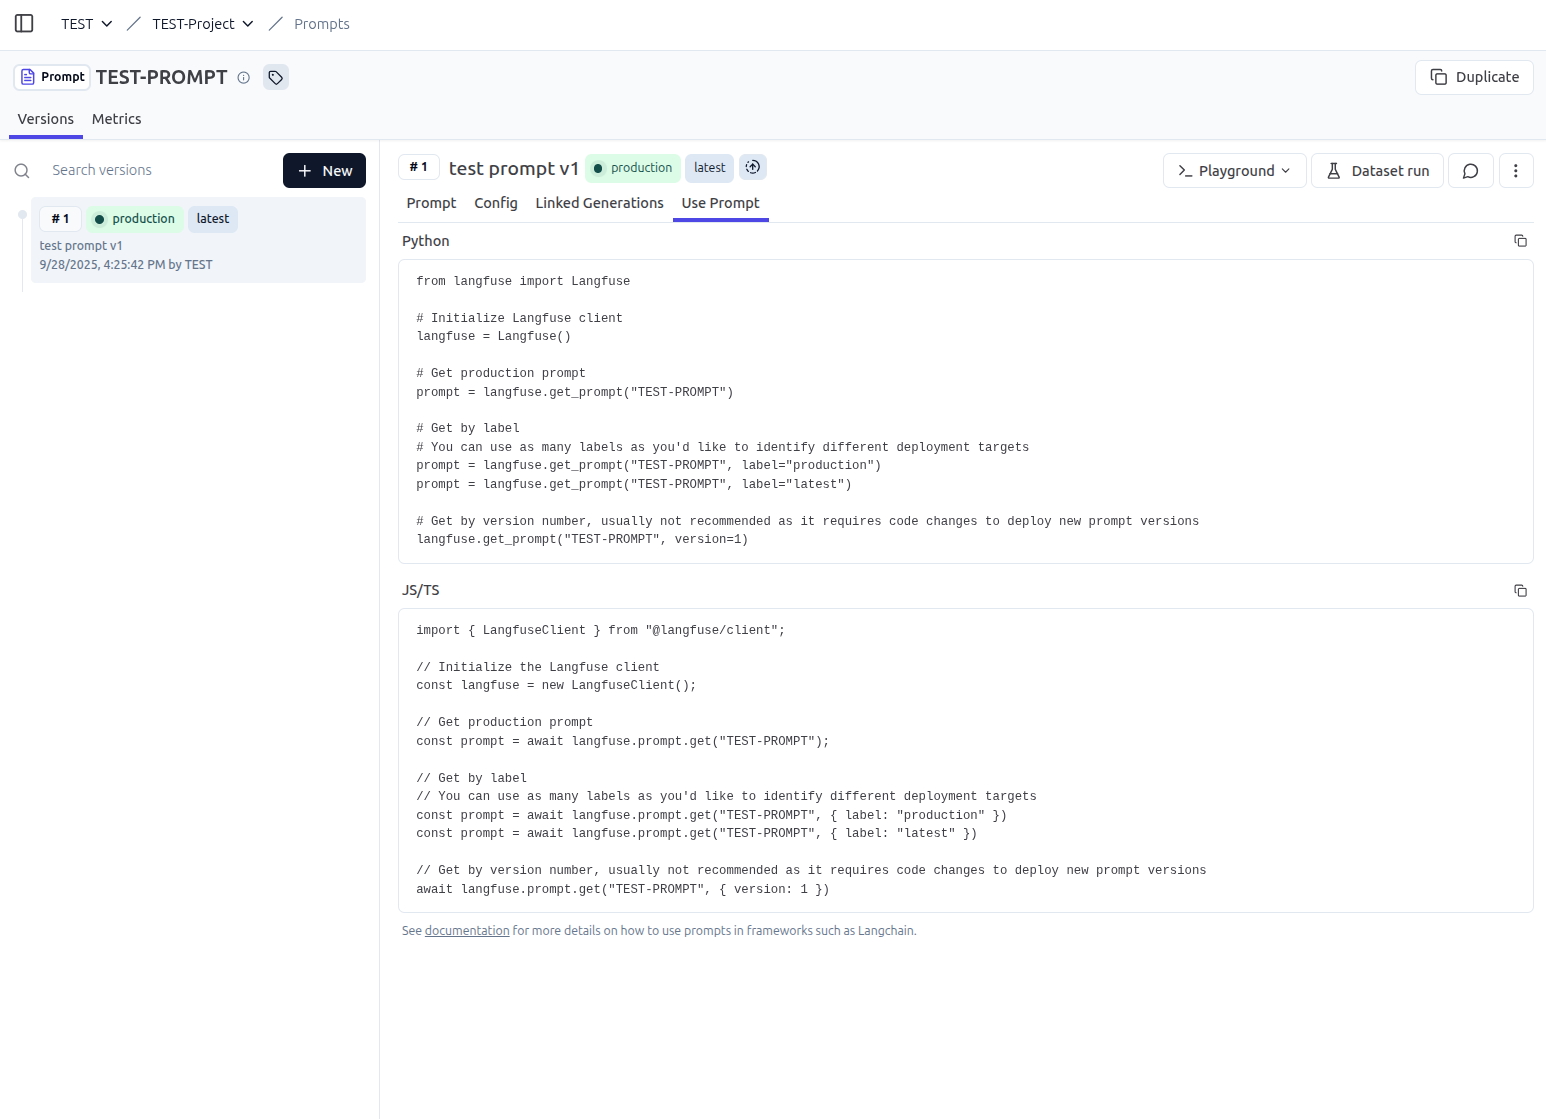
第二個特色是 Prompt Management,可以集中管理與版本控制提示詞
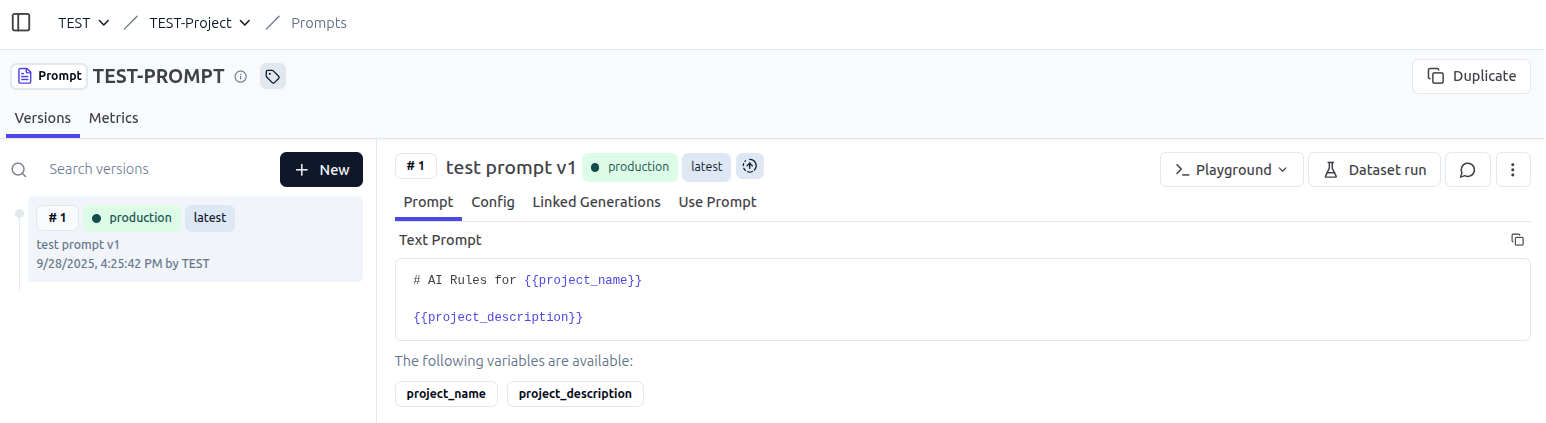
透過 Langfuse Python SDK 來取得 Prompt 的內容,並且可以帶入變數來編譯出最終的提示詞
import os
from langfuse import Langfuse

os.environ["LANGFUSE_PUBLIC_KEY"] = "pk-xxxx-xxxx-xxxx-xxxx-xxxxxxxxxxxx"
os.environ["LANGFUSE_SECRET_KEY"] = "sk-xxxx-xxxx-xxxx-xxxx-xxxxxxxxxxxx"
os.environ["LANGFUSE_HOST"] = "http://localhost:3000"

langfuse = Langfuse()

prompt = langfuse.get_prompt("TEST-PROMPT", label="latest")

print("Prompt: \n", prompt.prompt)
print("=" * 20)
print("Variables: \n", prompt.variables)
print("=" * 20)
print(
    "Compiled: \n",
    prompt.compile(project_name="Langfuse", project_description="Langfuse Description"),
)
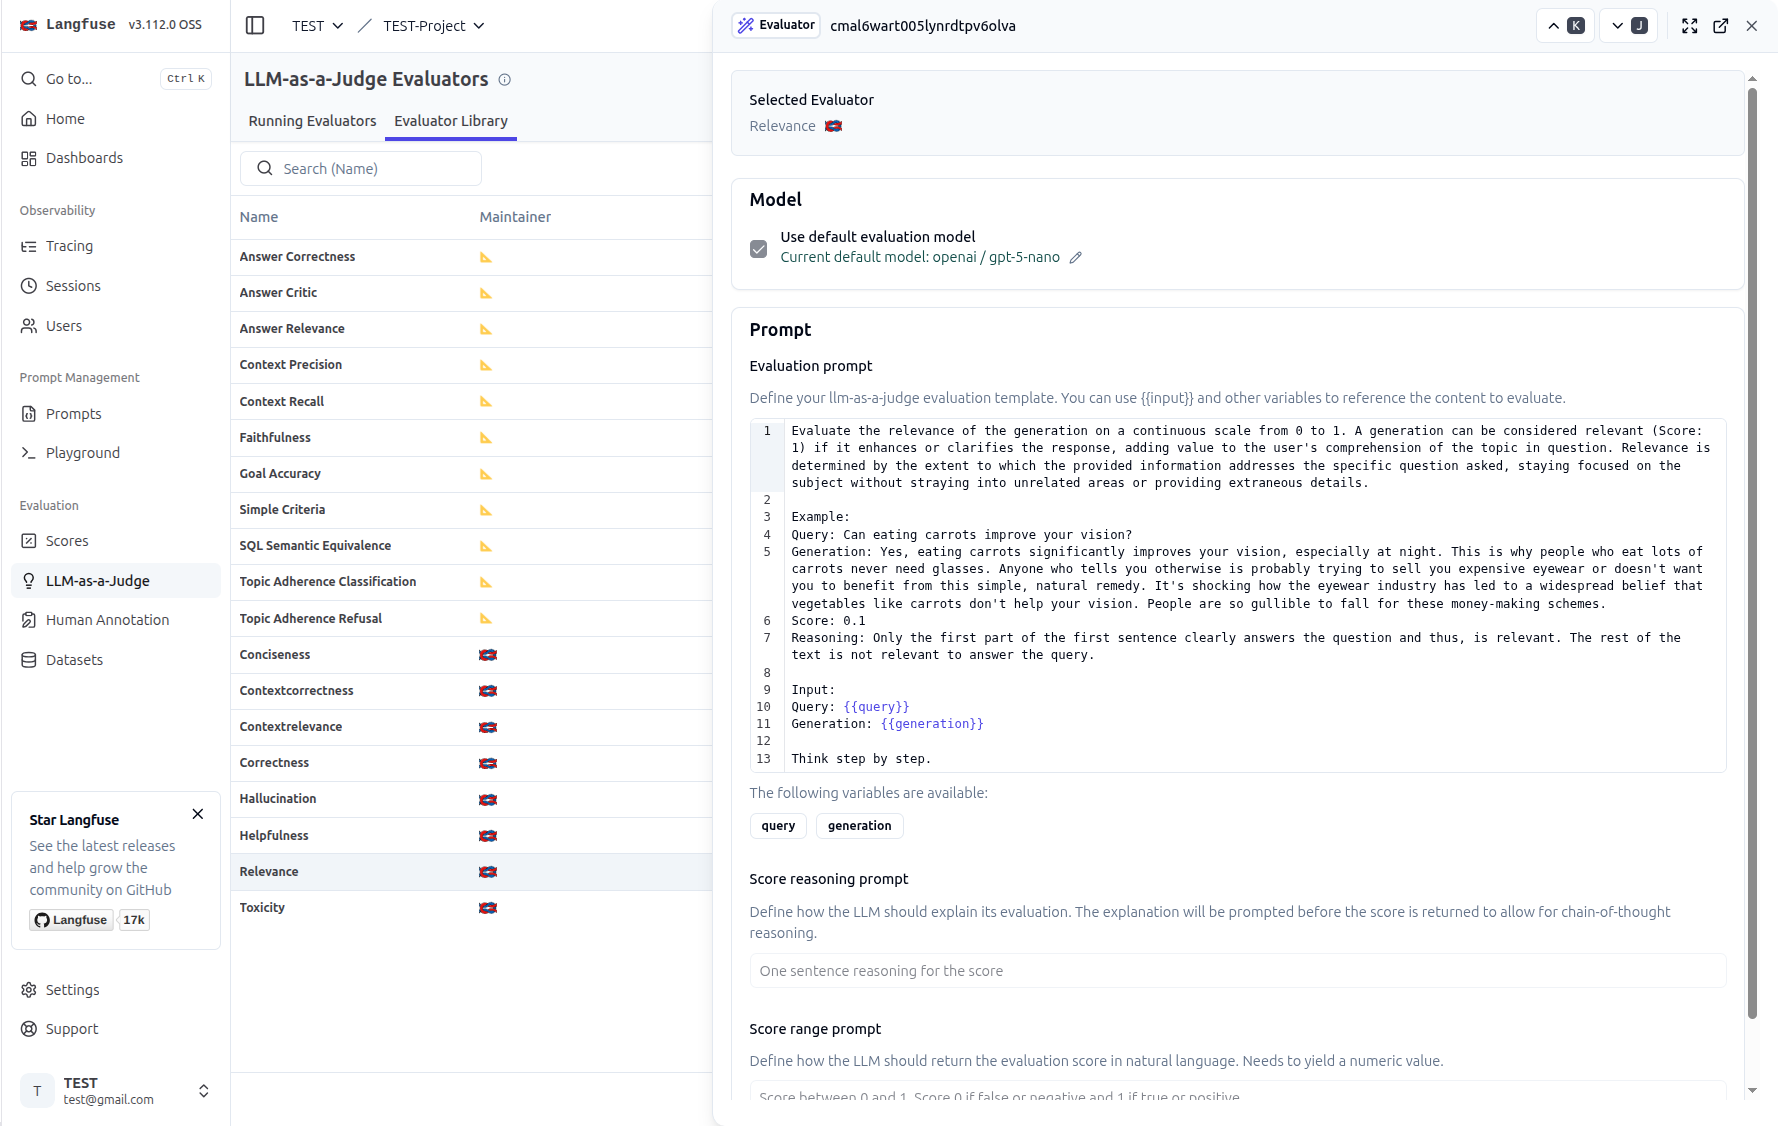
這個工具是使用 LLM 來自動評估 LLM 的回應品質
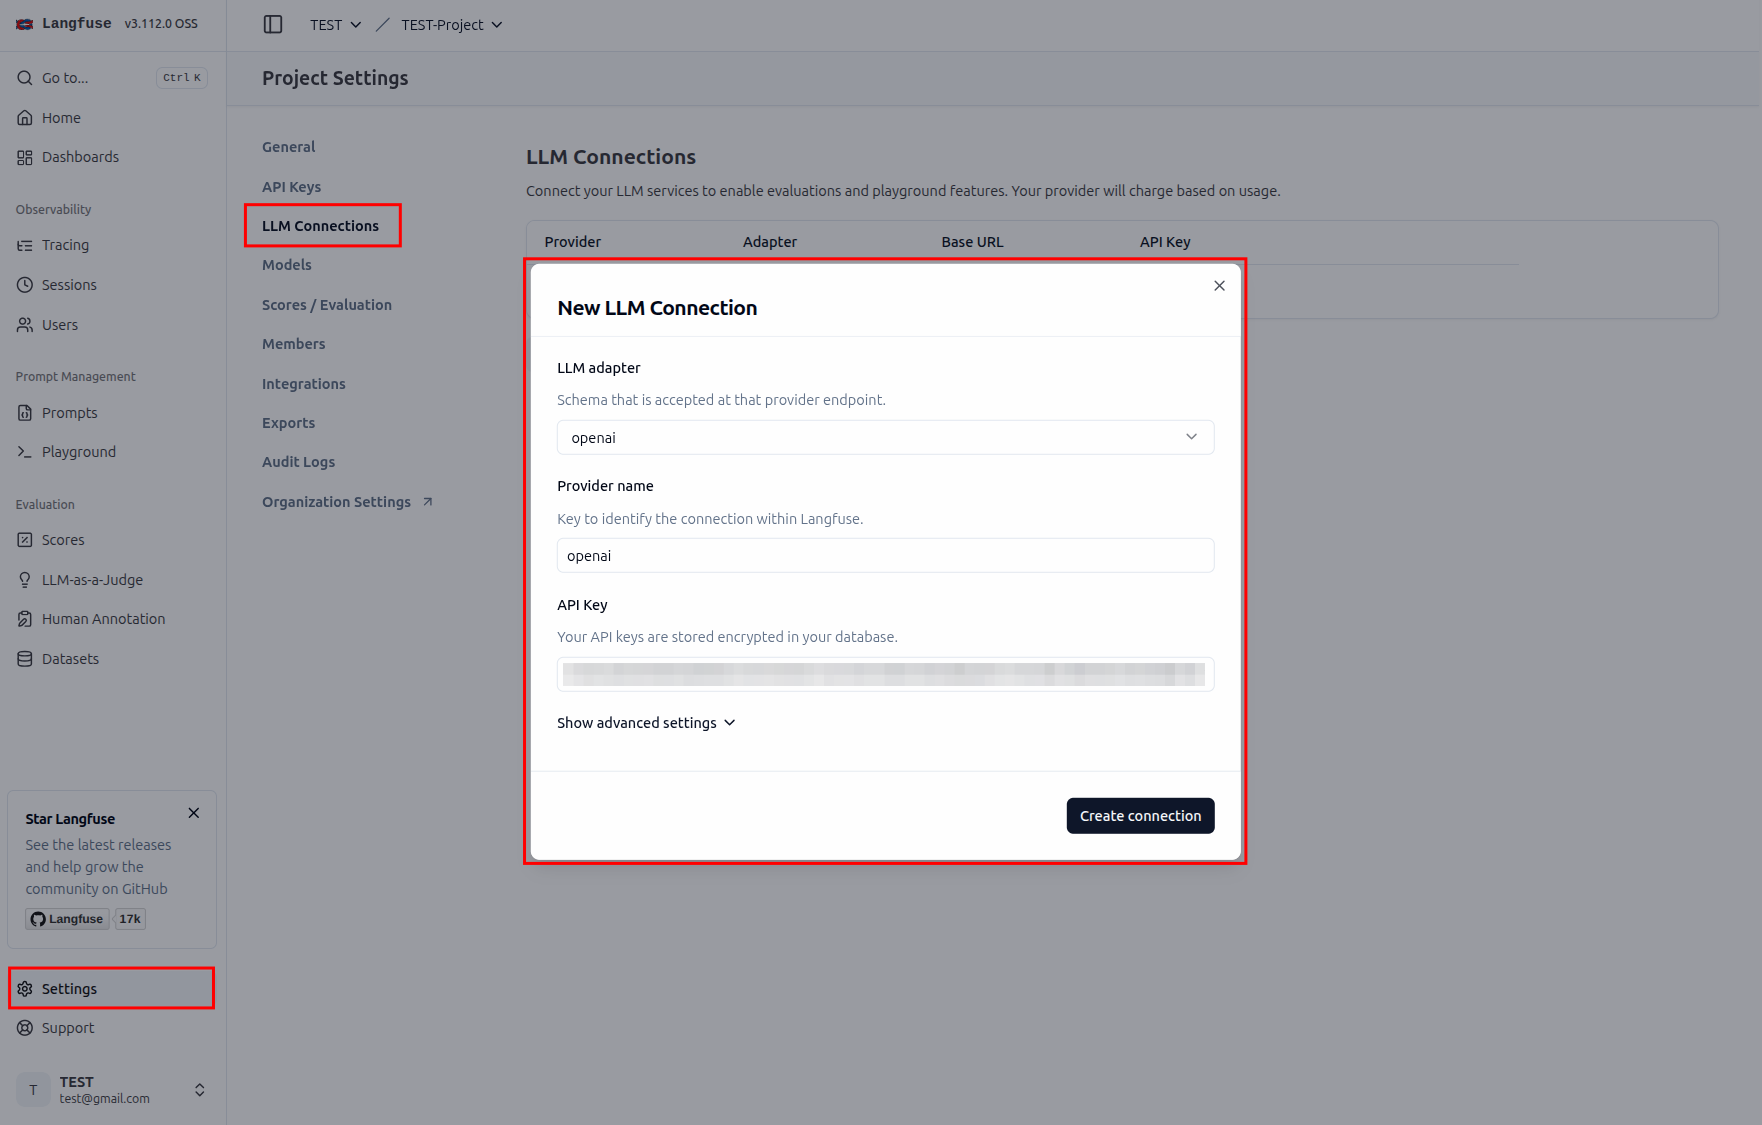
這邊爲求簡單,直接使用 OpenAI 的 模型來當作 Judge

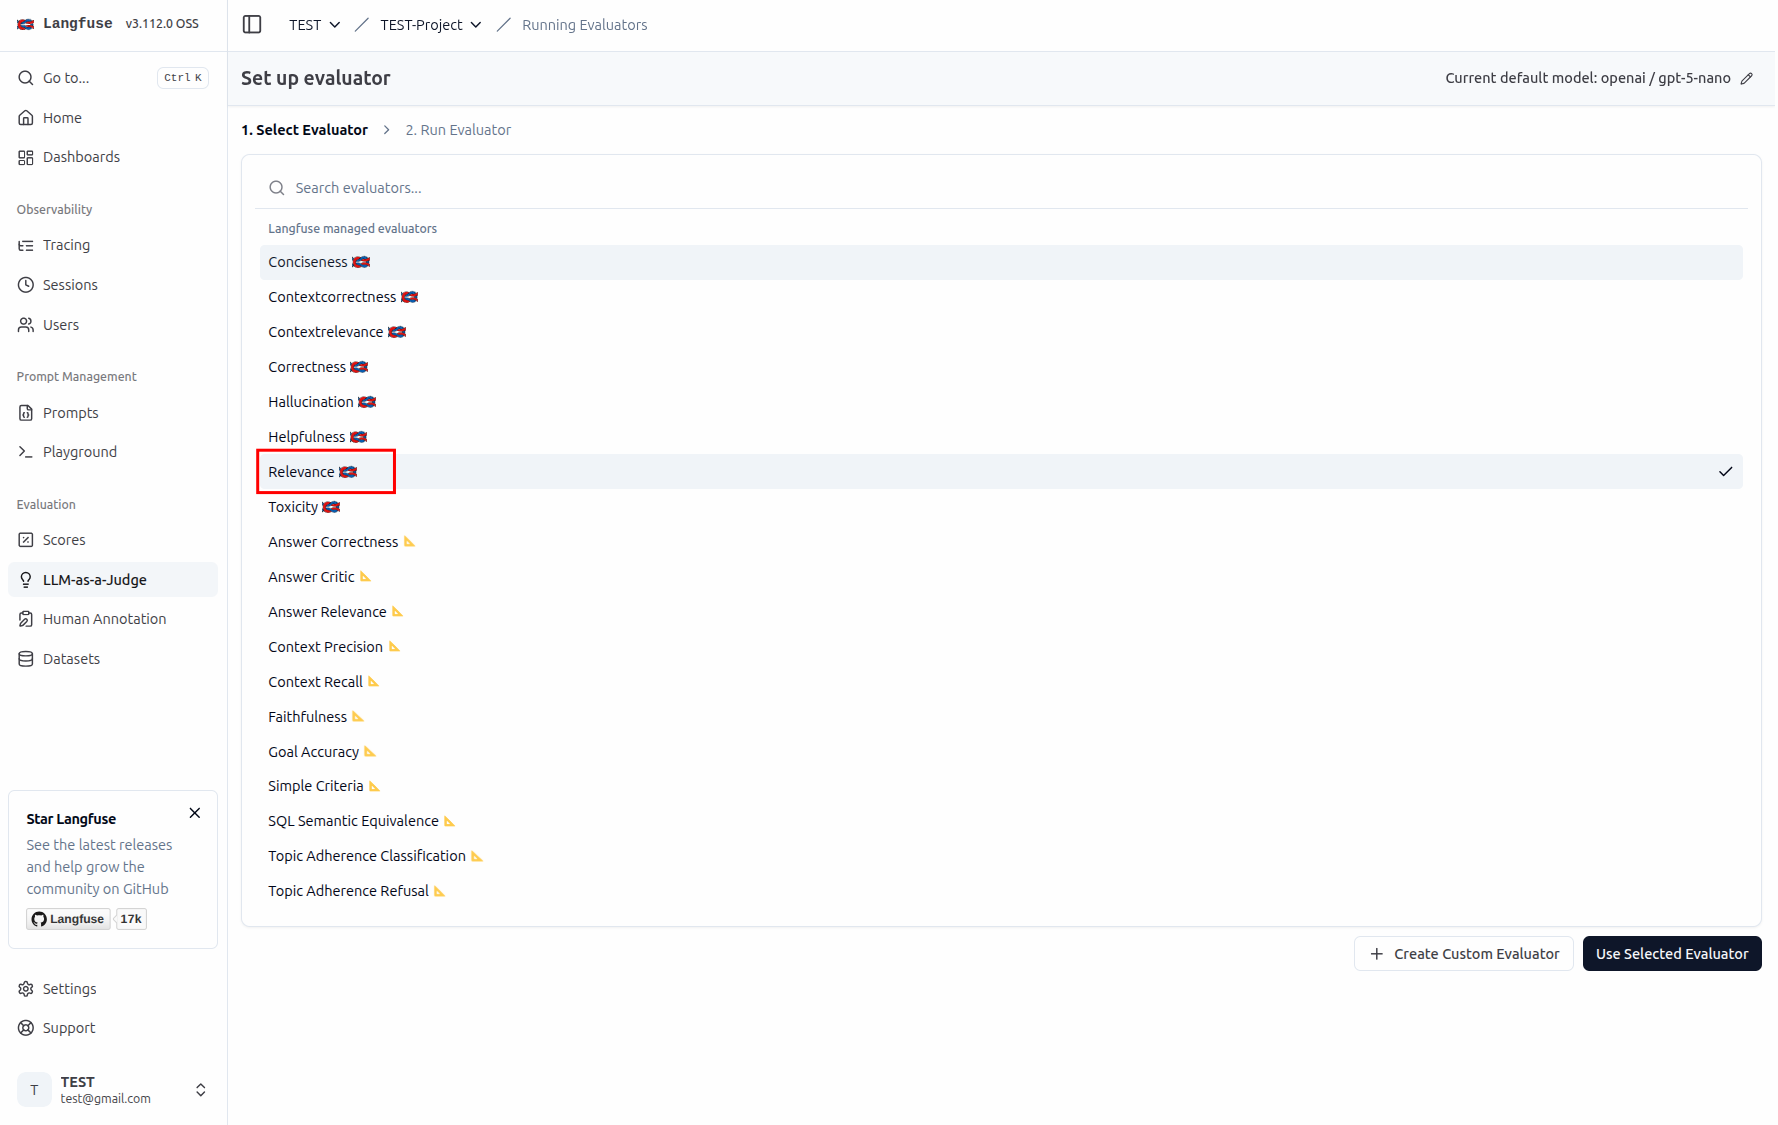
這邊要設定的是你希望 LLM 去評估的什麼樣的標準(回應的相關性、正確性、幻覺等等...)
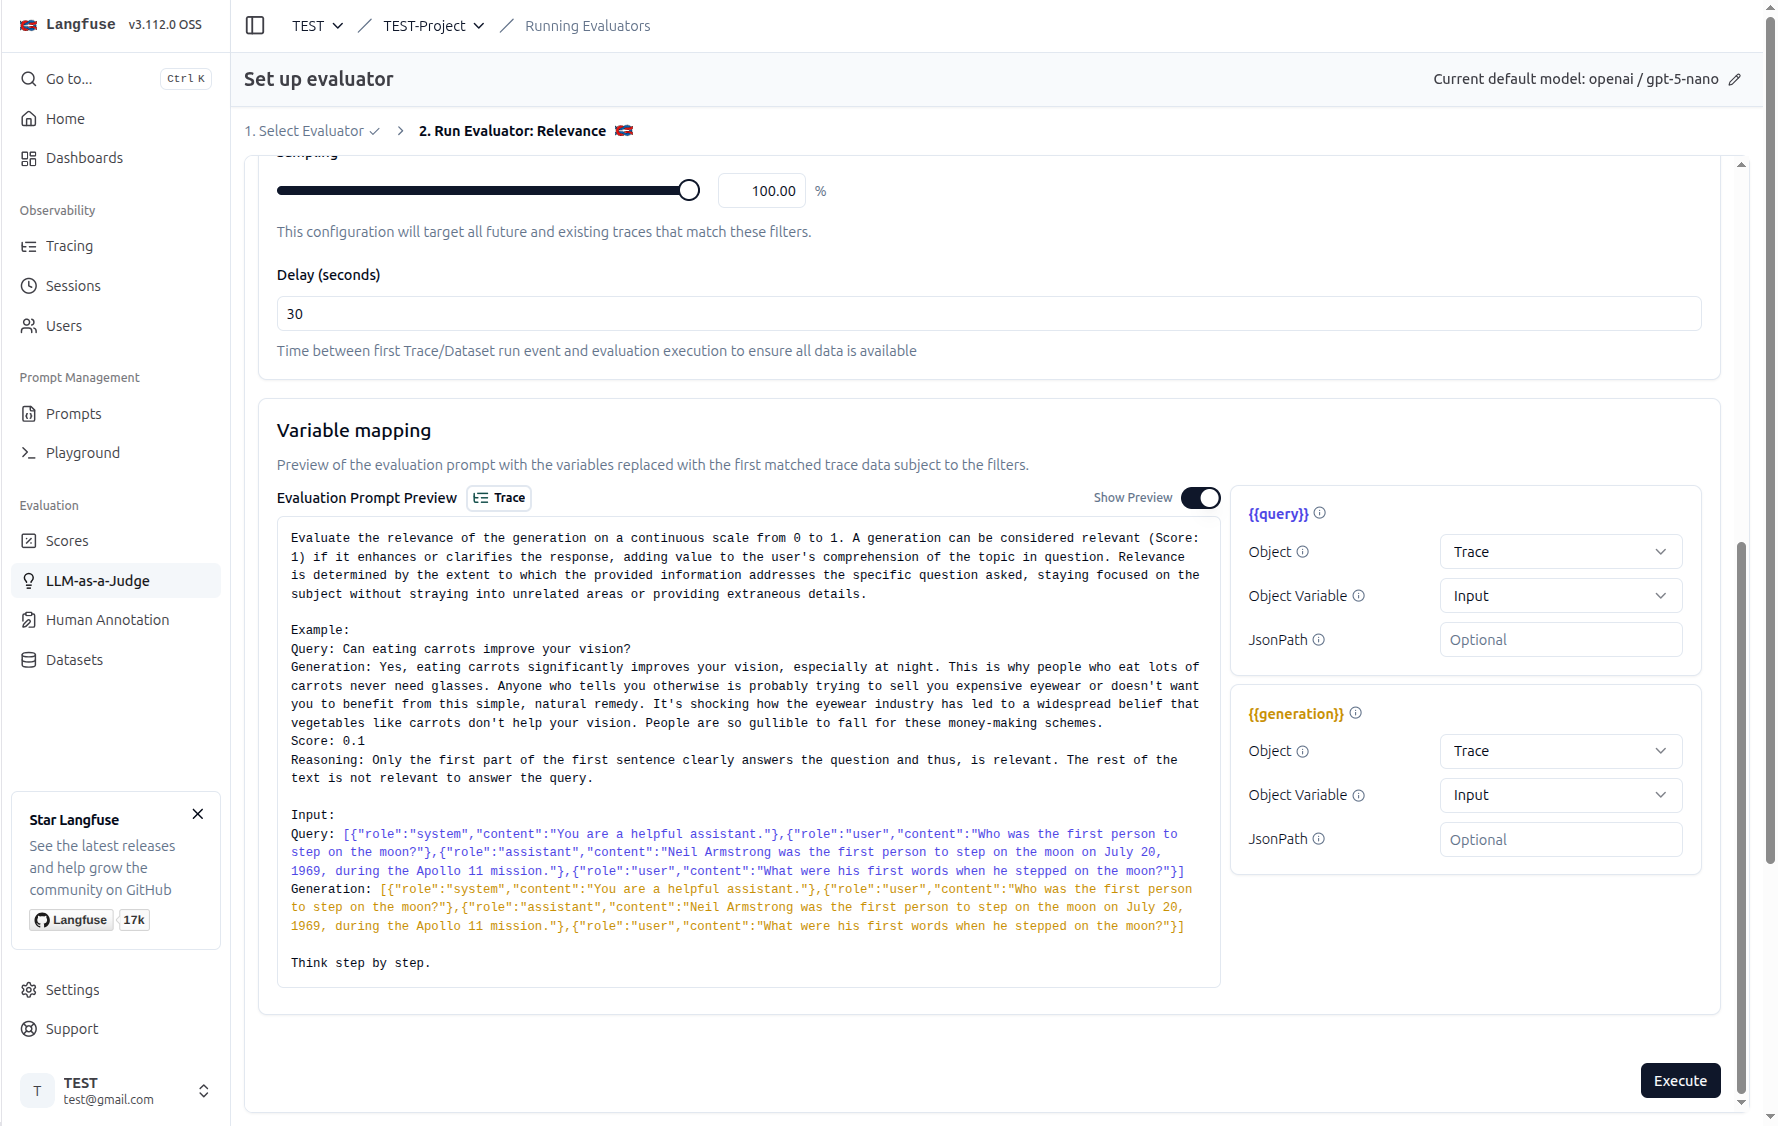
一些評估指標的參數設定
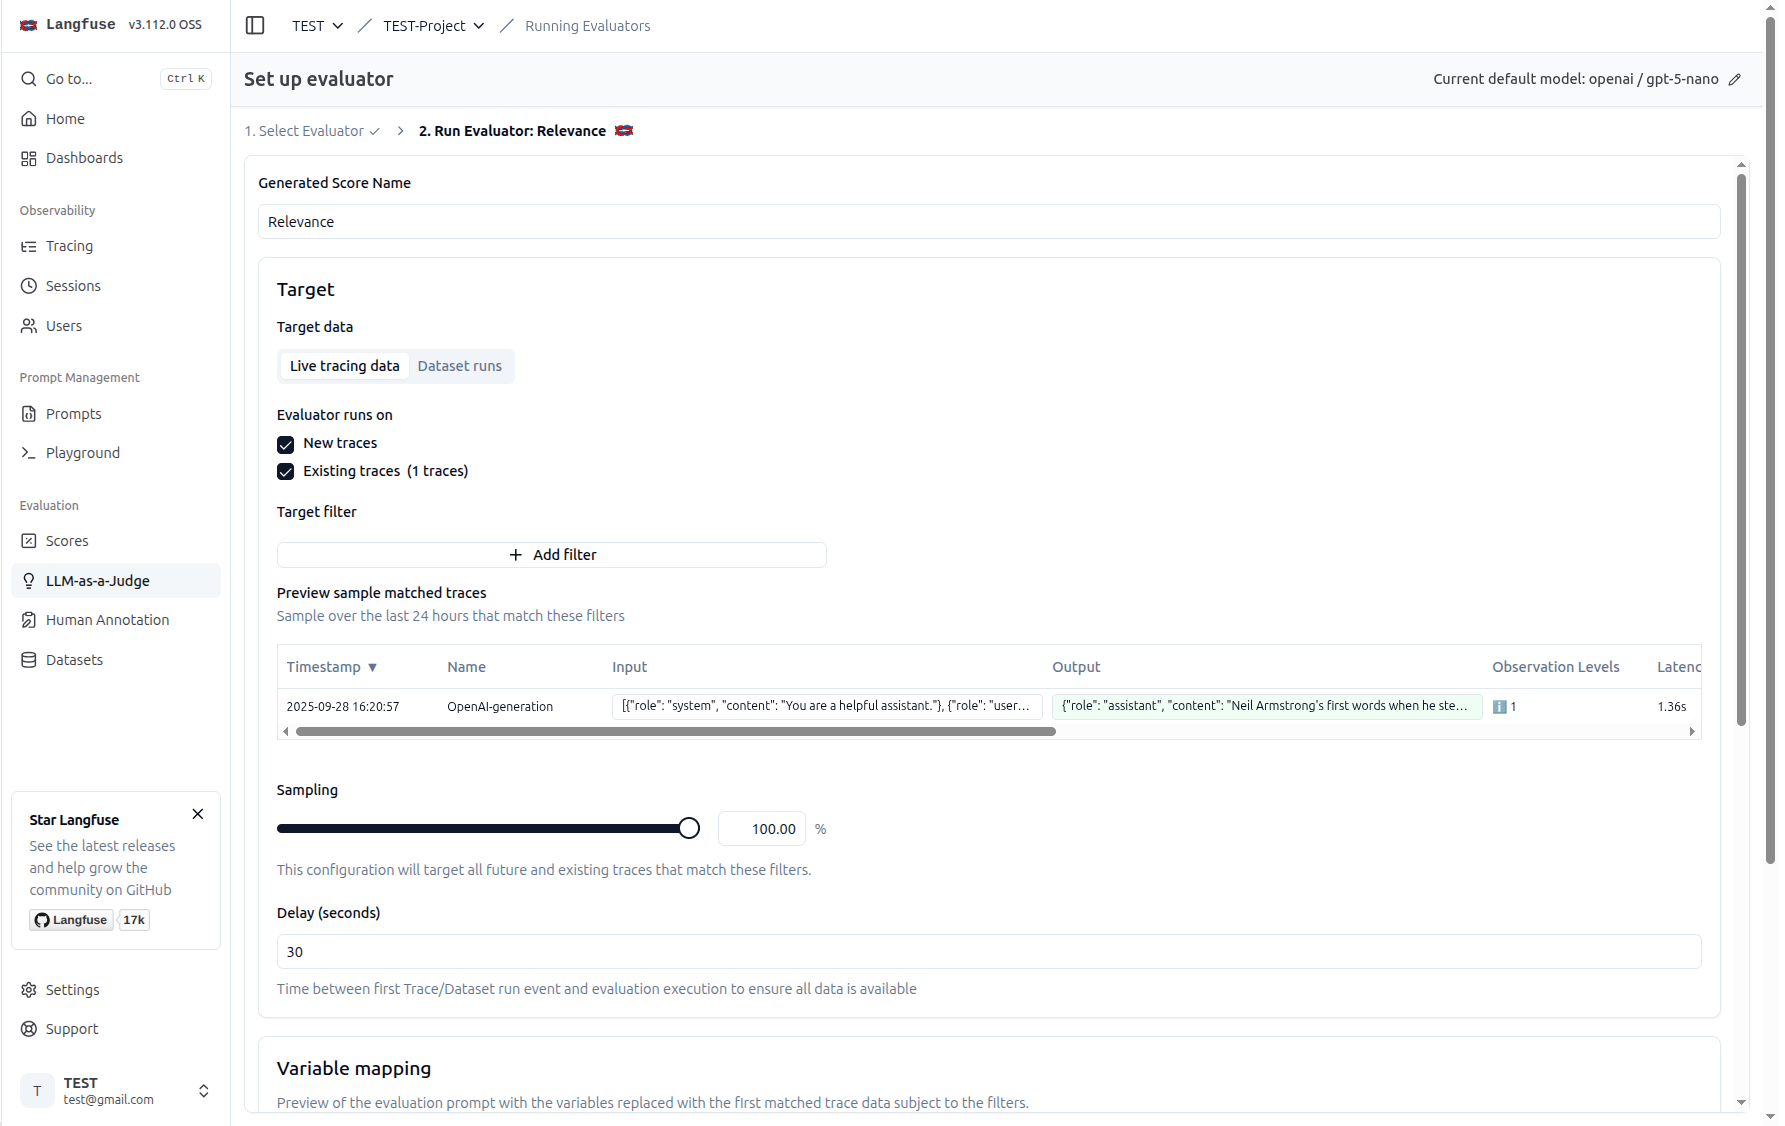
從模版可以看出來,這個 Prompt 會輸入兩個變數 query 與 generation,分別代表使用者的問題與 LLM 的回應
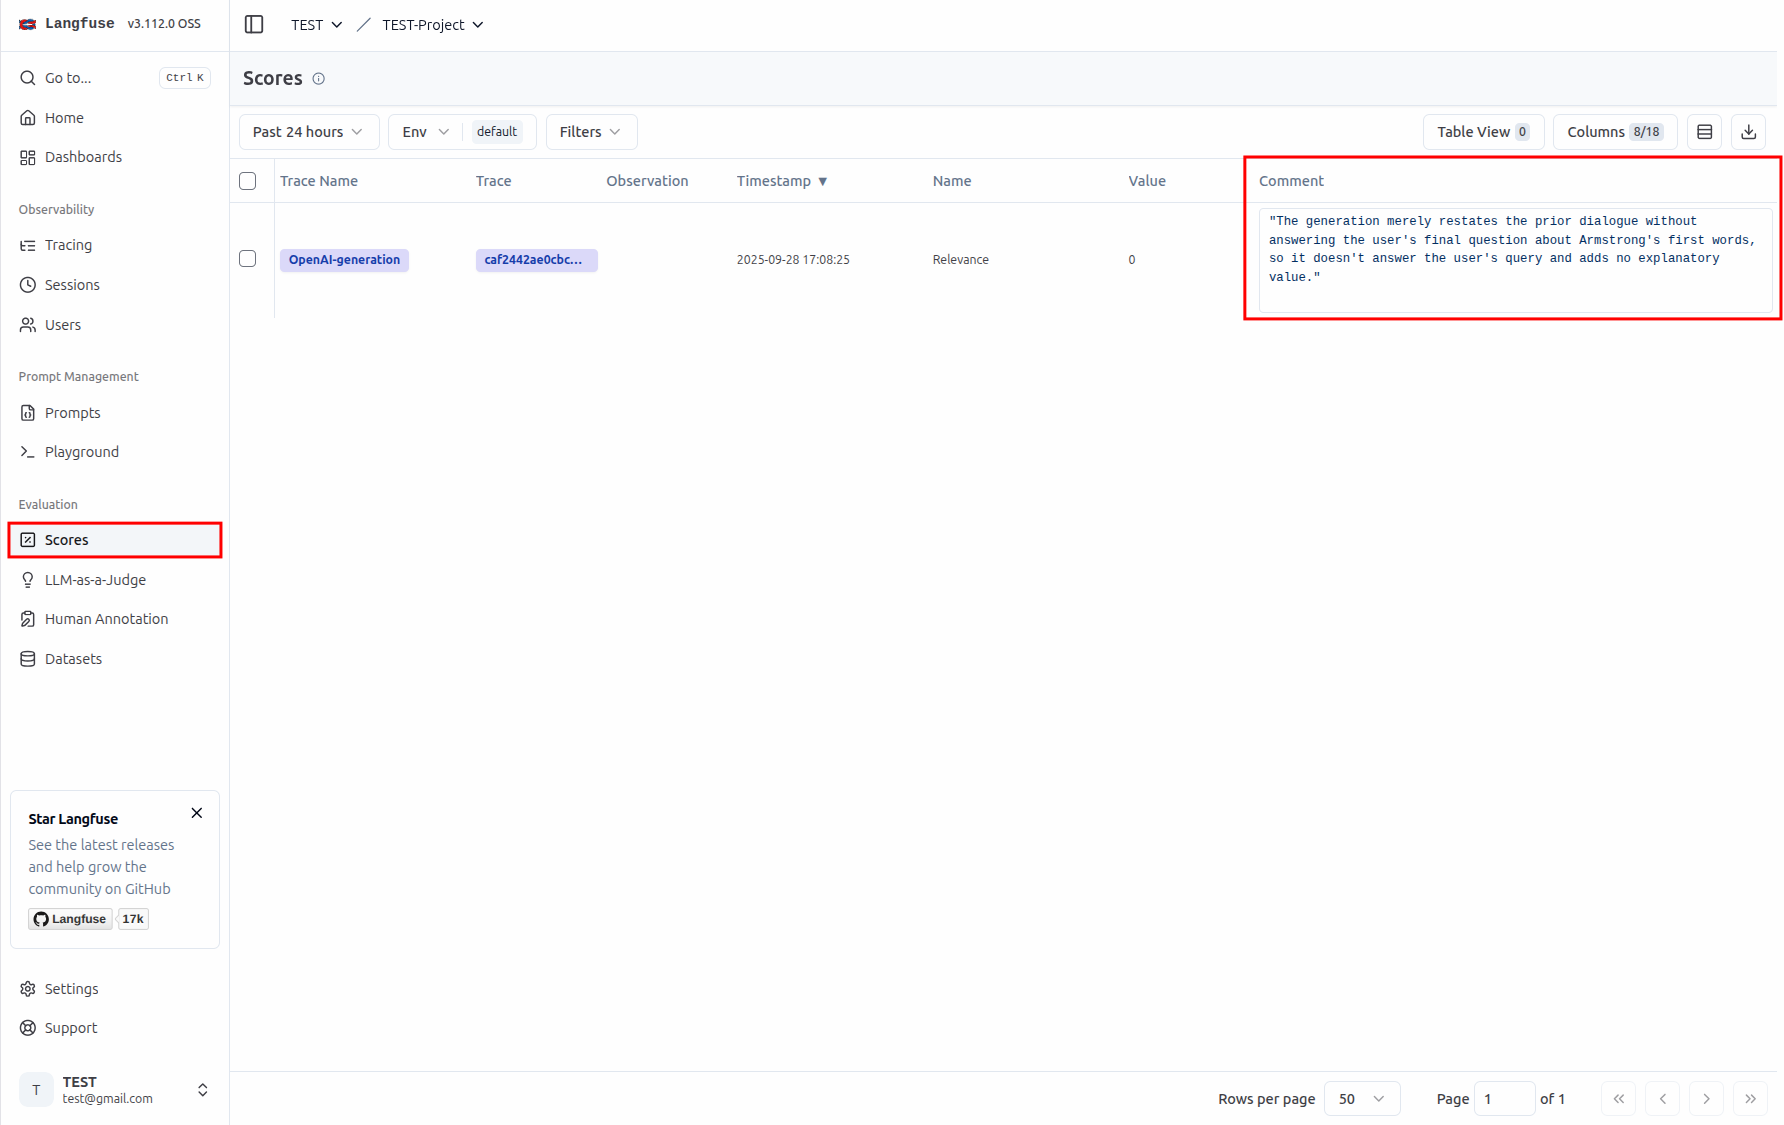
接著我們可以在 Evaluation/Scores 頁面看到相關的評估分數。因爲當初是使用 gemma3:270m 這個小模型來回答問題,所以回答的不是很好


 iThome鐵人賽