在前面的章節中,我們已經學習了人臉偵測的相關技術。今天將進一步挑戰另一個常見且實用的電腦視覺應用:車牌偵測與辨識(ALPR, Automatic License Plate Recognition)🚗。
車牌辨識是一個結合影像處理與文字辨識的完整流程,主要步驟如下:
本篇將以OpenCV + Tesseract為例,快速實作一個基礎的車牌辨識系統。
請先安裝必要的 Python 套件:
conda install -c conda-forge pytesseract
並安裝 Tesseract OCR(Windows 版本下載與說明),安裝後請設定環境變數,或於程式中指定 tesseract 執行檔路徑。
以下程式碼示範如何載入影像並進行灰階化處理:
import cv2
import pytesseract
# 設定 Tesseract 執行檔路徑(請依實際安裝位置調整)
pytesseract.pytesseract.tesseract_cmd = r"C:\\Program Files\\Tesseract-OCR\\tesseract.exe"
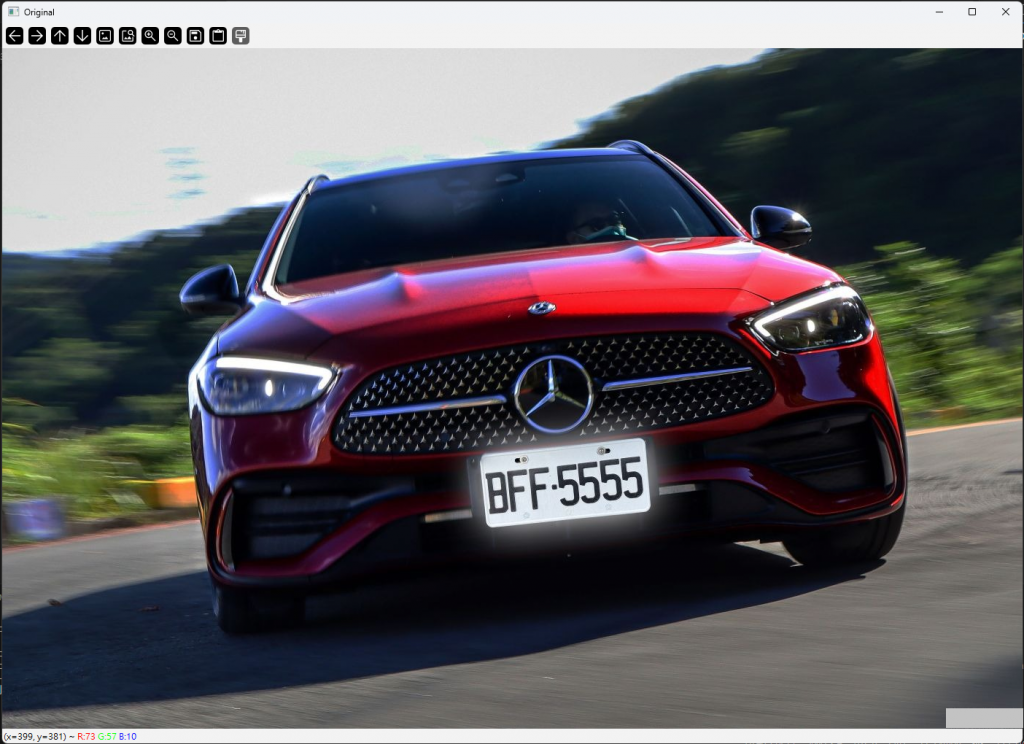
# 讀取原始影像
img = cv2.imread("car.jpg")
# 轉為灰階影像,利於後續處理
gray = cv2.cvtColor(img, cv2.COLOR_BGR2GRAY)
cv2.imshow("Original", img)
# 將下列語句放於所有顯示語句的最後
cv2.waitKey()
cv2.destroyAllWindows()
以下為完整的車牌偵測與辨識流程,並於每個步驟加以說明:
# 1. 影像前處理:高斯模糊去除雜訊
blur = cv2.GaussianBlur(gray, (5, 5), 0)
# 2. 邊緣檢測:強化矩形邊緣特徵
edges = cv2.Canny(blur, 100, 200)
# 3. 輪廓偵測:尋找所有邊緣輪廓
contours, _ = cv2.findContours(edges, cv2.RETR_TREE, cv2.CHAIN_APPROX_SIMPLE)
# 4. 依輪廓面積排序,優先檢查較大區域
contours = sorted(contours, key=cv2.contourArea, reverse=True)
plate = None
for cnt in contours:
peri = cv2.arcLength(cnt, True)
approx = cv2.approxPolyDP(cnt, 0.02 * peri, True)
# 只考慮四邊形(車牌多為矩形)
if len(approx) == 4:
x, y, w, h = cv2.boundingRect(approx)
aspect_ratio = w / float(h)
area = w * h
# 車牌通常為橫向矩形,長寬比約 2~6,並限制最小面積
if 2 < aspect_ratio < 6 and w > 80 and h > 20 and area > 2000:
plate = gray[y:y+h, x:x+w]
cv2.drawContours(img, [approx], -1, (0, 255, 0), 2)
break
# 5. 文字辨識(OCR):若偵測到車牌區域,則進行文字辨識
if plate is not None:
# 使用 Tesseract OCR 辨識車牌文字,--psm 7 適合單行文字
text = pytesseract.image_to_string(plate, config='--psm 7')
print("偵測到的車牌號碼:", text.strip())
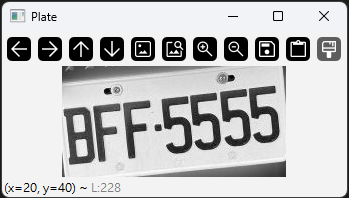
cv2.imshow("Plate", plate)
cv2.imshow("Car", img)
執行後,程式會於車牌位置標示偵測到的區域,並輸出辨識結果,例如:
偵測到的車牌號碼: BFF 5555


 iThome鐵人賽