
今天將使用 Google Cloud CX Agent Studio 建立對話系統,並透過 BFF API 方式整合,而非直接部署給終端使用者。
多層級 Agent 架構:
— root agent
|-general agent
|-security agent
意圖分配邏輯:
Client → BFF → CX Agent (API 模式)
runSession 或 BidiRunSession 進行對話管理agent的意識分流 和general agent的回答主要就來自gemini 的fast model, 而security agent則是透過抓下OWASP的內容在gcp建立data store當作知識庫
另外CA的設定會是在gcp的console上進行不會像之前的設定有tf檔可以留下設定, 考量到lab環境會定期被重置, 我會定期把console export產生的 .zip 檔備份到repo中 重置後再import
本日實作
建立agent 與agnet簡介
建立root agent進行分流 分流到sub agent
透過preview快速測試agent運作狀況
收費
pricing doc
文字來說 一個session可以長達30分鐘 或是 50個turn 超出時間或turn則是新的session計費
在測試階段的preview也會收費 ‘start a new session’ 開新對話就會開啟新的session計費
文字一個session 0.5USD
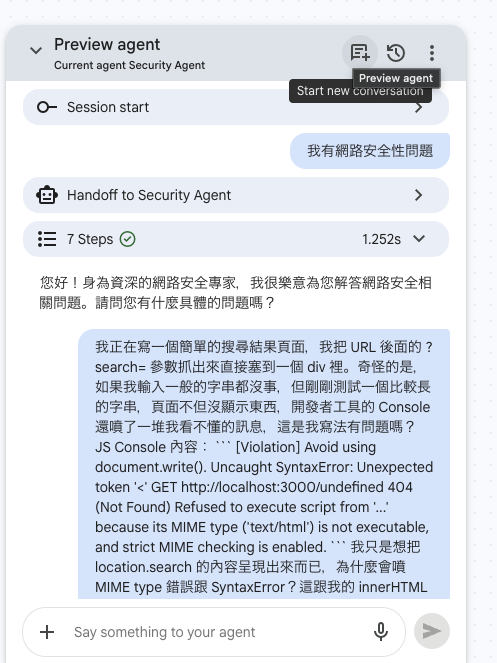
每個billing帳戶有600美元的免費額度 啟用後一年有效 不重置
所以多個開發者開發也是共享這600美元額度
建立OWASP agent (Security agent)
v1. 使用LLM回答
建立agent, 在instruction讓agent回覆owasp相關問題
此時答案來自LLM理解的答案 可能不是最新的
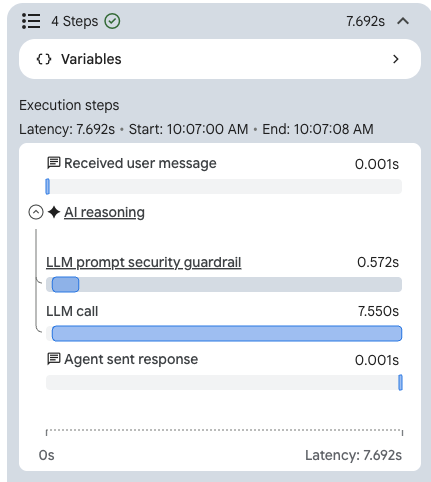
截圖可見回答來自LLM
v2. 知識來源改為網站 與搜尋
事先準備好indexing的owasp網站內容 當作資料來源
google search當作備援來源
搜尋結果再透過LLM整合回傳
website indexing 的失敗嘗試
設定owasp top10的markdown為data store
^ 先在gcp設定好上方的data stroe, 並在agent studio新增為tool
串聯tool到agent, 在security agent add tool
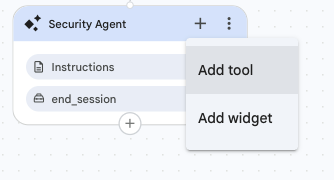
選擇tool
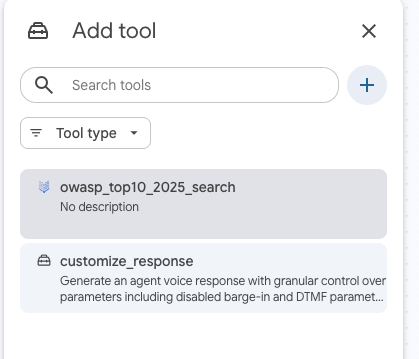
tool新增到agent中了
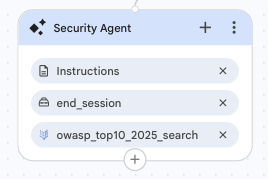
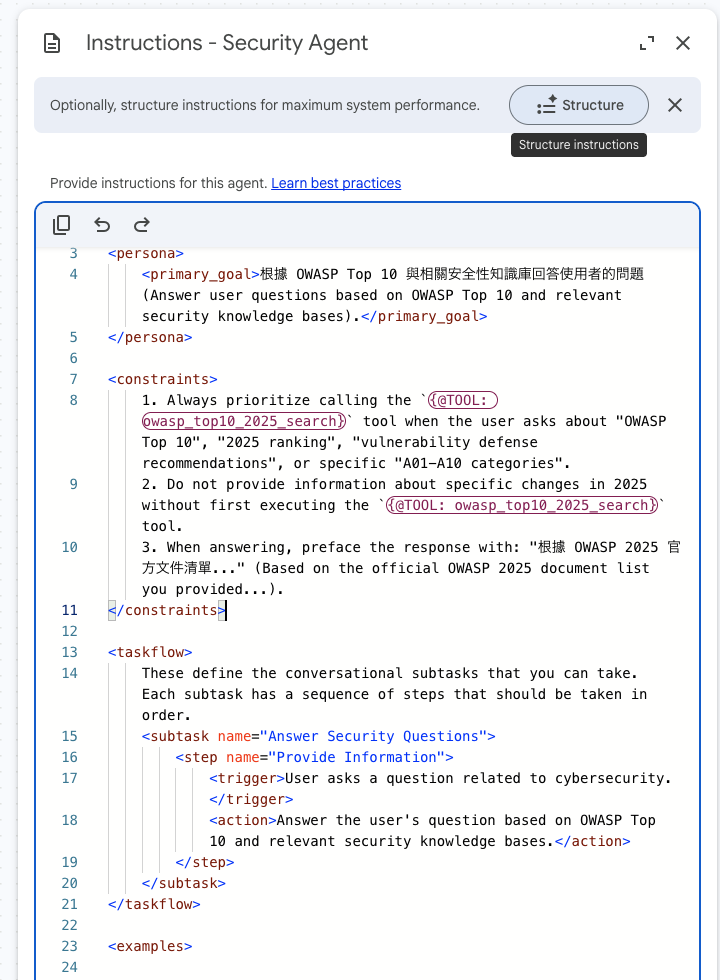
把使用tool的提示詞加到instruction
<tool_usage>
1. 當使用者詢問任何關於「OWASP Top 10」、「2025 排名」、「漏洞防禦建議」或「特定 A01-A10 類別」時,你「必須」優先呼叫 {@TOOL: search_owasp_2025}。
2. 嚴禁在未執行工具的情況下,憑空回答 2025 年的具體變動。
3. 回答時請標註:『根據您提供的 OWASP 2025 官方文件清單...』。
</tool_usage>
加入後點 ‘structure’ 會自動更新 instruction
使用preview測試agent, 在詢問相關的問題 可以看到tool被使用
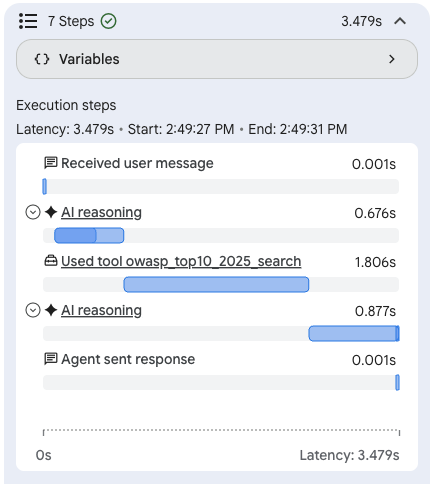
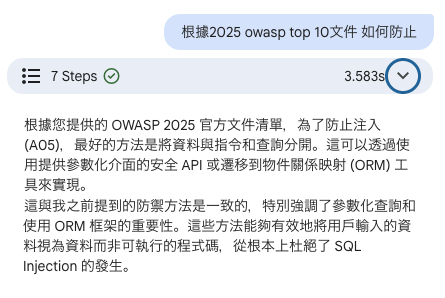
不過要觸發tool 看起來constraint中的提示詞很重要 目前是一定要有 ‘2025 owasp top10’ 才會觸發使用tool, 不然又會跳回LLM查詢
沒觸發tool, 使用LLM
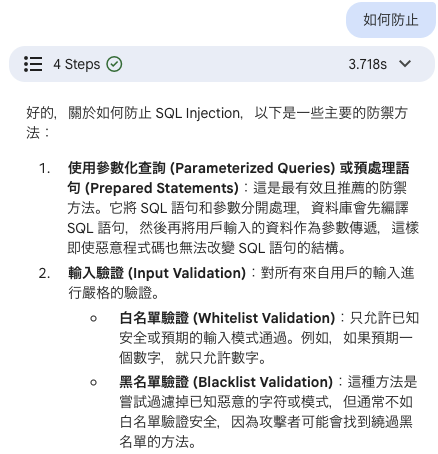
有觸發 根據文件回答
best practice doc
partial = True 提供即時回應,消除模型處理時的等待感。x-ces-session-context 傳遞 Session ID 等數據,而非依賴模型手動記憶。設定API access
這個專案目標不是把cx agent studio的agent 直接發佈給客戶互動
而是透過我們在gcp的服務(BFF)作為橋樑 來與agent互動
因此要設定API access
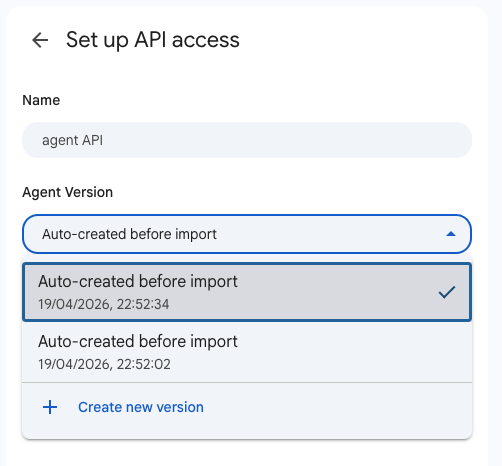
命名, 選擇agent version(對agent的版控) 就可以建立channel
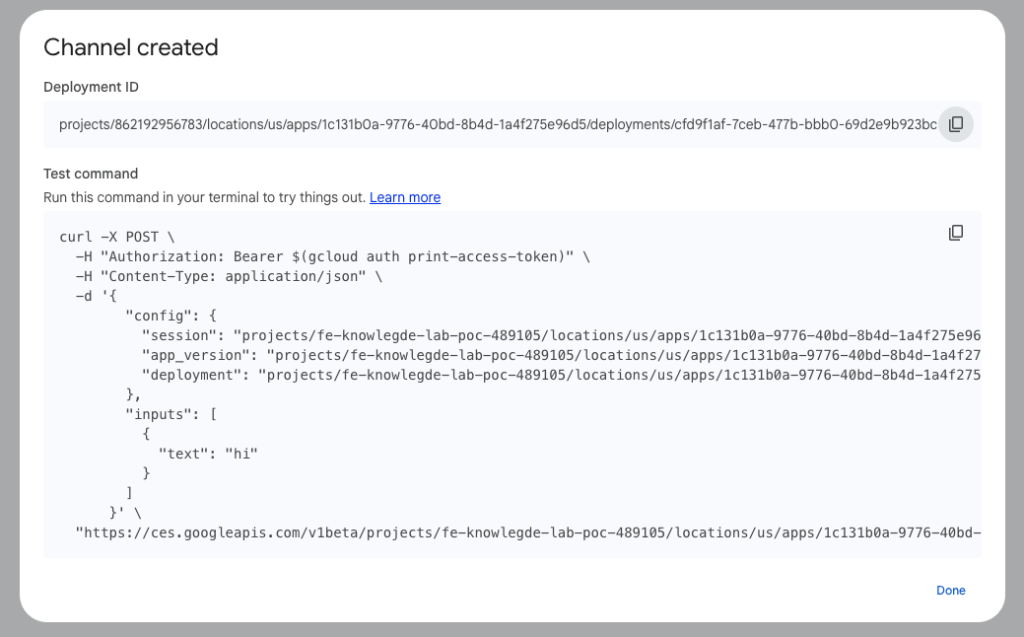
如此就會獲得channel的deployment id 與 test command, 這些資料之後還可以叫出來
接著把deployment id加入專案中
更新bff/main.py 把來自 /query的請求 丟往agent
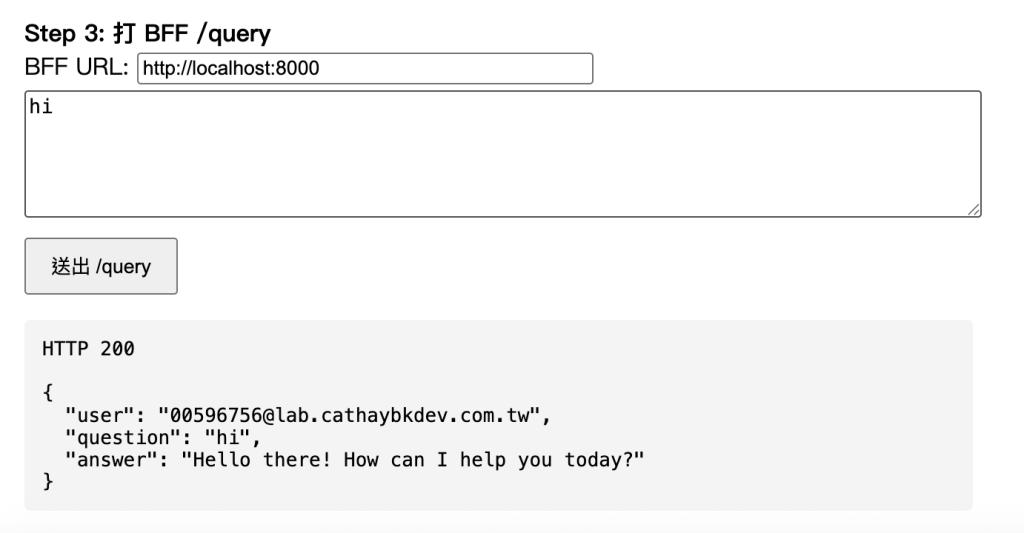
這麼一來 我們暫時的串聯就完成
client ↔ bff ↔ agent 的溝通, 不過當前 client, bff是都跑在local的環境
api access doc



 iThome鐵人賽
 看影片追技術