
因為第一次接觸 Three.js,所以先從官網的教學下手,今天只要確定環境都沒問題,(包含 Three.js 的 CDN 路境、創立場景相關的程式碼範例)
確定能執行出預期的結果後,明天再來研究裡面的一些模組、功能
如果已經有接觸過 Three.js 的讀者,今天的文章完全可以跳過
我把以上內容整理成以下程式碼,方便讀者快速複製、貼上測試
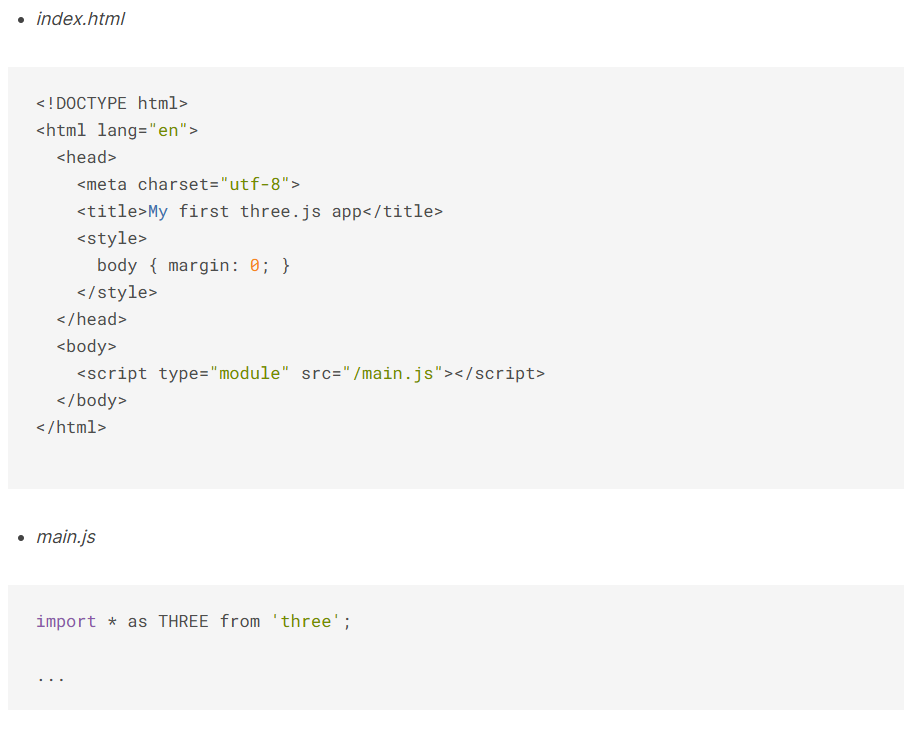
<!-- index.html -->
<!DOCTYPE html>
<html>
<head>
    <meta charset="utf-8">
    <title>Three.js 測試</title>
    <style>body { margin: 0; }</style>
</head>

<body>
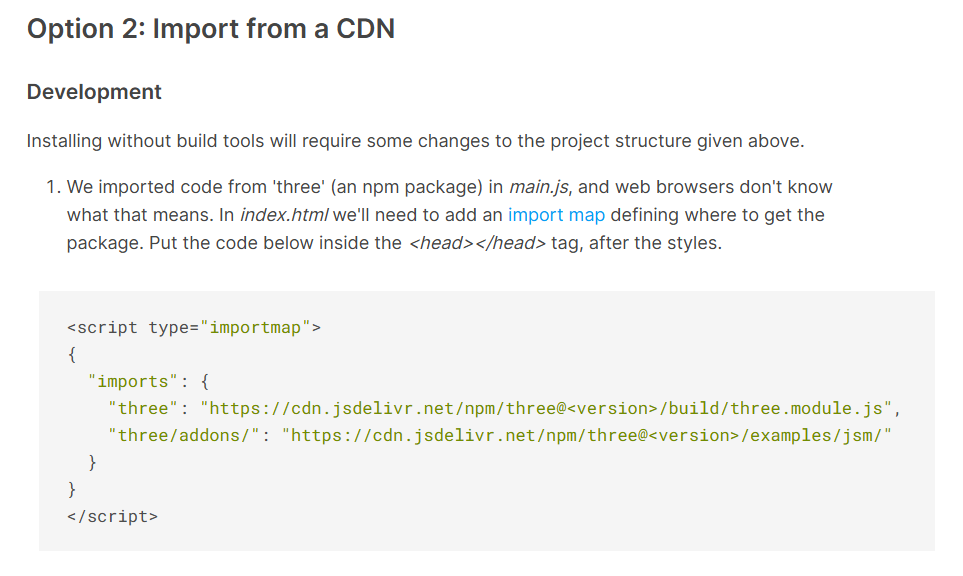
    <script type="importmap">
    {
        "imports": {
            "three": "https://cdn.jsdelivr.net/npm/three@0.149.0/build/three.module.js",
            "three/addons/": "https://cdn.jsdelivr.net/npm/three@0.149.0/examples/jsm/"
        }
    }
    </script>
    <script type="module" src="main.js"></script>

</body>
</html>
產生一個 thress.js 的景: https://threejs.org/manual/#creating-a-scene
# main.js
import * as THREE from 'three';
const scene = new THREE.Scene();
const camera = new THREE.PerspectiveCamera(75, window.innerWidth / window.innerHeight, 0.1, 1000);
const renderer = new THREE.WebGLRenderer();
renderer.setSize(window.innerWidth, window.innerHeight);
document.body.appendChild(renderer.domElement);

const geometry = new THREE.BoxGeometry( 1, 1, 1 );
const material = new THREE.MeshBasicMaterial( { color: 0x00ff00 } );

const cube = new THREE.Mesh(geometry, material);
scene.add(cube);

camera.position.z = 5;

function animate(time) {
    cube.rotation.x = time / 2000;
    cube.rotation.y = time / 1000;
    renderer.render(scene, camera);
}
renderer.setAnimationLoop(animate);
這裡要注意,因為index.html裡用src="main.js"引用了另一個獨立檔案,瀏覽器基於安全性限制,不允許直接用雙擊開啟的方式(file://路徑)讀取本地的外部檔案,所以需要透過本地伺服器這種方式開啟,才能正常運作。
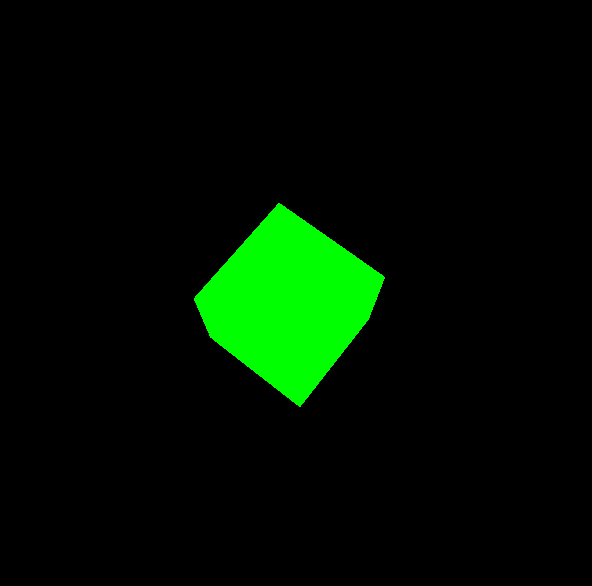
環境確認沒問題後,明天換成把前天的獅山公園模型,載入到這個場景,我預期是把今天的方塊換成自己產出的公園模型。然後著重在程式功能的研究,期待明天會看到更多不一樣的內容~



 iThome鐵人賽
 看影片追技術