本日susy重點:
1.利用omega並排元素內容
2.透過isolation來達成Responsive image gallery grid

在以往我們在設計網頁時,
我們都會用float來並排div元素,
但如果是用susy排版的話,
如果你$total-columns是12欄,
左邊選單(.aside)用了span-columns(3),
右邊主內容(.main)用了span-columns(9),
照理來說應該是會合併起來,
但實際來說並不會,
如果要實現元素併排,你還必須加上omega的功能:

透過omega告訴susy你最右邊的排版元素要對齊最右邊,
這樣他才有辦法達成,程式碼如下:
// html
<div class="wrap">
  <div class="aside"></div>
  <div class="main"></div>
</div>
//sass
.aside
  height: 500px
  background: blue
  +span-columns(3)
.main
  height: 500px
  background: red
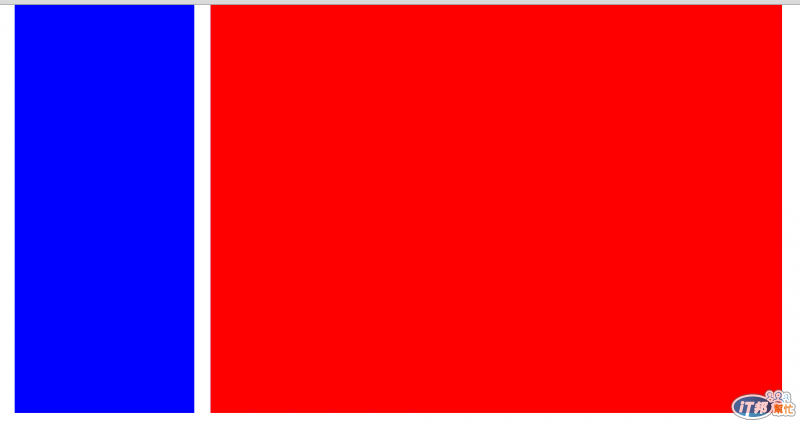
  +span-columns(9 omega) //用omega告知susy此元素要放在最右邊並進行網頁並排
呈現畫面就會如下:

如果你希望變成.aside選單在右邊,
不用更動你的HTML排序,
只要把omega 換到aside就可輕易達成,
因為susy排版都是用floa:left加上margin-right:1個gutter間距來排版,
而omega則是將該元素變成float:right,margin-right:0不推擠來實現的,
所以她才有辦法做到不修改html,只單純修改CSS也可修改網頁樣式。
如果你的網頁排版方式是一排四個li元素,
你也可以使用下面兩種方法來設定omega:
$total-columns: 12  // 設定網頁格線系統為12欄
$column-width: 60px
$gutter-width: 20px
$grid-padding: 10px
//第一種方法
li
  +span-columns(3)
  +nth-omega(4n)
//第二種方法
li
  +span-columns(3)
  &:nth-child(4n)
    +omega
Isolation
在以往我們要推擠元素間的距離時,
通常我們都會用margin-left與right來推,
如果是傳統CSS framework的話,
你還必須在HTML上寫上推擠的class,
如果是susy的話,也僅是在sass上調整就可以了,
不用弄髒你的HTML程式碼,
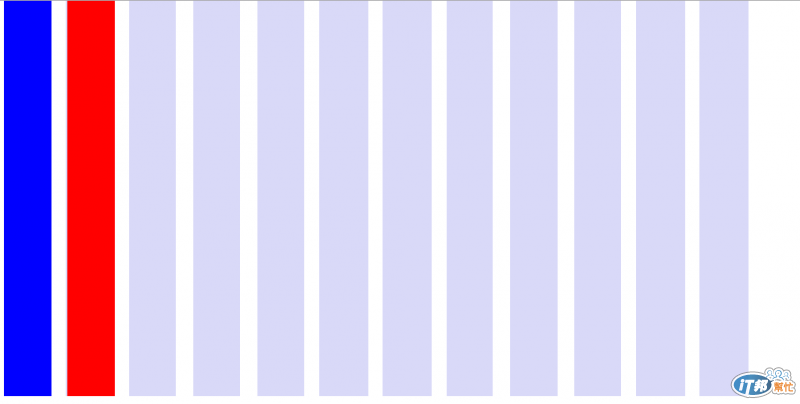
舉例來說,我現在先把.aside與.main都先用成一個欄位:
$total-columns: 12
$column-width: 60px
$gutter-width: 20px
$grid-padding: 10px
.wrap
  +container
  +susy-grid-background //讓背景具有輔助格線畫面
.aside
  height: 500px
  background: blue
  +span-columns(1)
.main
  height: 500px
  background: red
  +span-columns(1)
所呈現的畫面如下圖所示:

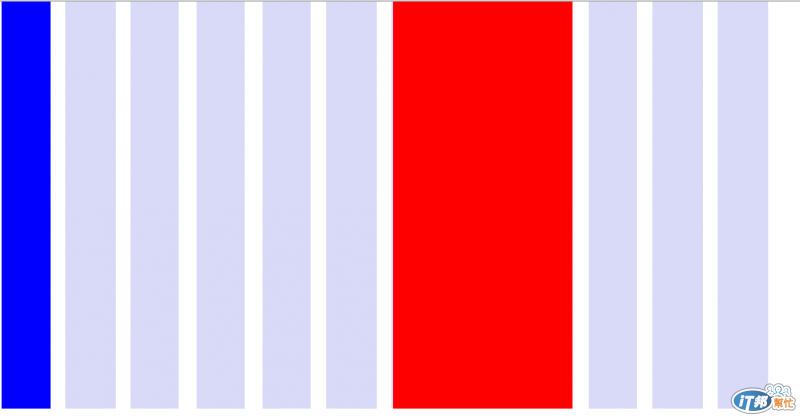
如果今天我紅色的區塊要定位在第六個位置,並將他的寬度調整為3欄,
就改成:
.main
  height: 500px
  background: red
  +span-columns(3)
  +isolate(6)
susy就很輕易幫你把它挪到對應的格線位置去了,

比較傳統的CSS設計方式
一來使用Sass能讓你輕鬆維護網頁樣式,程式碼也比較乾淨,
二來HTML也變得乾淨許多,
所以也相當推薦網頁設計師使用一套Sass Grid System來進行設計。
最後再來介紹一個susy的功能,也就是isolate-grid,
他很適合拿來做在圖片、產品列表上的設計上面,
這裡我則就來做一個mobile first的image gallery,
HTML則是.wrap底下有一個.introduce,裡面則是產品的li列表。
$pad  : 768px 8 959px
$pc : 960px 12
$mobile: 4 767px
img
  max-width: 100%
  height: auto
.wrap
  +at-breakpoint($mobile)
    +container
    +susy-grid-background
  +at-breakpoint($pad)
    +container
    +susy-grid-background
  +at-breakpoint($pc)
    +container
    +susy-grid-background
.introduce
  li
    margin-bottom: 20px
  +at-breakpoint($pad)
    li
      +isolate-grid(4) // pad為8欄,4、4就是一列兩欄設計
      +at-breakpoint($pc)
    li
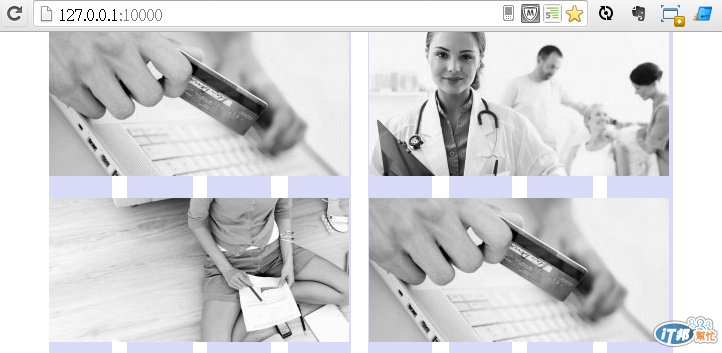
      +isolate-grid(3) // PC為12欄,3、3、3、3就是一列四欄設計
編譯出來在各個載具上所呈現的畫面就會像這樣:
手機

平板

桌上PC

圖片來源:http://www.zerotheme.com/65/zcumbeton-free-responsive-html5-theme.html
透過susy強大功能交互運用下,
要實踐RWD網頁版型就不用像以往傳統式的寫法土法煉鋼,
甚至還要針對一些詭異的螢幕解析度而傷透腦筋,
這些問題susy都可以輕鬆幫你解決^_^!
這裡也附上RWD isolate-grid demo的github:
https://github.com/gonsakon/susy-isolate-grid-demo
以及流程教學影片:


請問為何我下載了您的檔案只是將+transition(all 1s)這一行註解起來而以,其它都沒有動的情況下,為何發佈時,看html檔線到手機或是ipad版本大小時,背景的格卻還是維持在12格的情況呢? 請問我是不要少裝了什麼東西嗎?