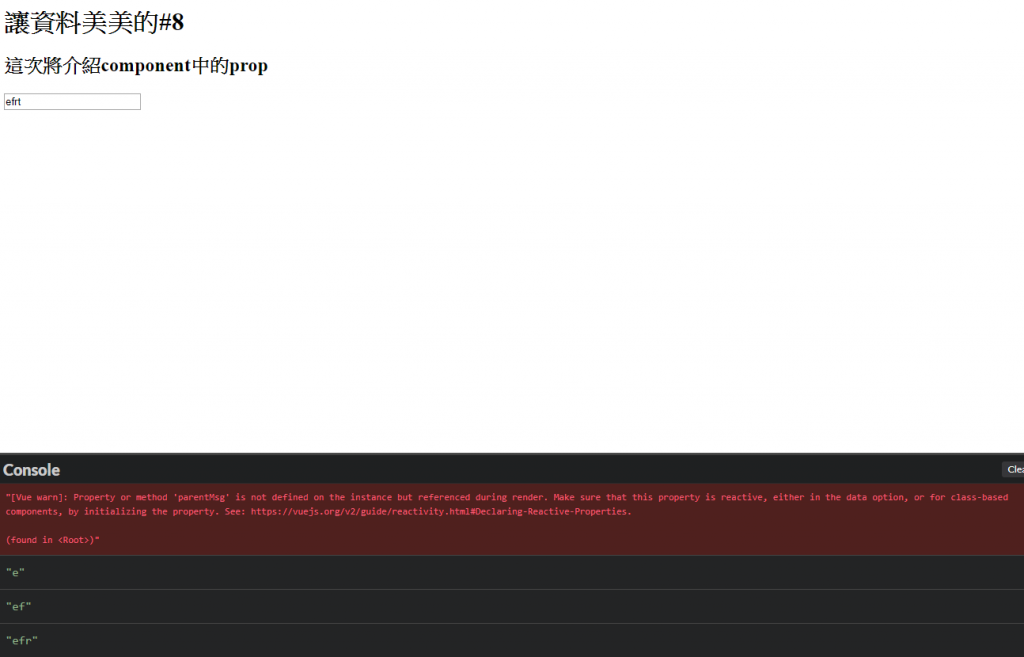
首先在component的data中定義parentMsg,在props中定義message
在定義一個function,change,來抓取input的值
data(){
    return{
      parentMsg:""
    }
  },
  props:{
    message:""
  },
  methods:{
    change(code){
      console.log(this.parentMsg);
    }
  },
});
在component中的template加入input
並且用v-bind來綁定parentMsg為message的值
@:input來監看input中的值是否改變 (@就是v-on)
利用$event.target.value來得到input的值並回傳到change
此時會在console顯示目前parentMsg的值
  template: `
    <div>
      <input type="text"
             v-bind:parent-msg="message"
             @input="change($event.target.value)">
    </div>
  `,
在html中放入定義的component也就是viwer,並且利用v-model綁定parentMsg給viwer也就是綁定給input來實現雙向綁定,讓值可以順利傳遞
#root
  h1 {{title}}
  h2 {{subtitle}}
  viwer(v-model="parentMsg")

這邊不知道為何會報錯,但是將instance中的data也加入parentMsg的定義之後,錯誤訊息就不會出現了
var vm = new Vue({
  el: "#root",
  data: {
    title: "讓資料美美的#8",
    subtitle: "這次將介紹component中的prop",
    parentMsg:"",
  },

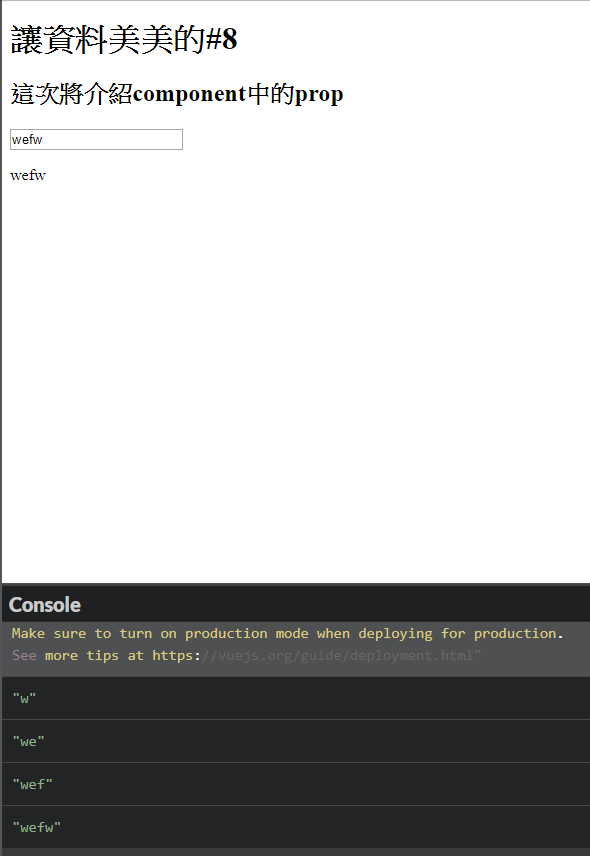
最後我希望將input的內容也可以顯示到網頁上
所以在template中加上<p>{{this.parentMsg}}</p>
在change中更新parentMsgthis.parentMsg=code;
var viwer=Vue.component('viwer',{
  template: `
    <div>
      <input type="text"
             v-bind:parent-msg="message"
             @input="change($event.target.value)">
        <p>{{this.parentMsg}}</p>
    </div>

  `,
  data(){
    return{
      parentMsg:""
    }
  },
  props:{
    message:""
  },
  methods:{
    change(code){
      this.parentMsg=code;
      console.log(this.parentMsg);
    }
  },
});
完整程式碼https://codepen.io/FanWay/pen/EoZvaY
