iT邦幫忙

2018 iT 邦幫忙鐵人賽
DAY 16
0
Software Development

30 天上手 iOS App 開發系列 第 17

30 天上手 iOS App 開發 DAY 17

  • 分享至 

  • xImage
  •  

「如果你想要把Web內容加入到你的App中,那最基本的方法就是使用WKWebView。」

「WKWebView」是apple從 iOS 8.0 開始引入的,取代了「UIWebView」,相較之下,「WKWebView」佔的內存更少、功能更強大,那麼我們就從屬性及方法介紹開始。


常用的方法和屬性:

title : 當前頁面的標題

url : 當前頁面的網址

reload() : 重新載入當前頁面

stopLoading() : 停止載入當前頁面上的所有資源

goBack() : 前往列表中的返回項目

goForward() : 前往列表中的前進項目

load(URLRequest) : 瀏覽所請求之網址

目前「WKWebView」最基本也是最常用的就是這些,接下來,跟著我一起來實作吧!


第一步:

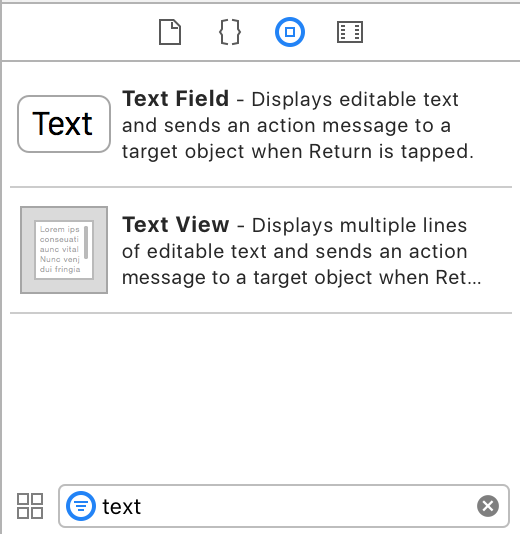
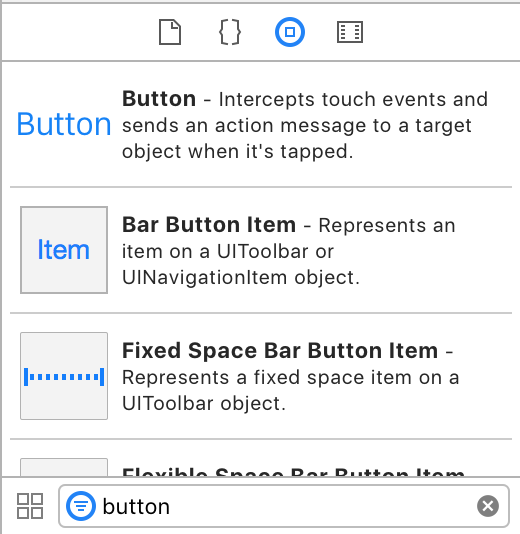
拉元件到Storyboard上,我們這邊需要用到 返回鍵、前往鍵、輸入網頁欄位、WebKit View
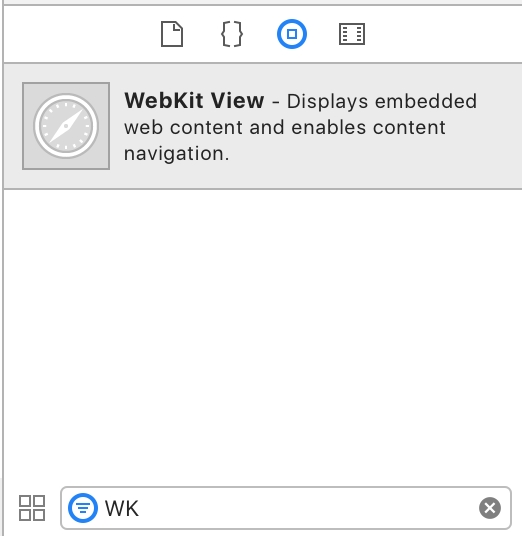
https://ithelp.ithome.com.tw/upload/images/20180106/20107506fMmWVByg6F.png
https://ithelp.ithome.com.tw/upload/images/20180106/20107506wPY3j9kG5o.pnghttps://ithelp.ithome.com.tw/upload/images/20180106/20107506H6Wbn6L2EM.png

各自拉至Storyboard上,再利用AutoLayout排版,這邊我把它排成下圖這樣。
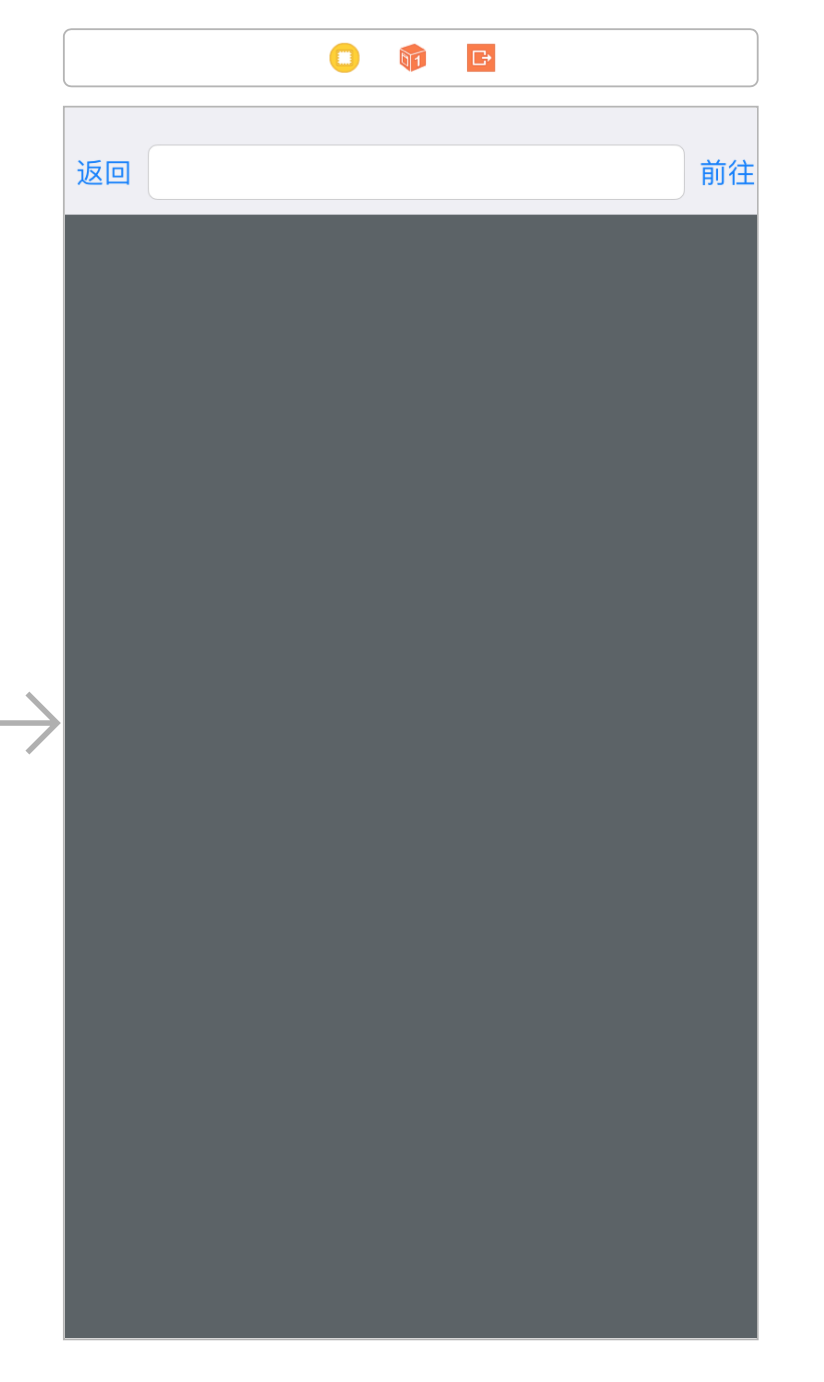
https://ithelp.ithome.com.tw/upload/images/20180106/20107506rKA419ojxE.png


第二步:

元件拉好了,接下來就是各自拉進ViewController,把元件和程式碼做連結。

要使用WKWebView之前必須要繼承WKUIDelegate協定,所以要先import WebKit,才能繼承裡面的相關協定。
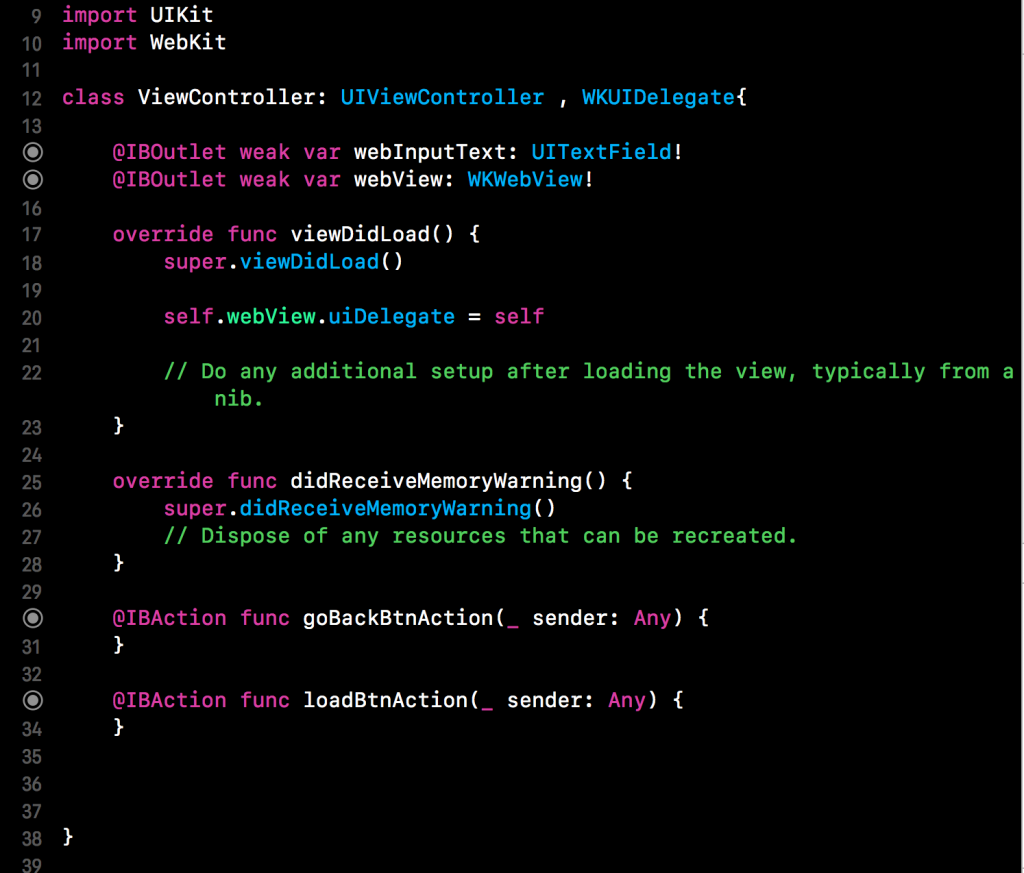
https://ithelp.ithome.com.tw/upload/images/20180106/20107506yblfNARues.png


第三步:

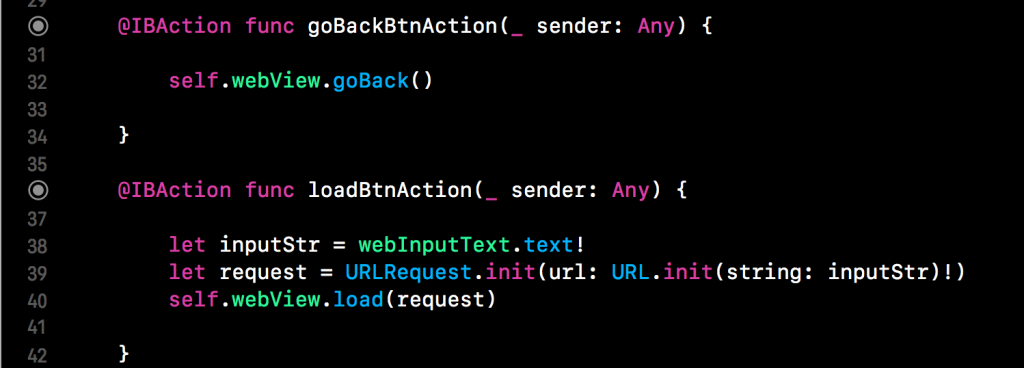
按鈕的觸發事件加入WKWebView方法:不管是返回還是前往,程式碼都非常簡短易懂!

goBack()、load()方法在文章一開始有說明,就不多做介紹囉。
https://ithelp.ithome.com.tw/upload/images/20180106/201075068WMREwpRxJ.png

如果想要在「網頁載入時」更新Web目前的url在上方的textField,那就需要繼承WKNavigationDelegate協定,

實作當中的webView(didStartProvisionalNavigation navigation:)方法。

https://ithelp.ithome.com.tw/upload/images/20180106/20107506efivpmqBt9.png
https://ithelp.ithome.com.tw/upload/images/20180106/20107506MBkRDIjuZl.pnghttps://ithelp.ithome.com.tw/upload/images/20180106/20107506kvfm6F3iTz.png

注意!

如果要App要載入http(非https)的網域就必須在專案的info.plist檔新增「App Transport Security Setting」

底下的Allow Arbitrary Loads 設定為 YES

如此一來,就可以連線至所有的網域囉!但這個設定有可能在App上架審核時被要求提出說明,並且被Apple判定不通過。

https://ithelp.ithome.com.tw/upload/images/20180106/20107506K2s3nnvJ4X.png

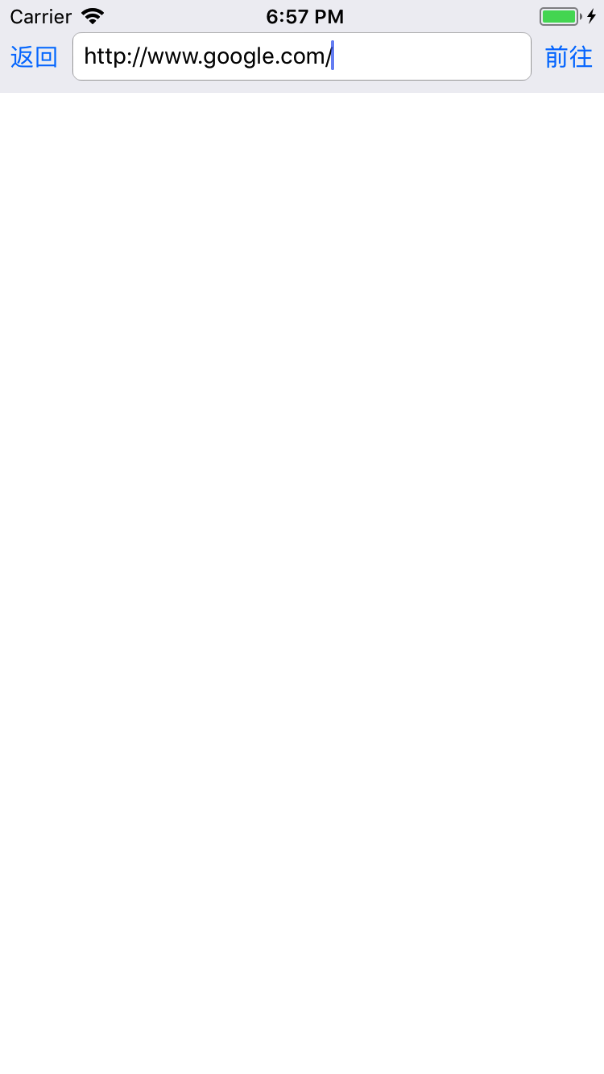
「Allow Arbitrary Loads = NO」效果(載入失敗):
https://ithelp.ithome.com.tw/upload/images/20180106/201075069GHOxFAKLc.png

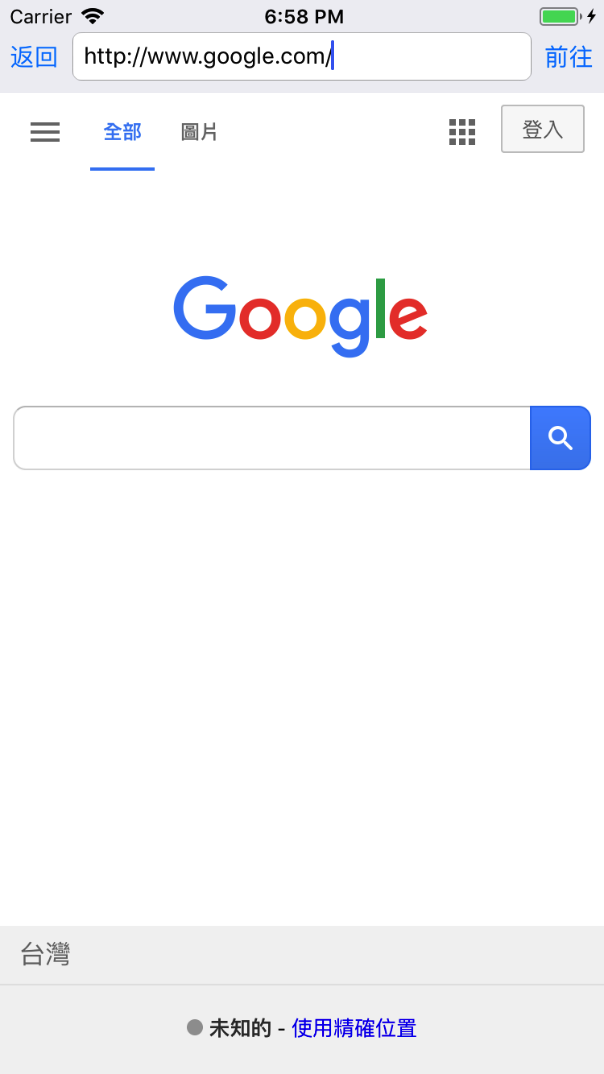
「Allow Arbitrary Loads = YES」效果(載入成功):
https://ithelp.ithome.com.tw/upload/images/20180106/20107506XvQu8RU219.png


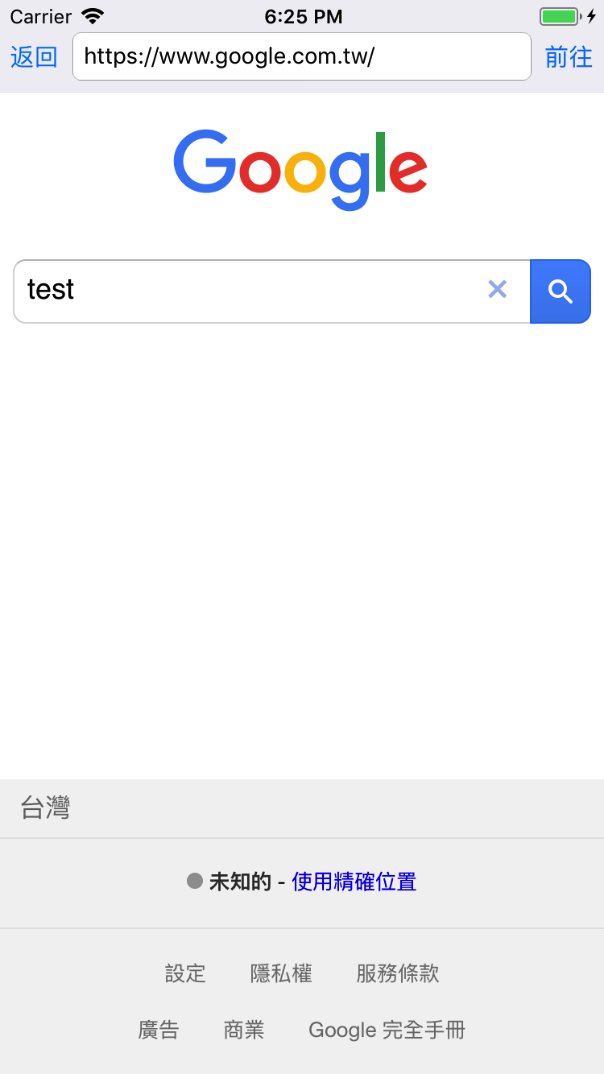
本日教學成果:

2.1.測試Load Web:輸入網址,按下前往

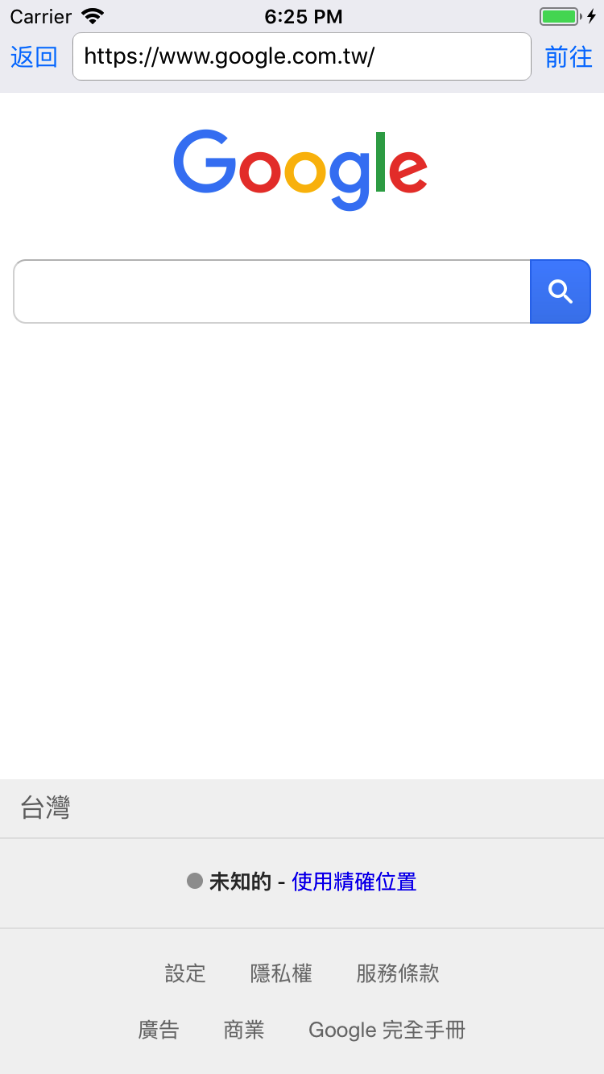
https://ithelp.ithome.com.tw/upload/images/20180106/20107506eA5vLE64UV.png

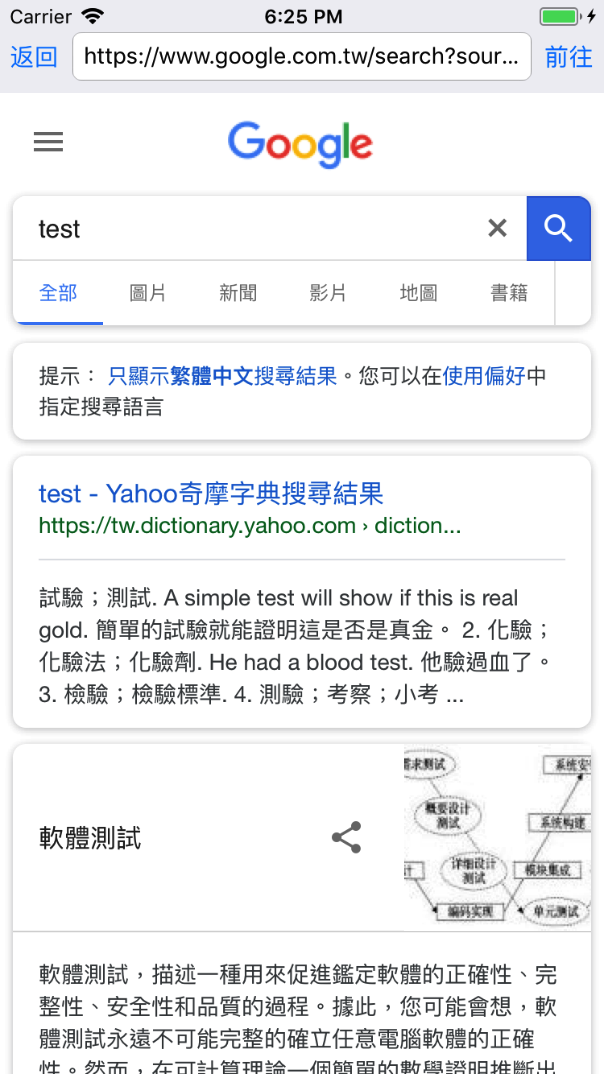
2.url測試:更改網頁,Web url跟著變動。

https://ithelp.ithome.com.tw/upload/images/20180106/20107506C052eosTZw.png

3.返回測試

https://ithelp.ithome.com.tw/upload/images/20180106/20107506OcUURHYpcB.png


以上就是WKWebView的基本介紹,是不是很簡單呢?那麼今天的教學就到這邊囉,明天見!


上一篇
30 天上手 iOS App 開發 DAY 16
下一篇
30 天上手 iOS App 開發 DAY 18
系列文
30 天上手 iOS App 開發28
圖片
  直播研討會
圖片
{{ item.channelVendor }} {{ item.webinarstarted }} |
{{ formatDate(item.duration) }}
直播中

尚未有邦友留言

立即登入留言