今天我們來作一個簡單的地圖應用
可以透過 Apple Map 顯示自己的位置以及經緯度
首先先從元件庫中拉出 Map Kit View 放到 Storyboard 上
並在 Map View 的屬性中的 User Location 打勾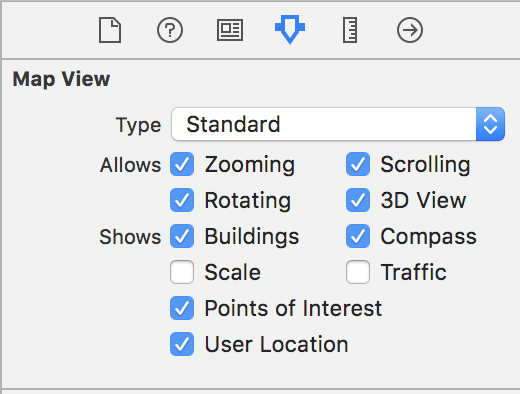
以及一個 Label 作為顯示經緯度用
如下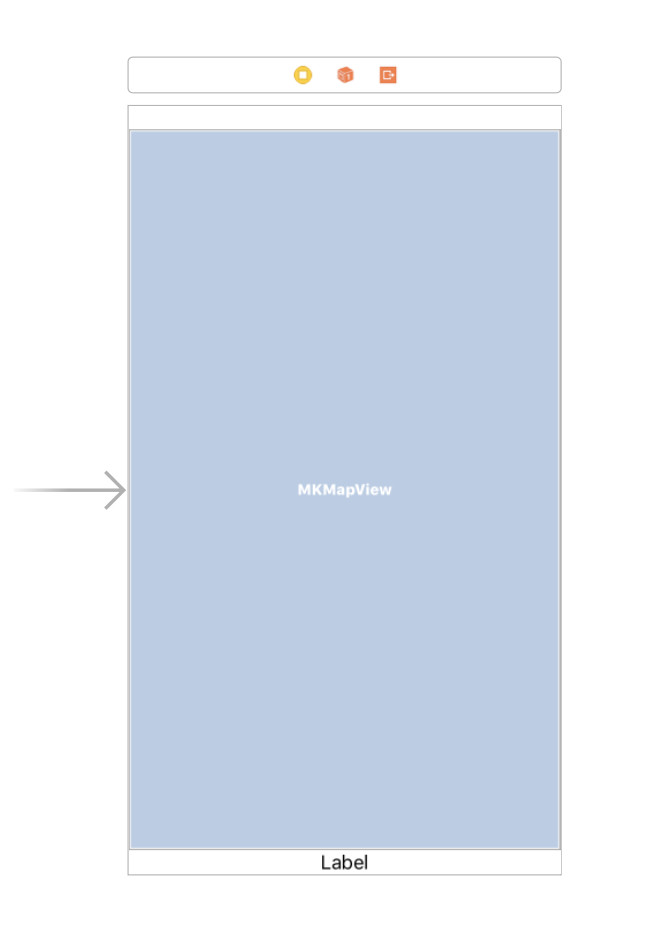
再來需要將 Storyboard 上的元件拉到 ViewController 中,與程式碼做連結
@IBOutlet weak var mapView: MKMapView!
@IBOutlet weak var mapLabel: UILabel!
因為我們會使用到地圖與定位功能,所以必須先將 MapKit 與 CoreLocation 這兩個函式庫引入
import MapKit
import CoreLocation
我們要開始使用定位的話,首先要先建立一個獲得定位資訊的變數
var locationManager: CLLocationManager!
並在 viewDidLoad 中,初始化並設置委任對象
locationManager = CLLocationManager()
locationManager.delegate = self
接者我們要在 ViewController 加上定位的委任協定
class ViewController: UIViewController, CLLocationManagerDelegate
以及在 ViewController 中實作的委任方法
    func locationManager(_ manager: CLLocationManager, didUpdateLocations locations: [CLLocation]) {
        let currentLocation = locations.first!
        self.mapLabel.text = "\(currentLocation.coordinate.latitude),\(currentLocation.coordinate.longitude)"
    }
但是僅僅這樣是還不夠的,最重要的事還是要詢問使用者的同意
在 viewDidLoad 中加入詢問授權的動作
locationManager.requestWhenInUseAuthorization()
locationManager.startUpdatingLocation()
並在 Info.plist 檔案中加入 Privacy - Location When In Use Usage Description 這個值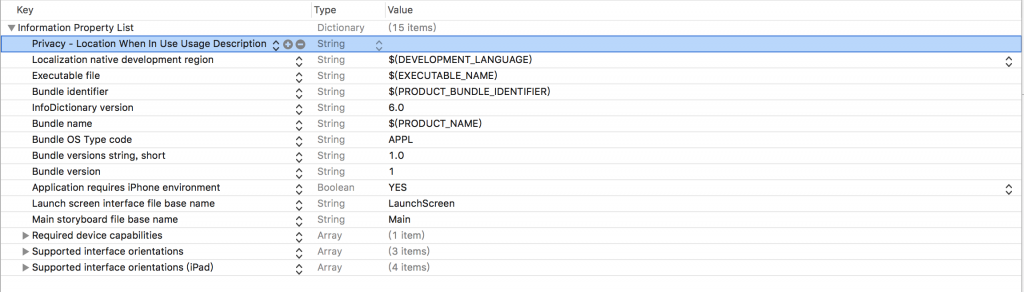
最後我們的成果如下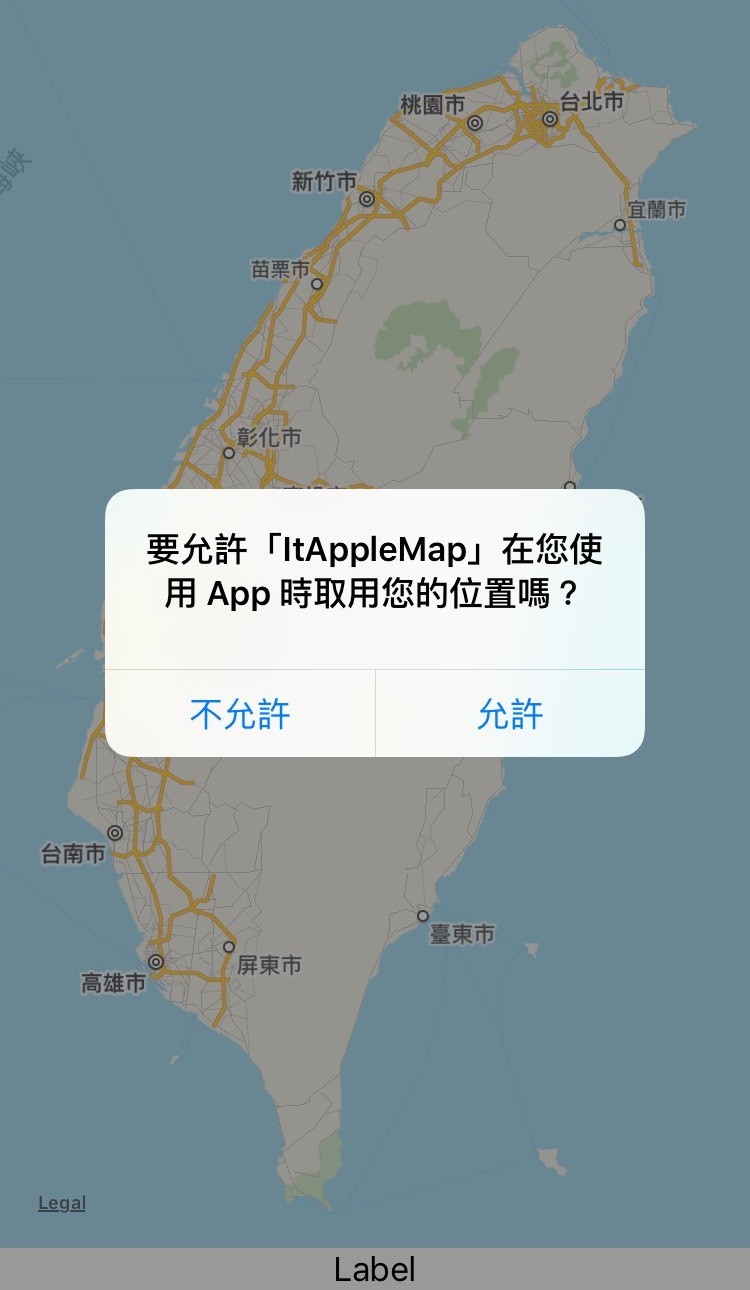
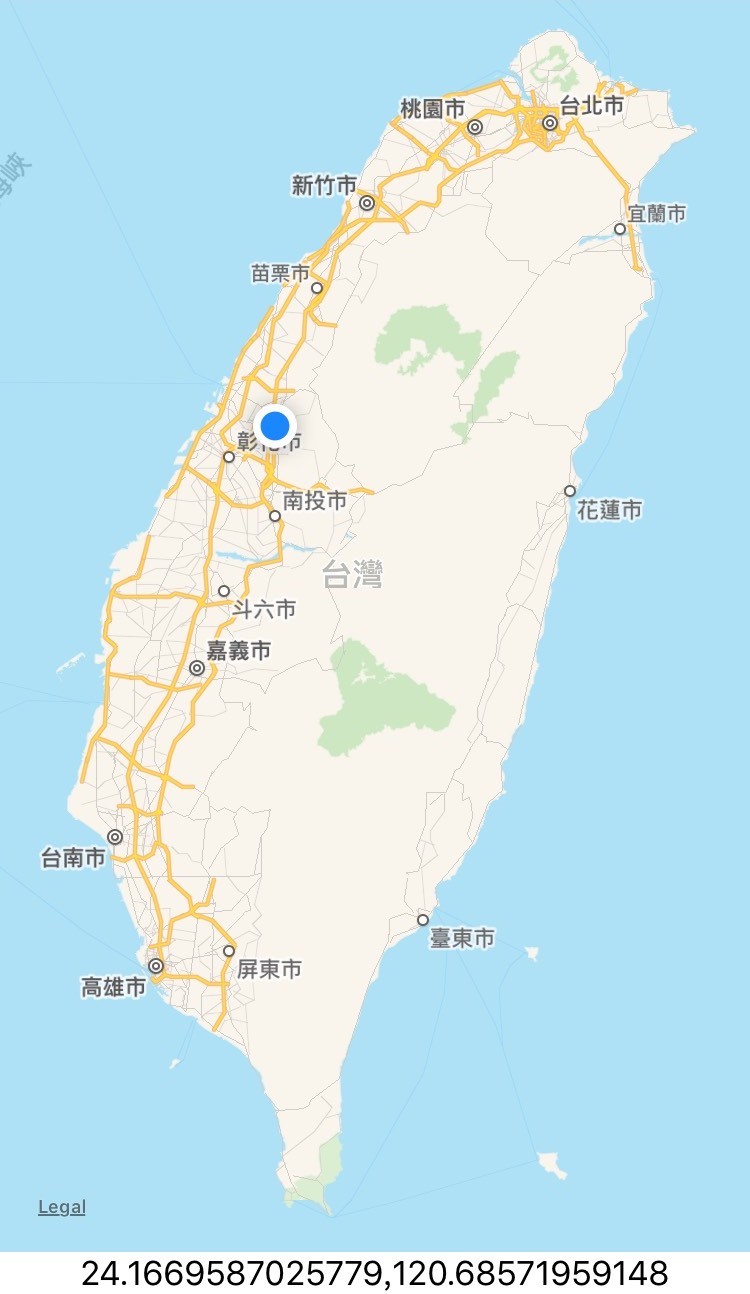
是不是很簡單呢
對,做一個地圖真的很簡單