昨天的文章做了系列文的概要介紹, 今天就讓我們與Flink有第一次接觸吧!
以下的內容就會按照官方的Quick Start進行實作。
https://ci.apache.org/projects/flink/flink-docs-release-1.4/quickstart/setup_quickstart.html
在開始之前, 首先有兩件事情要做,

下載完之後, 到Flink的資料夾啟動Flink吧~
$ cd ~/Downloads        # Go to download directory
$ tar xzf flink-*.tgz   # Unpack the downloaded archive
$ cd flink-1.4.2
$ ./bin/start-local.sh  # Start Flink
啟動之後會顯示類似下面的訊息
Flink有Web UI可以觀看資料調度和job的運作情況, 也可以在此進行job submit
http://localhost:8081/#/overview
(因筆電的8081 port另有服務使用, 故使用其他的port, 如有使用者需修改可至conf/flink-conf.yaml進行修改)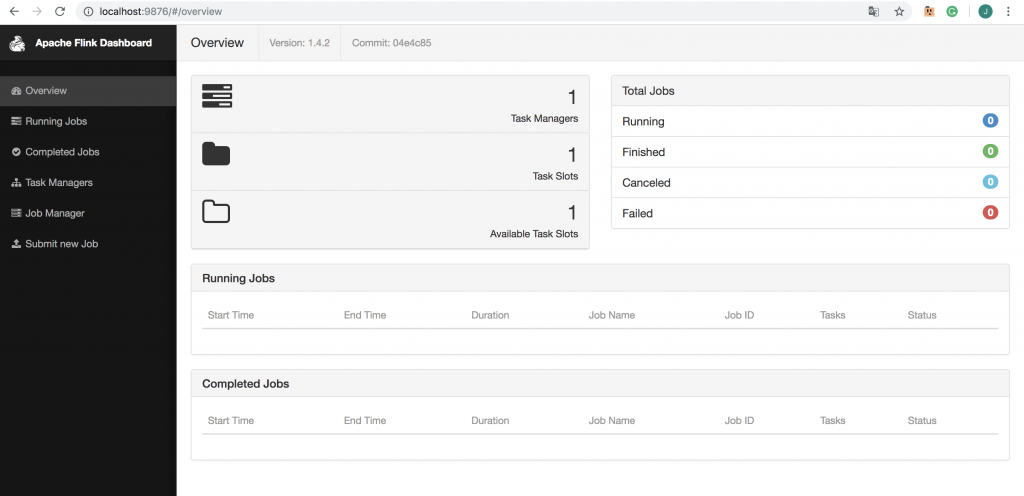
官方的提供QuickStart範例的code請參考以下連結
https://github.com/apache/flink/blob/master/flink-examples/flink-examples-streaming/src/main/scala/org/apache/flink/streaming/scala/examples/socket/SocketWindowWordCount.scala
object SocketWindowWordCount {

    def main(args: Array[String]) : Unit = {

        // the port to connect to
        val port: Int = try {
            ParameterTool.fromArgs(args).getInt("port")
        } catch {
            case e: Exception => {
                System.err.println("No port specified. Please run 'SocketWindowWordCount --port <port>'")
                return
            }
        }

        // get the execution environment
        val env: StreamExecutionEnvironment = StreamExecutionEnvironment.getExecutionEnvironment

        // get input data by connecting to the socket
        val text = env.socketTextStream("localhost", port, '\n')

        // parse the data, group it, window it, and aggregate the counts
        val windowCounts = text
            .flatMap { w => w.split("\\s") }
            .map { w => WordWithCount(w, 1) }
            .keyBy("word")
            .timeWindow(Time.seconds(5), Time.seconds(1))
            .sum("count")

        // print the results with a single thread, rather than in parallel
        windowCounts.print().setParallelism(1)

        env.execute("Socket Window WordCount")
    }

    // Data type for words with count
    case class WordWithCount(word: String, count: Long)
}
從裡面可以看到共分成幾個部分
1.建立資料, 本範例在port 9000資料輸入一些單字, 以空格隔開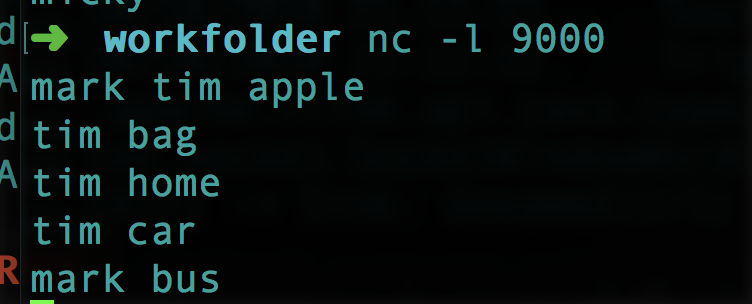
2.執行Flink程式
./bin/flink run examples/streaming/SocketWindowWordCount.jar --port 9000
成功執行會看到下面的畫面
也可以至Web的頁面看到目前的job運作情況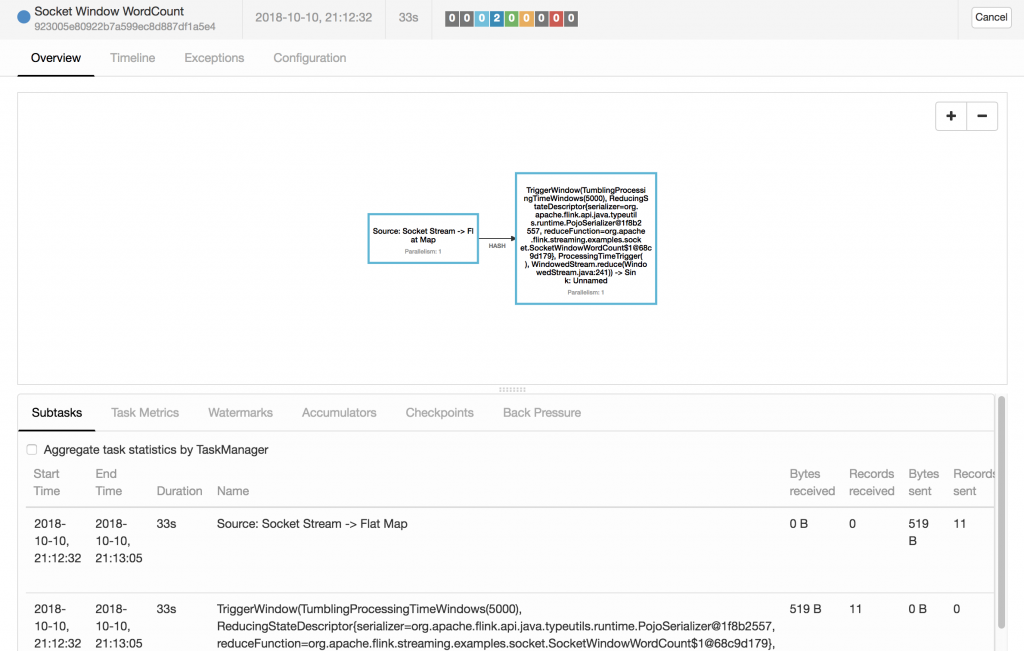
3.確認資料處理結果, 此處是採用print的方式, 可至log/flink--taskexecutor-.out觀看結果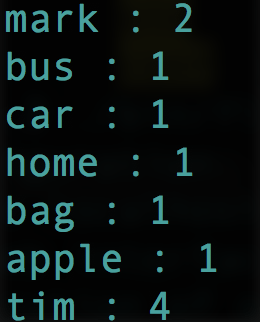
那本日的文章就到此囉~


 iThome鐵人賽