為了能利用應用程式與使用者互動,Android Studio提供許多元件方便開發者利用,而現在就開始進入使用者互動的開發吧~Let’s go!
一開始我們來學學大家最常使用到的元件--按鈕(Button)。按鈕在app上是非常普遍的開發元件,他可以提供使用者觸發後執行一連串開發者所設計的流程。
提供使用者少用按鈕必須要實作偵聽器,偵聽使用者是否有作觸發動作以便程式做下一步動作,觸發後,還要實作觸發的內容以便回應使用者。下方要實作UI設計與Java程式設計。
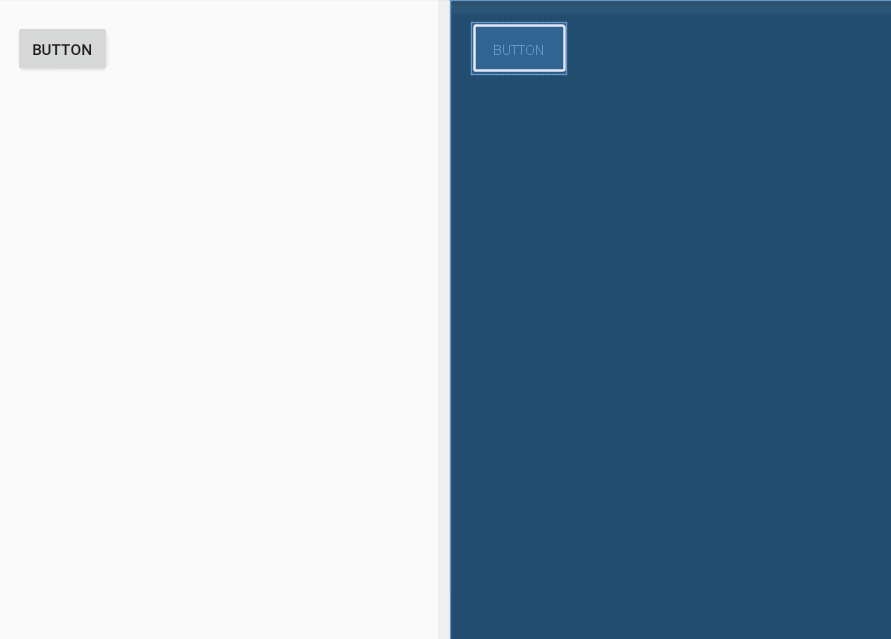
開發者可以由左方的Palette中選取Button拖拉至設計版面上。如下圖:
其XML檔為
<?xml version="1.0" encoding="utf-8"?>
<LinearLayout xmlns:android="http://schemas.android.com/apk/res/android"
    xmlns:app="http://schemas.android.com/apk/res-auto"
    xmlns:tools="http://schemas.android.com/tools"
    android:layout_width="match_parent"
    android:layout_height="match_parent"
    android:orientation="vertical"
    tools:context=".MainActivity">

    <!--Button-->
    <!--設定元件的識別編號-->
    <!--元件在版面的寬度為元件內容大小-->
    <!--元件在版面的高度為元件內容大小-->
    <!--距離間隔版面20sp-->
    <!--按鈕文字為Button-->
    <Button
        android:id="@+id/btn"
        android:layout_width="wrap_content"
        android:layout_height="wrap_content"
        android:layout_margin="20sp"
        android:text="Button"
        android:layout_marginTop="5dp"
        />
</LinearLayout>
這樣就輕鬆完成一個按鈕了~好開心 >W<![]()
接者來看Java程式設計吧!
倘若一個按鈕需要有功能,必須要實作偵聽器及觸發內容。下面分享三種實作方法給大家參考:
建立偵聽器需要建立Button.OnClickListener物件
public class MainActivity extends AppCompatActivity {
    private Button btn;
    @Override
    protected void onCreate(Bundle savedInstanceState) {
        super.onCreate(savedInstanceState);
        setContentView(R.layout.activity_main);
        findViews();
        setListener();
    }

    private void setListener() {
        //        設定偵聽器(指定偵聽物件)
        btn.setOnClickListener(listener);
    }

    private void findViews() {
        //        找到按鈕元件的id
        btn = (Button)findViewById(R.id.btn);
    }

//實作偵聽器
    Button.OnClickListener listener= new Button.OnClickListener() {
        //        實現按鈕觸發後行為
        @Override
        public void onClick(View v) {
            //            設定Button元件顯示文字
            btn.setText("觸發成功");
            //            設定Button元件背景顏色
            btn.setBackgroundColor(Color.rgb(0,255,0));
        }
    };
}
匿名類別建立偵聽器
public class MainActivity extends AppCompatActivity {
    private Button btn;
    @Override
    protected void onCreate(Bundle savedInstanceState) {
        super.onCreate(savedInstanceState);
        setContentView(R.layout.activity_main);
        findViews();
        setListener();
    }

    private void setListener() {
        //        匿名類別建立偵聽器並實作觸發方法
        btn.setOnClickListener(new View.OnClickListener() {
            @Override
            public void onClick(View view) {
                //            設定Button元件顯示文字
                btn.setText("觸發成功");
                //            設定Button元件背景顏色
                btn.setBackgroundColor(Color.rgb(0,255,0));
            }
        });
    }

    private void findViews() {
        //        找到按鈕元件的id
        btn = (Button)findViewById(R.id.btn);
    }
}
到XML檔加入android:onClick
<!--設定偵聽器android:onClick="listener"-->
    <Button
        android:id="@+id/btn"
        android:layout_width="wrap_content"
        android:layout_height="wrap_content"
        android:layout_margin="20sp"
        android:onClick="listener"
        android:text="Button"
        android:layout_marginTop="5dp"
        />
到Java檔內,建立觸發方法
public class MainActivity extends AppCompatActivity {
    private Button btn;
    @Override
    protected void onCreate(Bundle savedInstanceState) {
        super.onCreate(savedInstanceState);
        setContentView(R.layout.activity_main);
        findViews();
        setListener();
    }

    private void findViews() {
        //        找到按鈕元件的id
        btn = (Button)findViewById(R.id.btn);
    }

    public void listener(View view) {
        //            設定Button元件顯示文字
        btn.setText("觸發成功");
        //            設定Button元件背景顏色
        btn.setBackgroundColor(Color.rgb(0,255,0));
    }
}
恭喜大家完成按鈕實作
最後,希望大家能分享自己的專屬按鈕。
下篇文章見囉!
Thank you for your time.
