
最近在版上看到有人在徵外包
感到非常有興趣
因為沒有價格限制
以及看起來火藥味濃厚的留言回答
原以為只是來引戰的
沒想到其實有本身有特殊原因
所以需要這些功能
剛好我程式也剛在學
看起來好像也不難
就讓我用破破的程式短時間看能不能搓出來

客戶想要一個能記錄事情一次紀錄 然後APP能幫忙分類tag

這裏我會列出的我不會的程式碼
簡單的或是之前講得的只會帶過
這裡我想做三個畫面
個人行程 : 顯示目前的行程 使用tableView section 分類個個tag
Tag頁面 : 顯示現在的tag+底下符合的文字 (如: 唱歌 自動分類 娛樂)新增Tag : 希望能點選以前有新增的tag 然後新增新文字 / 如果是新tag 新開一個tag
設置兩個controller
並且將 navigation + tabBar + baseController 先實作起來
可以參考我之前的文章
[Day 3] Swift 使用TabBar+NavigationBar
Demo
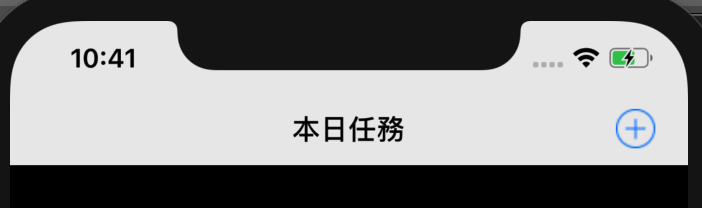
rightBarButtonItem 這裡使用兩種
顯示圖片
顯示文字
navigationItem.rightBarButtonItem = UIBarButtonItem(title: "Save", style: .plain, target: self, action: #selector(self.isClickNavigationBtn))
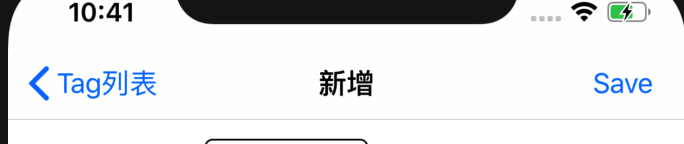
let navigationBtn = UIBarButtonItem(image: UIImage(named: "plus"), style: .plain, target: self, action: #selector(self.isClickNavigationBtn))
        self.navigationItem.rightBarButtonItem  = navigationBtn
action 點擊事件可以連動到自己的func
// MARK: - UIButton Methods
    @objc func isClickNavigationBtn() {
    }
這邊紀錄一下 navigationController 跳轉頁面AddTagViewController 可以替換成你自己的 controlleranimated 動畫部分看你要不要開
self.navigationController?.pushViewController(AddTagViewController(), animated: true)
除了左上角返回按以外
在已跳轉的controller裡面
如果要返回可以用 popToRootViewControlleranimated 動畫部分看你要不要開
navigationController?.popToRootViewController(animated: true)
這邊的想法是這樣 設置兩個textView
一個是文字 ㄧ個是tag
並且下方有tableView 顯示之前的 有歷史紀錄的tag
點擊後將tag 複製到 textView上面
Demo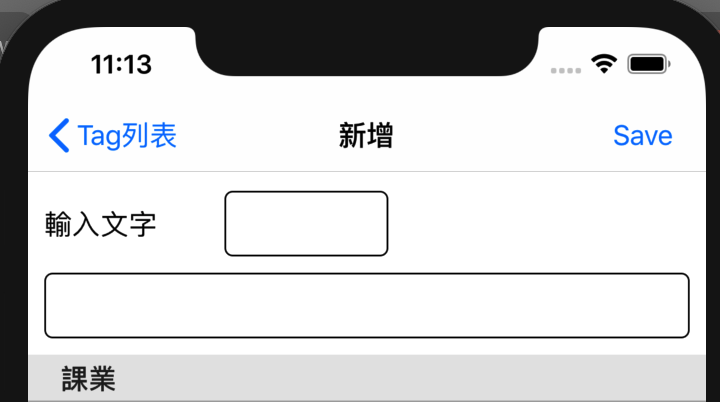
本來是用dictionary作儲存
這是我得格式如下
["娛樂": ["看影片"], "課業": ["作業"], "社交": ["喝酒"]]
我發現Swift 的 dictionary 並沒有順序每次呼叫出來都會不一樣
造成我的tableView 與 點擊沒辦法對起來tableView reload也會一直亂跑
後來使用model才解決這個問題
宣告
struct Objects {
   var sectionName : String!
   var sectionObjects : [String]!
}
var objectArray = [Objects]()
將dictionary 塞進去
func objectArrayInit (){
    objectArray = [Objects]()
    print(objectArray)
    for (key, value) in tagArr {
        objectArray.append(Objects(sectionName: key, sectionObjects: value))
    }
}
tableview 的相關設置如下
//section count 數量
func tableView(_ tableView: UITableView, numberOfRowsInSection section: Int) -> Int {
    return objectArray[section].sectionObjects.count
}
//tableView count 數量
func numberOfSections(in tableView: UITableView) -> Int {
    return objectArray.count
}
//section title 設定
func tableView(_ tableView: UITableView,
  titleForHeaderInSection section: Int) -> String? {
    let title = objectArray[section].sectionName
    return title
}
//cellForRowAt 設定
func tableView(_ tableView: UITableView, cellForRowAt indexPath: IndexPath) -> UITableViewCell {
    let cell:StrokeCell = tableView.dequeueReusableCell(withIdentifier: "myCell")
        as! StrokeCell
    cell.strokeLabel.text = objectArray[indexPath.section].sectionObjects[indexPath.row]
    return cell

}
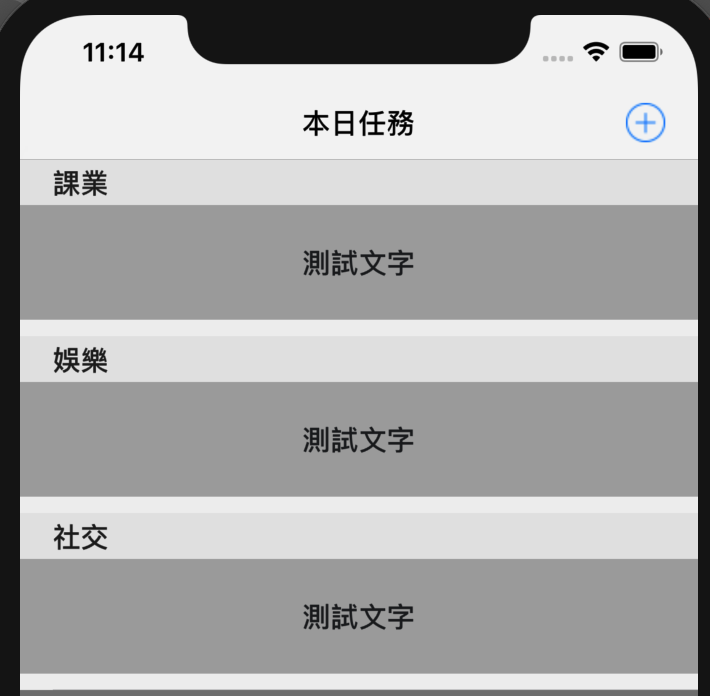
Demo
看起來好像挺不錯的Tag部分應該是完成了
剩下行程表+新增行程
這裡我先作一個tableView 而已
因為要先新增行程
新增完以後要用模糊搜尋再分類
swift alert 簡易使用之前文章有寫過
可以參考這篇
[Day 13] Swift Alert 初體驗 && Date 時間簡易使用
但這是有需要用到輸入法
以下是alert text field寫法
// 建立一個提示框
    let alertController = UIAlertController(
        title: "訊息",
        message: "請輸入行程",
        preferredStyle: .alert)

    // 建立輸入框
alertController.addTextField {
        (textField: UITextField!) -> Void in
        textField.placeholder = "行程"
    }

    // 建立[取消]按鈕
    let cancelAction = UIAlertAction(
      title: "取消",
      style: .cancel,
      handler: nil)
    alertController.addAction(cancelAction)

    // 建立[新增]按鈕
    let okAction = UIAlertAction(
      title: "新增",
      style: UIAlertAction.Style.default) {
        (action: UIAlertAction!) -> Void in
        let strokeAlert =
          (alertController.textFields?.first)!
            as UITextField
            //strokeAlert.text 是你的輸入文字
        self.fuzzySearch(strokeText: strokeAlert.text!)
      }
    alertController.addAction(okAction)

    // 顯示提示框
self.present(
      alertController,
      animated: true,
      completion: nil)
Demo
目前因為時間的關係先做到這邊
明天會把模糊搜尋跟行程分類做完
挑戰失敗
