當你的文章清單過長時,pagination會是你的好朋友,可以幫你將列表分頁,讓畫面更整潔!
以blog為例,我們會建立blog.ini,管理blog底下的文章,並建立blog-post.ini,管理每個文章所需要的內容。而pagination則是在blog.ini中設定:
per_page = 10為設定每頁的筆數,可依需求修改數字。
[pagination]
enabled = yes
per_page = 10
設定完pagination後,需要讓頁面只顯示指定的資料(譬如第1頁),使用方式如下,利用for迴圈進行篩選:
templates/blog.html
{% for child in this.pagination.items %}
  ...
{% endfor %}
在macros中建立pagination.html檔案,建立頁碼總覽功能,也就是這個

macros/pagination.html
{% macro render_pagination(pagination) %}
  <div class="pagination">
    {% if pagination.has_prev %}
      <a href="{{ pagination.prev|url }}">« Previous</a>
    {% else %}
      <span class="disabled">« Previous</span>
    {% endif %}
    | <strong>{{ pagination.page }}</strong> |
    {% if pagination.has_next %}
      <a href="{{ pagination.next|url }}">Next »</a>
    {% else %}
      <span class="disabled">Next »</span>
    {% endif %}
  </div>
{% endmacro %}
在template/blog.html中引用macros
{% from "macros/pagination.html" import render_pagination %}
{% if this.pagination.pages > 1 %}
  {{ render_pagination(this.pagination) }}
{% endif %}
使用quickstart建立空白專案,並建立models:
models/blog.ini
[model]
name = Blog
label = Blog
hidden = yes

[fields.title]
label = Title
type = string

[children]
model = blog-post
order_by = -pub_date, -title

[pagination]
enabled = yes
per_page = 3
models/blog-post.ini
[model]
name = Blog Post
label = {{ this.title }}
hidden = yes

[fields.title]
label = Title
type = string
size = large

[fields.author]
label = Author
type = string
width = 1/2

[fields.twitter_handle]
label = Twitter Handle
type = string
width = 1/4
addon_label = @

[fields.pub_date]
label = Publication date
type = date
width = 1/4

[fields.body]
label = Body
type = markdown
建立template
template/blog.html
{% extends "layout.html" %}
{% from "macros/pagination.html" import render_pagination %}
{% block title %}{{ this.title }}{% endblock %}
{% block body %}
    {% for child in this.pagination.items %}
    <div class="blog-post">
          <h2><a href="{{ child|url }}">{{ child.title }}</a></h2>
            {{ child.author }} on {{ child.pub_date }}
    </div>
    {% endfor %}
    {% if this.pagination.pages > 1 %}
        {{ render_pagination(this.pagination) }}
    {% endif %}
{% endblock %}
templates/blog-post.html
{% extends "layout.html" %}
{% block title %}{{ this.title }}{% endblock %}
{% block body %}
    <div class="blog-post">
        {% if from_index %}
        <h2><a href="{{ this|url }}">{{ this.title }}</a></h2>
        {% else %}
        <h2>{{ this.title }}</h2>
        {% endif %}
        <p class="meta">
        written by
        {% if this.twitter_handle %}
            <a href="https://twitter.com/{{ this.twitter_handle
            }}">{{ this.author or this.twitter_handle }}</a>
        {% else %}
            {{ this.author }}
        {% endif %}
        on {{ this.pub_date }}
        </p>
        {{ this.body }}
    </div>
{% endblock %}
在layout中加入blog的項目:
<nav>
    <ul class="nav navbar-nav">
        <li{% if this._path == '/' %} class="active"{% endif
              %}><a href="{{ '/'|url }}">Welcome</a></li>
        {% for href, title in [
        ['/projects', 'Projects'],
        ['/blog', 'Blog'],
        ['/about', 'About']
        ] %}
        <li{% if this.is_child_of(href) %} class="active"{% endif
              %}><a href="{{ href|url }}">{{ title }}</a></li>
        {% endfor %}
    </ul>
</nav>
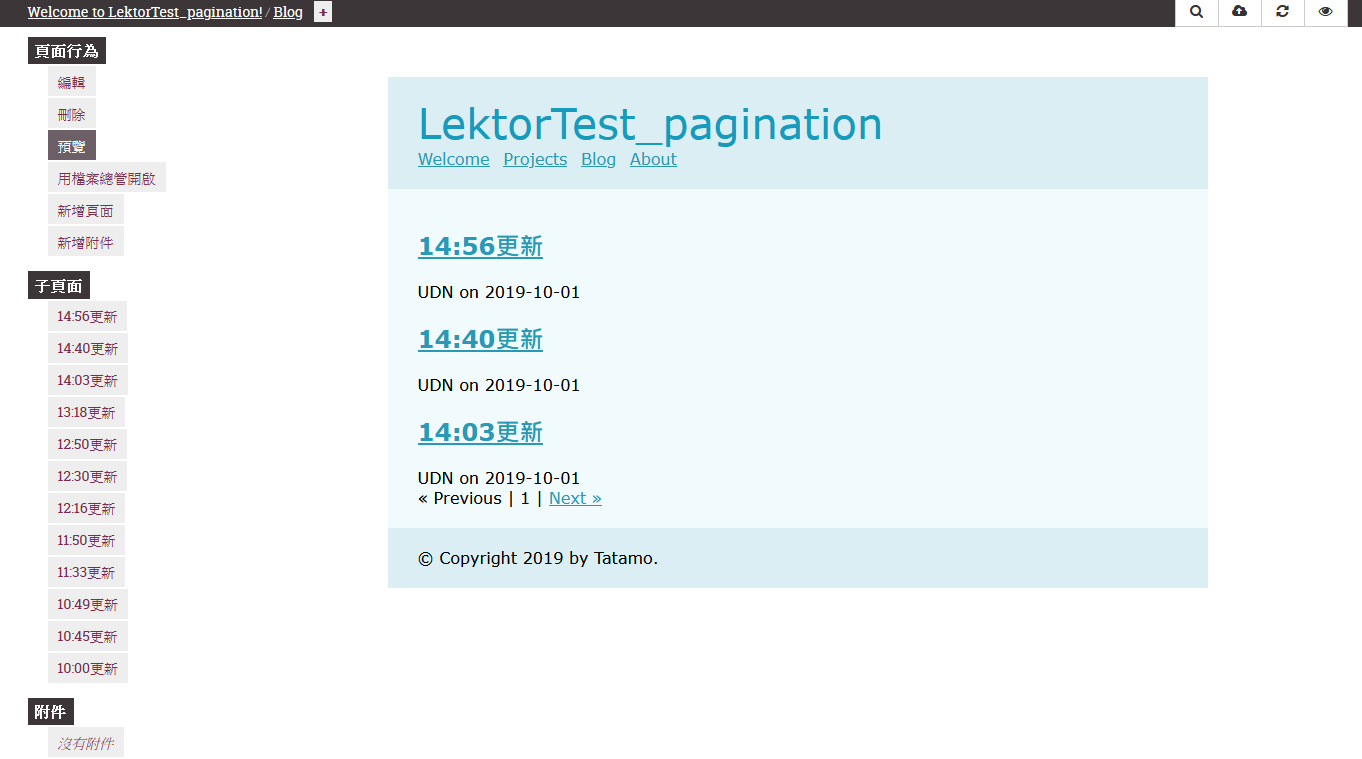
然後進入編輯頁面,先建立blog頁面,然後在blog下建立好幾篇子頁面:
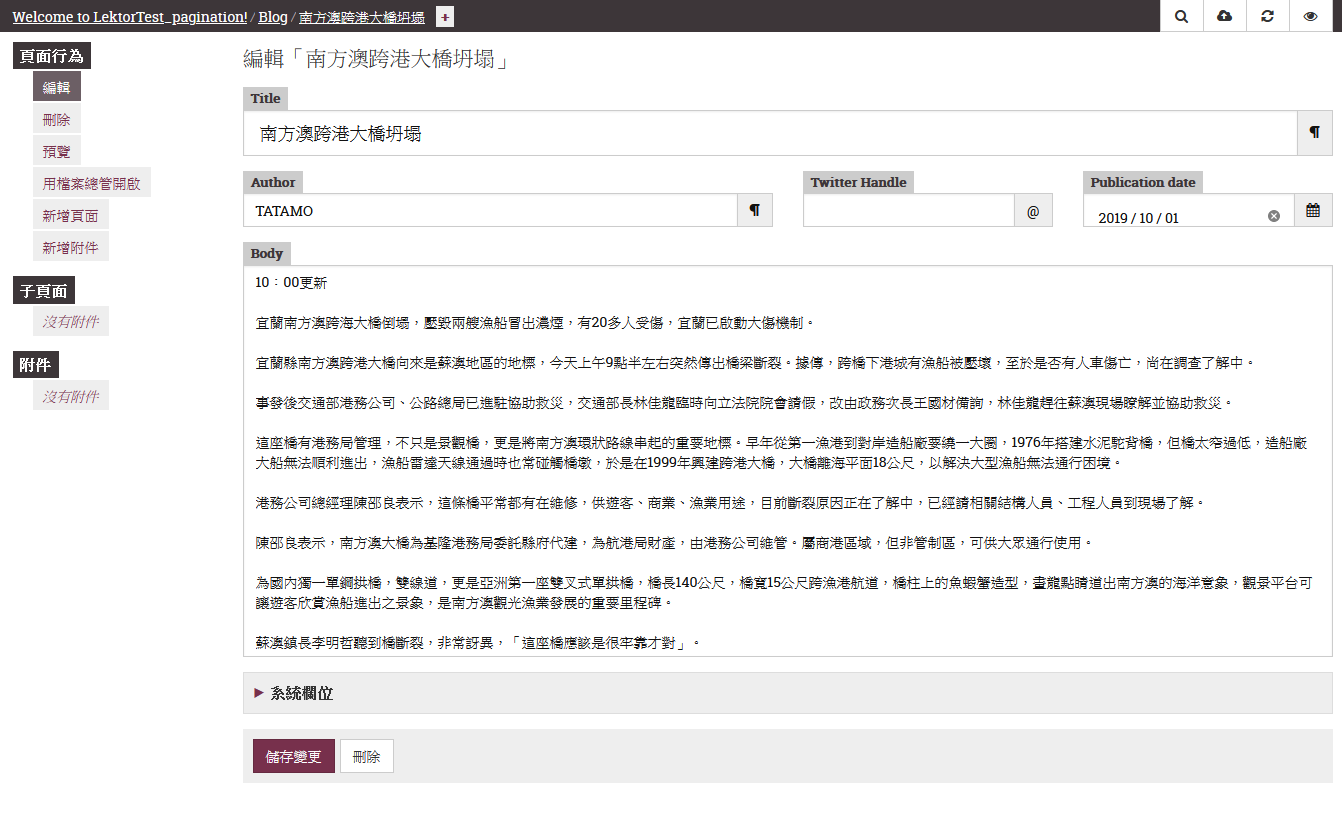
今天發生南方澳大橋坍塌事件,引用聯合新聞網的新聞來建立文章

建了10幾篇

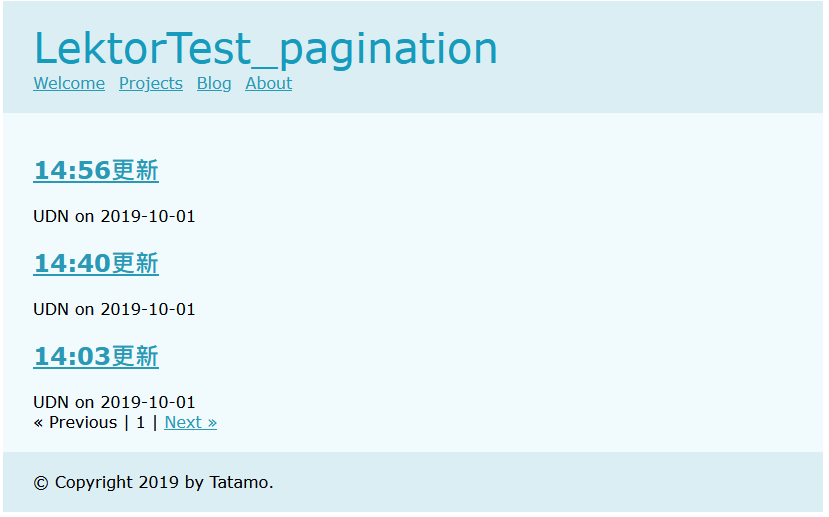
可以看到下面有出現選擇頁數的功能,每頁只顯示3筆

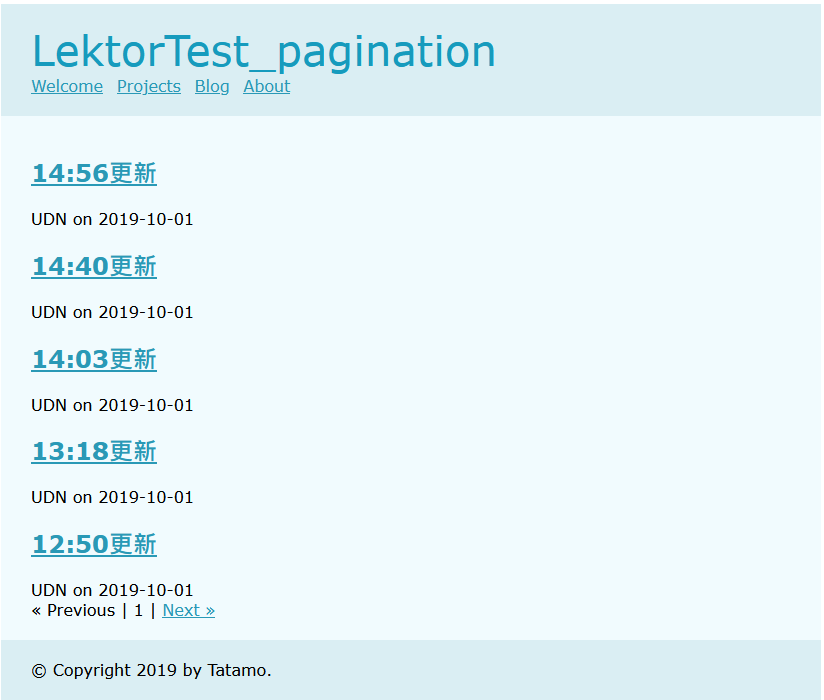
修改成5筆試試:
[pagination]
enabled = yes
per_page = 5
成功調整,運行正常!!
不愧是分批大法,清單毫秒簡潔清爽!

CSScoke - 金魚都能懂的這個網頁畫面怎麼切 - 金魚都能懂了你還怕學不會嗎
King Tzeng - IoT沒那麼難!新手用JavaScript入門做自己的玩具~
Hina Hina - 陣列大亂鬥
阿斬 - Python 程式交易 30 天新手入門
Clarence - LINE bot 好好玩 30 天玩轉 LINE API
塔塔默 - 用Python開發的網頁不能放到Github上?Lektor說可以!!
Vita Ora - 好 Js 不學嗎 !? JavaScript 入門中的入門。
