iT邦幫忙

第 11 屆 iThome 鐵人賽

DAY 30
1

在昨天我們談完Day29:今天來做個訂餐/訂飲料App,今天我們來談談Apple發表的SwiftUI

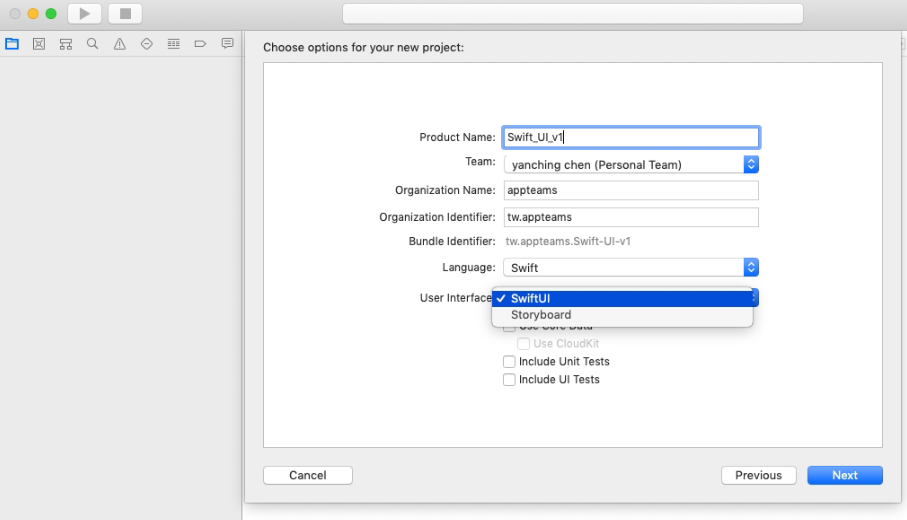
建立完專案後,這次不選擇Storyboard,選擇使用SwiftUI

https://ithelp.ithome.com.tw/upload/images/20191007/201121828Sls8MXZJM.png

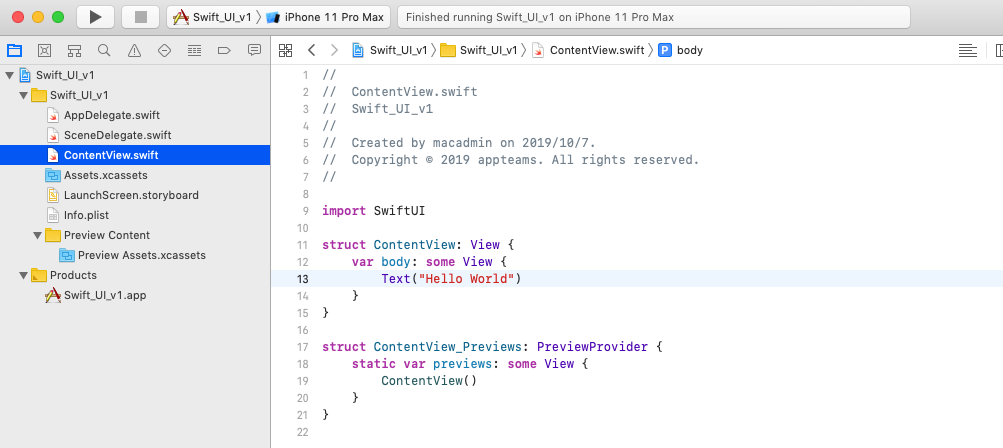
在專案中已看不到Main.StoryBoard了

https://ithelp.ithome.com.tw/upload/images/20191007/201121824zIMsSTz3C.png

SwiftUI的好處

1.程式愈少, bug 愈少

2.Declarative(陳述) Syntax更容易理解,⽤程式描述畫⾯長什麼樣⼦

3.可以預覽程式的App畫⾯,將預覽畫⾯變成可以操作互動的 App。

4.iOS, macOS, watchOS, tvOS App 可以採⽤類似的寫法。

5.利⽤ binding(綁定)機制,資料跟畫⾯更容易同步

SwiftUI有以下的限制

1.iOS 13 以上才能使⽤

2.只能⽤ Swift 撰寫 SwiftUI 程式,不能⽤Objective-C

3.預覽 SwiftUI 設計的畫⾯要搭配 macOS 10.15 以上版本

SwiftUI 的 UI 元件以 struct 定義,遵從 protocol View

實做步驟:

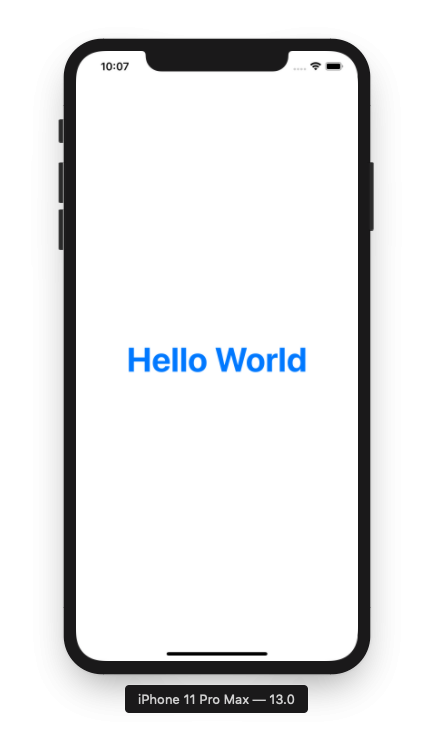
1.修改Text("Hello World")即可顯示不同的文字內容

struct ContentView: View {
    var body: some View {
        return Text("Hello World")
        .font(Font.system(size: 50, weight:.heavy))
        .frame(width: 500, height: 900)
        .foregroundColor(.blue)
}
}

https://ithelp.ithome.com.tw/upload/images/20191008/20112182JongVYIDsV.png

2.在Assets.xcassets加入圖片,並命名為logo

https://ithelp.ithome.com.tw/upload/images/20191008/201121825OMvzYjNjr.png

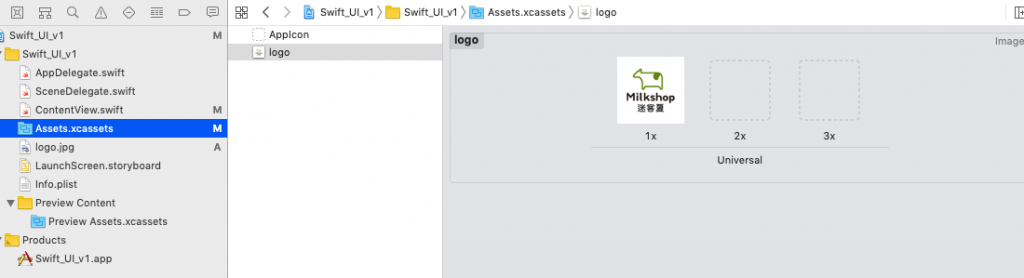
3.在Xcode加入VStack,指定Image(需提供在Asset名字)及Text內容即可看到以下畫面

VStack {
        Image("logo")
        .resizable()
        .scaledToFill()
        .frame(width: 300, height: 300)
        Text("我要來一杯!!!!")
        .font(Font.system(size: 30, weight:.heavy))
        .foregroundColor(.blue)
        }

https://ithelp.ithome.com.tw/upload/images/20191008/20112182O6Bbb19Zjn.png

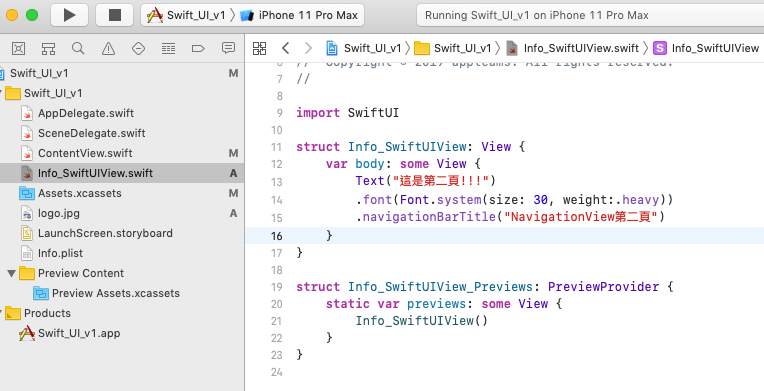
4.在Xcode中按File-->New-->File,產生新的SwiftUI View,命名為Info_SwiftUIView

https://ithelp.ithome.com.tw/upload/images/20191008/20112182ZeGolAAlum.png

並將Info_SwiftUIView.swif的內容調整如下圖:

https://ithelp.ithome.com.tw/upload/images/20191011/20112182APtCq9M9Z9.png

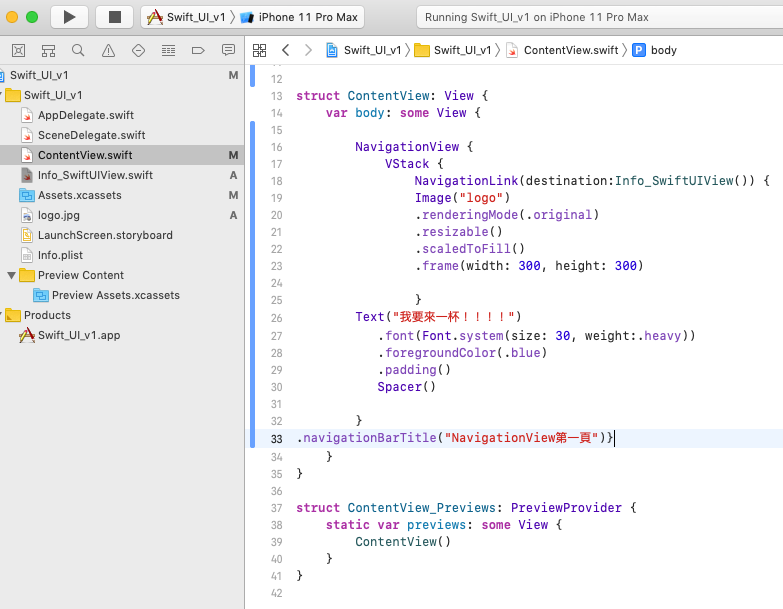
5.設計NavigationView & NavigationLink,並將ContentView.swift調整如下:

https://ithelp.ithome.com.tw/upload/images/20191011/20112182BaZIjpCSo6.png

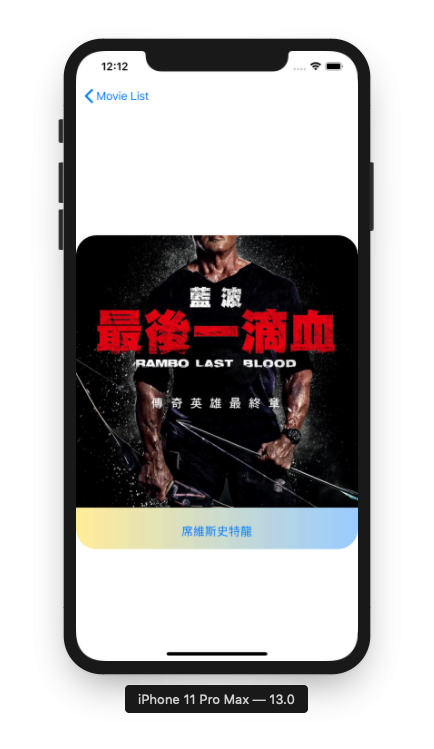
6.按run,看iPhone 11 Pro Max執行SwiftUI畫面,點擊圖片,會切換到下一頁
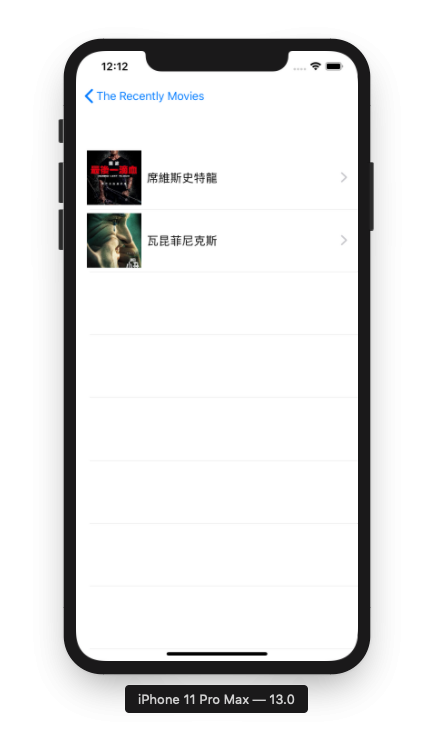
https://ithelp.ithome.com.tw/upload/images/20191011/201121823YlarPtEXh.png

https://ithelp.ithome.com.tw/upload/images/20191011/20112182vCysp4gDrk.png

7.利⽤ List 呈現表格

struct ListView: View {
     
    var body: some View {
        List(0..<moviedatas.count) { (index) in
            NavigationLink(destination: DetailView(moviedatas: moviedatas[index])){
                MovieRow(moviedatas: moviedatas[index])
            }
            .navigationBarTitle("Movie List")
           .background(Image("logo").opacity(0.1))
           
            }

    .listRowInsets(EdgeInsets(top: 30, leading: 0, bottom: 30, trailing: 30))
    
}
}

https://ithelp.ithome.com.tw/upload/images/20191016/20112182JcCFAB5Hmm.png

https://ithelp.ithome.com.tw/upload/images/20191016/20112182Jdnr2zUfYL.png

https://ithelp.ithome.com.tw/upload/images/20191016/20112182sFpvZXafA2.png

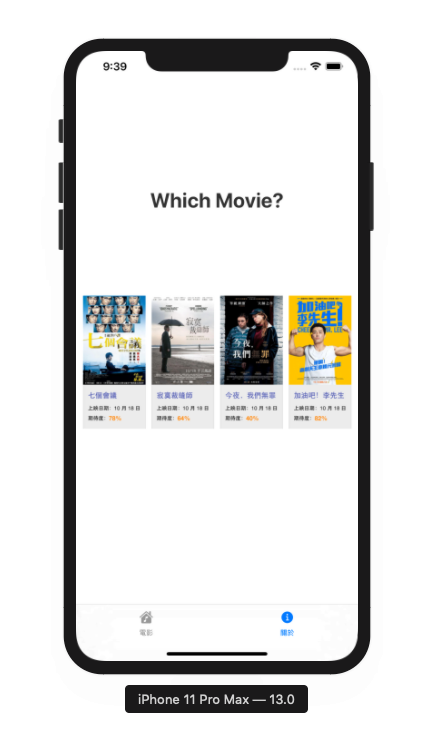
8.新增一個AppView.Swift,程式碼如下,即可用TabView實做兩個tab⾴⾯

import SwiftUI

struct AppView: View {
    var body: some View {
        TabView {
            ListView()
                .tabItem{
                    Image(systemName: "music.house.fill")
                    Text("電影")
            }
            ContentView()
                .tabItem {
                    Image(systemName: "info.circle.fill")
                    Text("關於")            }
            }
        }
        }

struct AppView_Previews: PreviewProvider {
    static var previews: some View {
        AppView()
    }
}

https://ithelp.ithome.com.tw/upload/images/20191016/20112182fYBrhwM4WX.png

https://ithelp.ithome.com.tw/upload/images/20191016/20112182TzGK7ttNdL.png

下一步學習方向

可以挑戰iOS App界小王子--彼得潘的100題勇者試煉

https://medium.com/彼得潘的試煉-勇者的-100-道-swift-ios-app-謎題

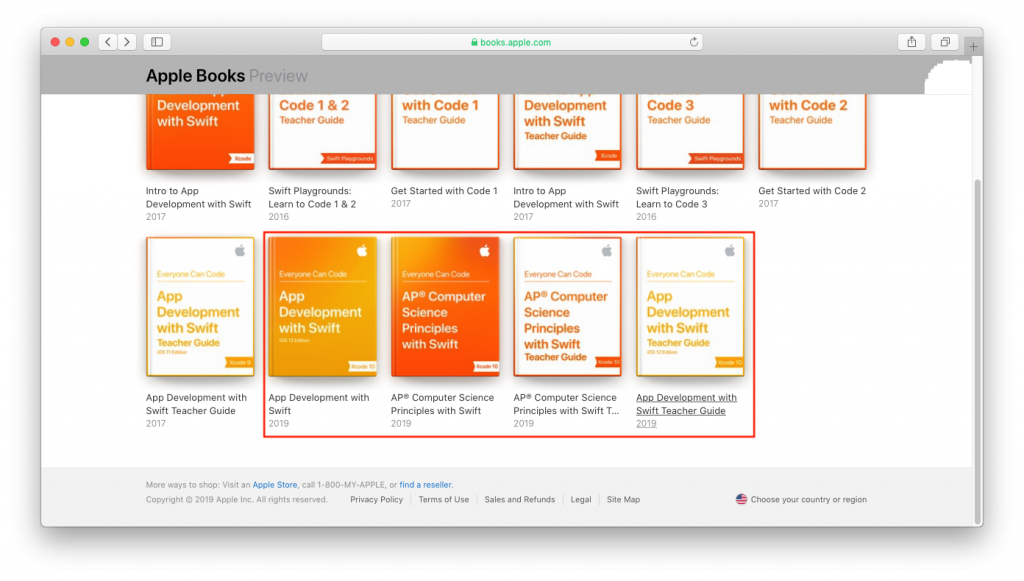
Apple出版的App Development電子書

https://books.apple.com/us/book/app-development-with-swift/id1219117996#see-all/other-books-in-book-series

https://ithelp.ithome.com.tw/upload/images/20191008/20112182wjIvL9Fta9.png

Bye,後會有期


上一篇
Day29:今天來做個訂餐/訂飲料App
下一篇
Day0:iosApp初心者30天試鍊主題學習
系列文
iOS App初心者的30天試鍊31
圖片
  直播研討會
圖片
{{ item.channelVendor }} {{ item.webinarstarted }} |
{{ formatDate(item.duration) }}
直播中

尚未有邦友留言

立即登入留言