iT邦幫忙

第 11 屆 iThome 鐵人賽

DAY 26
1
DevOps

後端功城獅30天DevOps探討挑戰系列 第 26

實作分享 - Jenkins + Github實現CI

在開始整合GitHub自動連結Jenkins之前,先介紹一個小工具ngrok,雖然有句不成文的話,每個工程師都會有一個屬於自己的vps和domain,但我就沒有…哭,因此在網路上找尋可以的替代方案,找著找著就找到了ngrok

首先,註冊後登入就可以看到這個畫面
https://ithelp.ithome.com.tw/upload/images/20191012/20111916p3JprkFfiK.png
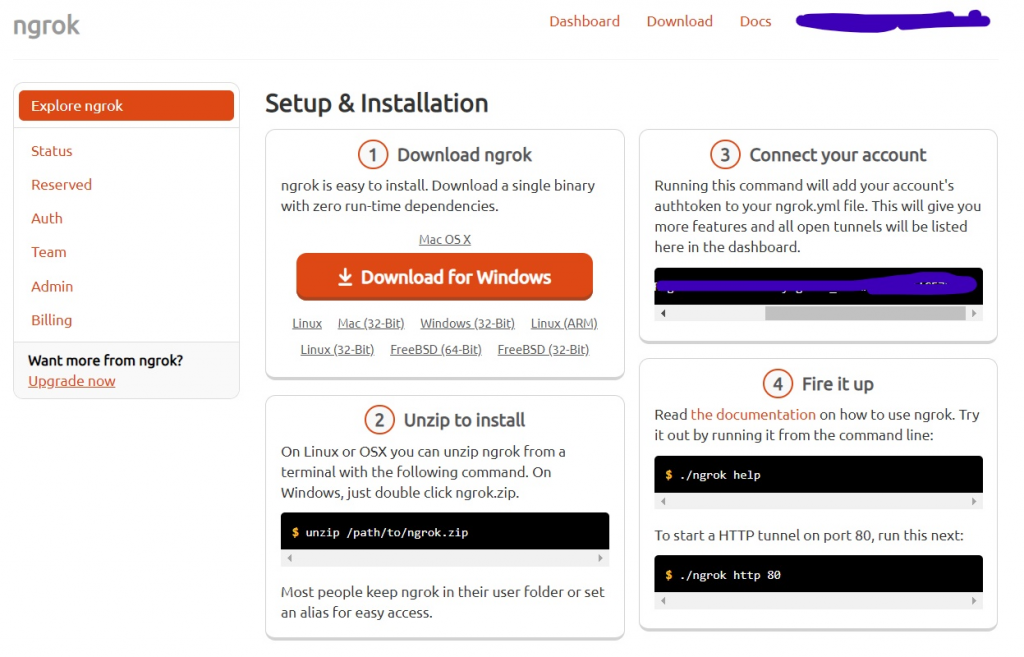
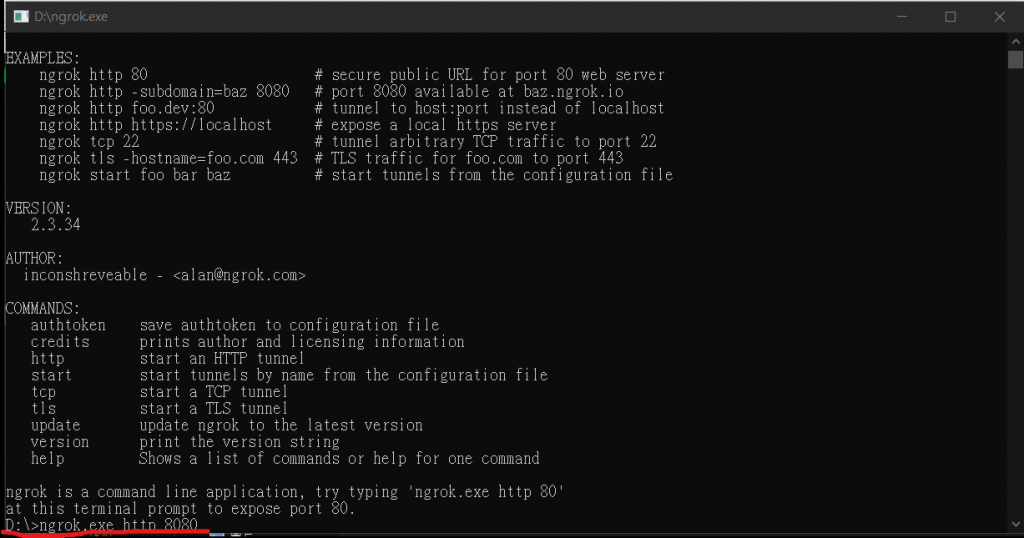
我是Windows的環境,只要下載他並執行exe檔案,就會出現這個視窗,照著上面的說明做
舉例:我將我的8080 port環境expose出去

ngrok.exe http 8080

https://ithelp.ithome.com.tw/upload/images/20191012/20111916i1PpIdJSQW.png
可以短暫的將自己本機的環境public出來,如此便可用網址指向到我們local的Jenkins啦
https://ithelp.ithome.com.tw/upload/images/20191012/20111916yqkYx3fE2w.png

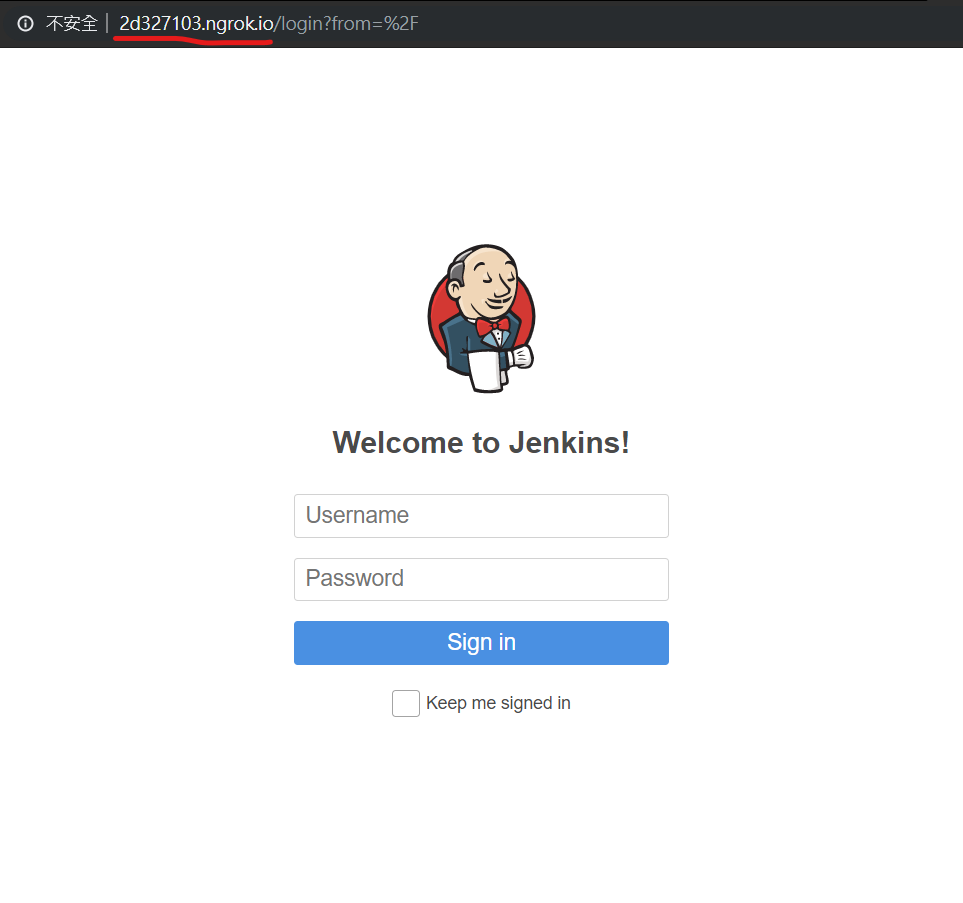
好了,當本機電腦可以有public的url後,我們就可以來設定Jenkins與GitHub的連線了!

Jenkins與GitHub的連線

Step 1. GitHub設定Jenkins的Webhooks
https://ithelp.ithome.com.tw/upload/images/20191012/20111916t63sQg5LlW.png
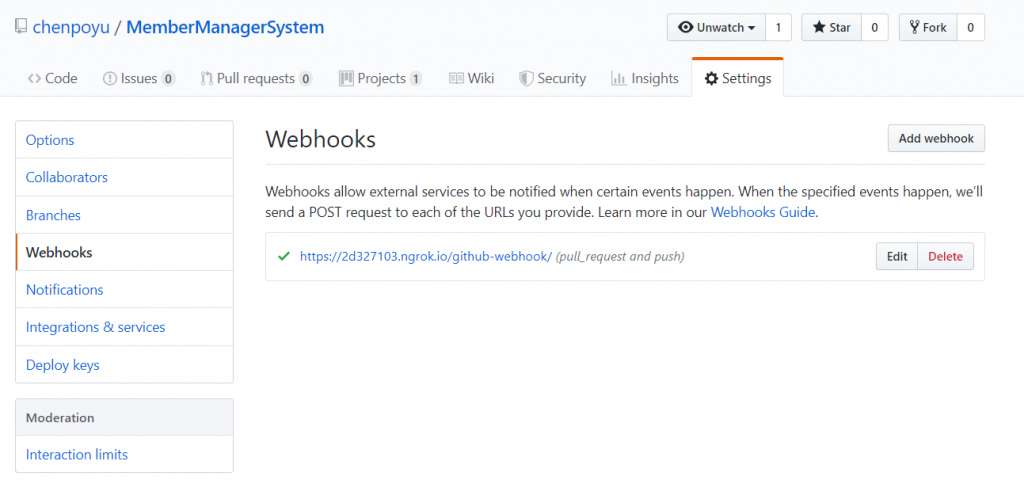
Step 2. 設定連線我的Jenkins,這邊我用http是因為只是為了操作流程,不是真的長久的作業,就省事點吧(想偷懶就說~
https://ithelp.ithome.com.tw/upload/images/20191012/20111916Z1GevDt19x.png
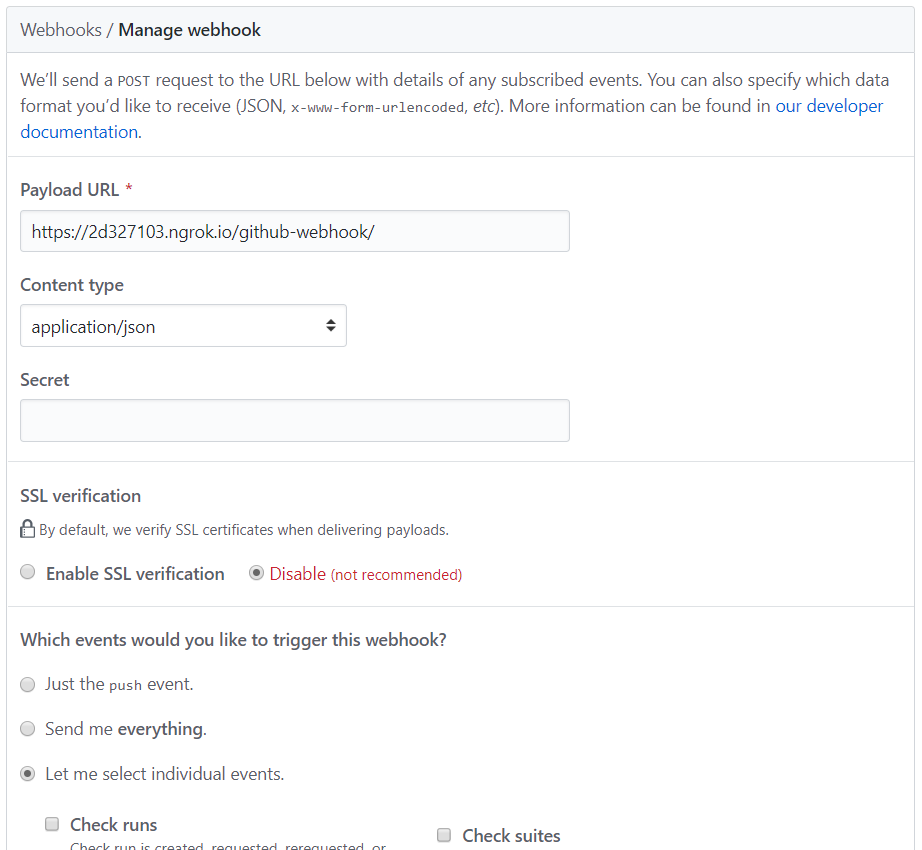
Step 3. 記得勾選Pushes的時候要去trigger我們的webhook
https://ithelp.ithome.com.tw/upload/images/20191012/201119163odH23U0C6.png

Push 去觸發自動整合

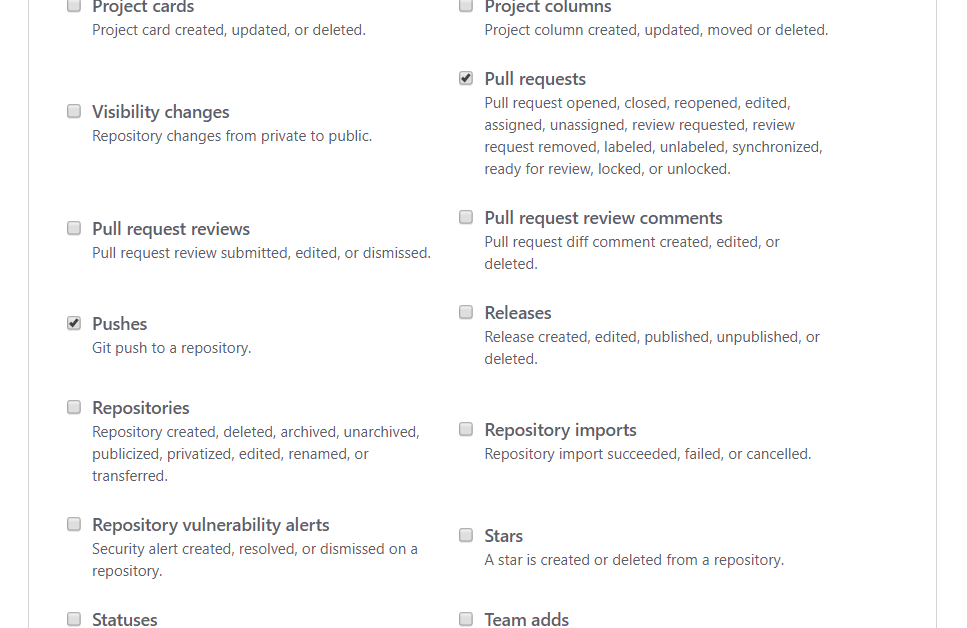
Step 1. 隨便改動一個檔案Push上我們的GitHub專案
Step 2. 接著到Setting -> Webhooks裡查看,url旁多了一個綠勾勾,表示前一次的delivery有成功
https://ithelp.ithome.com.tw/upload/images/20191012/201119169Qrn1BIrVZ.png
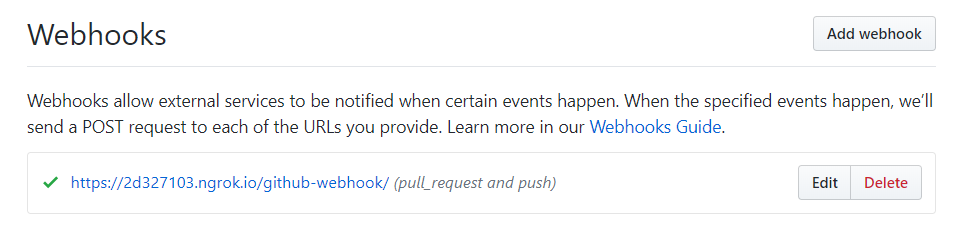
Step 3. 點進此webhook,可以看到下方有Recent Deliveries,觀看上次的Delivery紀錄
https://ithelp.ithome.com.tw/upload/images/20191012/2011191672cZsKsC6e.png
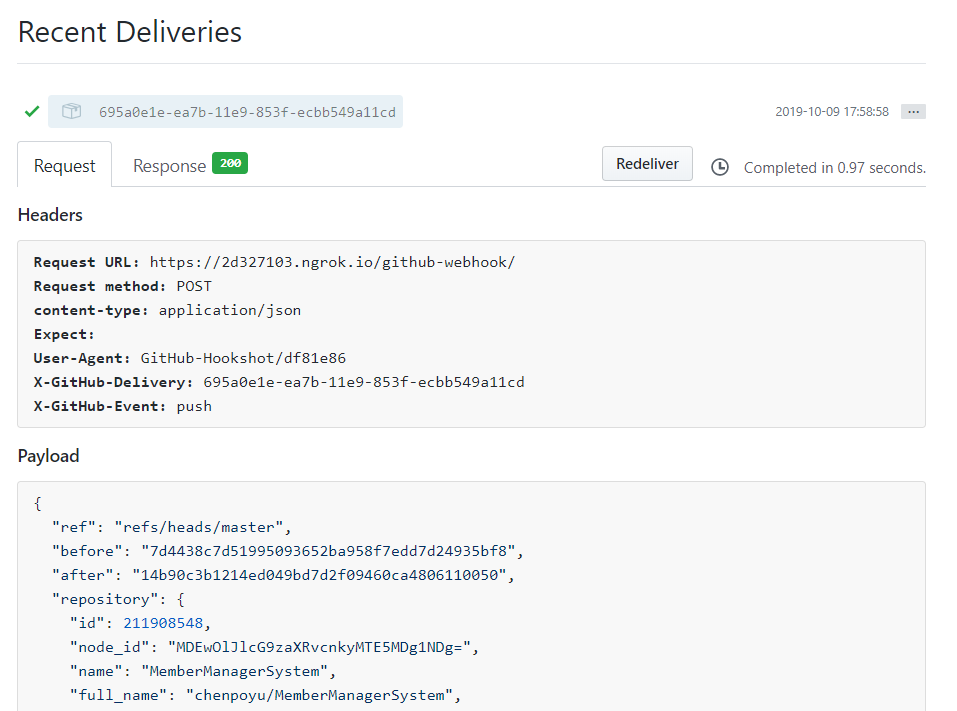
Step 4. 接著我們回到Jenkins來看,多了#8,而且時間就是我們push上github之後
https://ithelp.ithome.com.tw/upload/images/20191012/201119169HTROQZgUz.png
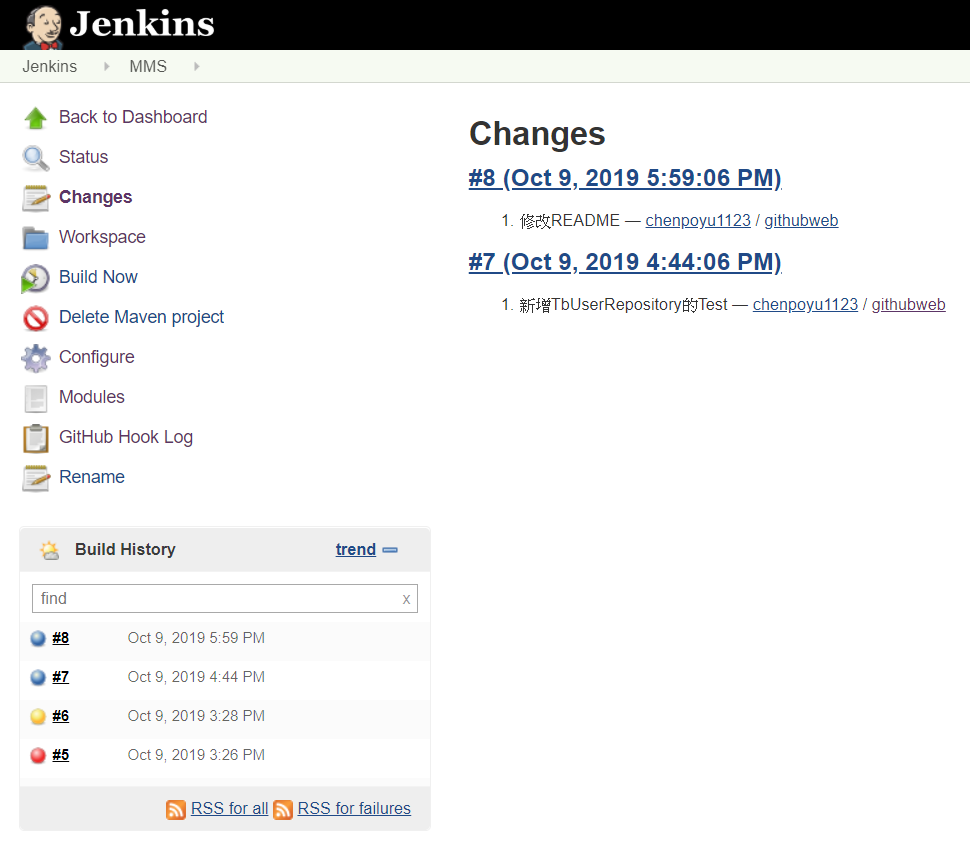
Step 5. 點入查看,可以看到這次改動的內容,我只是隨便改個MD檔,不會影響到原本的程式,因此也是Build和Test成功
https://ithelp.ithome.com.tw/upload/images/20191012/20111916GZXodxUTdv.png
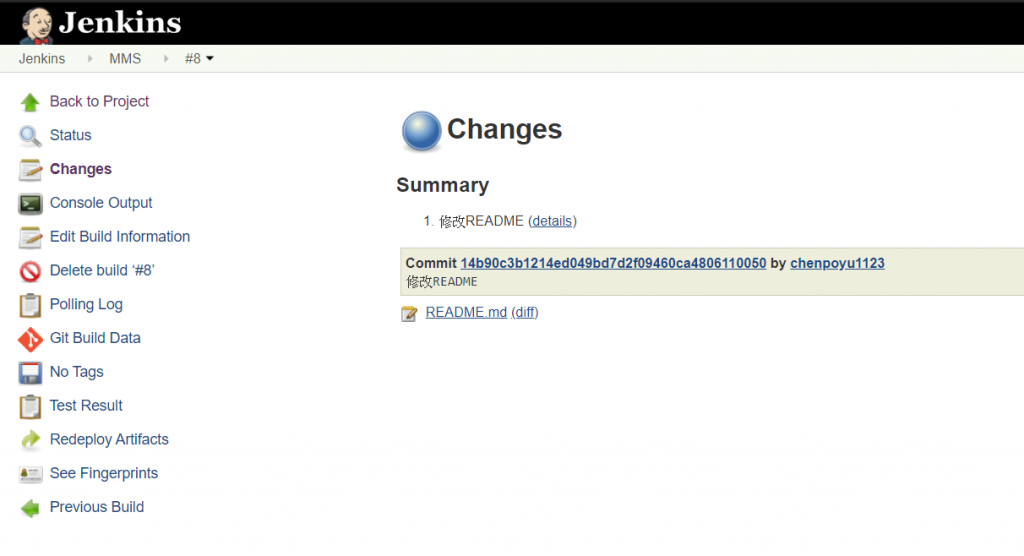
Step 6. 查看Console Output,儘管只是修改MD檔,還是會執行測試
https://ithelp.ithome.com.tw/upload/images/20191012/20111916ht7pYS2Ipr.png

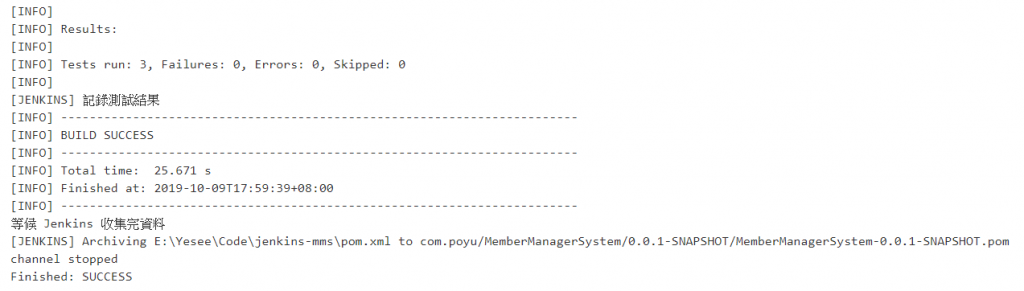
很好,我們大功告成,完成Jenkins + GitHub實現CI功能

參考資料、延伸閱讀:

下集預告:相關分享 - K8s


上一篇
實作分享 - Jenkins
下一篇
相關分享 - K8s
系列文
後端功城獅30天DevOps探討挑戰30
圖片
  直播研討會
圖片
{{ item.channelVendor }} {{ item.webinarstarted }} |
{{ formatDate(item.duration) }}
直播中

尚未有邦友留言

立即登入留言