除了有首頁之外,能夠讓人快速的認識也是很重要的。
今天就來快速打造資訊頁面
首先先從這裡 拿到今天的 css。
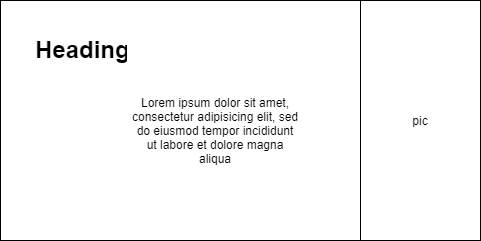
那我們來看看今天的草稿吧!

大概會像這樣
我們可以把畫面分成兩個部分,一個是 文字介面 ,另一個是圖案。
計畫像昨天那樣,將一個 component 作為 child component 傳進 InfoBoard 。
這樣的話這個 component 就可以被接下來的任何一個資訊欄重複利用了!
所以先修改 InfoBoard 讓他有接口 ,順便把 classname 也打上。
import React from "react";
export default function InfoBoard({ children}) {
  return (
    <div className="board">
      {children}
    </div>
  );
}
接下來建造這個 component 並取名叫 Article,可以看到在設計稿內也有一個 title,就將我們昨天建造的 title 也拿來用吧,會像這樣:
import React from "react";
import Title from "./Title";
export default function Article() {
  return (
    <div className="article">
      <Title />
	 This is article
    </div>
  );
}
接下來建造 Article 的資料接口,並實作內容,由於 title 的設計也需要資料傳進來,所以作為 title 的父 component ,需要幫他把資料傳下來,會變這樣:
import React from "react";
import Title from "./Title";
export default function Article({ article,title,className }) {
  return (
    <div className="article">
      <Title title={title} />
      <article>{article}</article>
    </div>
  );
}
那因為設計的因素,我也稍微改了一下 title 可以讓它依照傳進去的 classname 做變換,會像這樣:
import React from 'react'
export default function title({title,className}) {
    return (
        <div className={className}>
            <h1>{title}</h1>
            <div/>
        </div>
    )
}
至於那個 div 就是純粹的裝飾啦哈哈,有興趣可以自己看一下 css 的部分。
所以現在有了新的資料需求,我們也需要同步更新一下 Article。
import React from "react";
import Title from "./Title";
export default function Article({ article,title,className }) {
  return (
    <div className="article">
      <Title title={title} className={className} />
      <article>{article}</article>
    </div>
  );
}
接下來在 app.js 把資料傳進去。
      <InfoBoard >
        <Article article={article} title="About Me" className="subtitle"/>
      </InfoBoard>
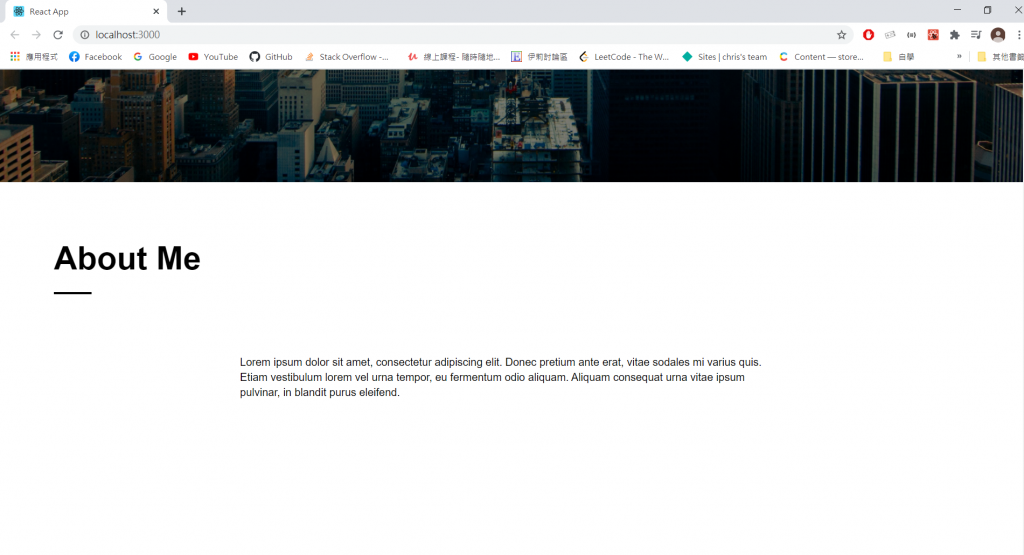
那我們來看一下畫面吧

畫面簡單的出現了,現在還剩照片的部分。
在 InfoBoard.js 新增照片的接口
import React from "react";
export default function InfoBoard({ children,pic}) {
  return (
    <div className="board">
      {children}
      <img alt=" " src={pic} />
    </div>
  );
}
接下來挑一張你自己的照片,長寬比大概 4:3 ,底色盡量不要太鮮豔,黑白最佳,這樣看起來會比較好喔。
挑完以後一樣把它丟進去 images,並 import 進 app.js,會像這樣:
{/* this is app.js*/}
import pic from "./images/side1.jpg";
{/* 其它省略 */}
      <InfoBoard pic={pic} >
        <Article article={article} title="About Me" className="subtitle"/>
      </InfoBoard>
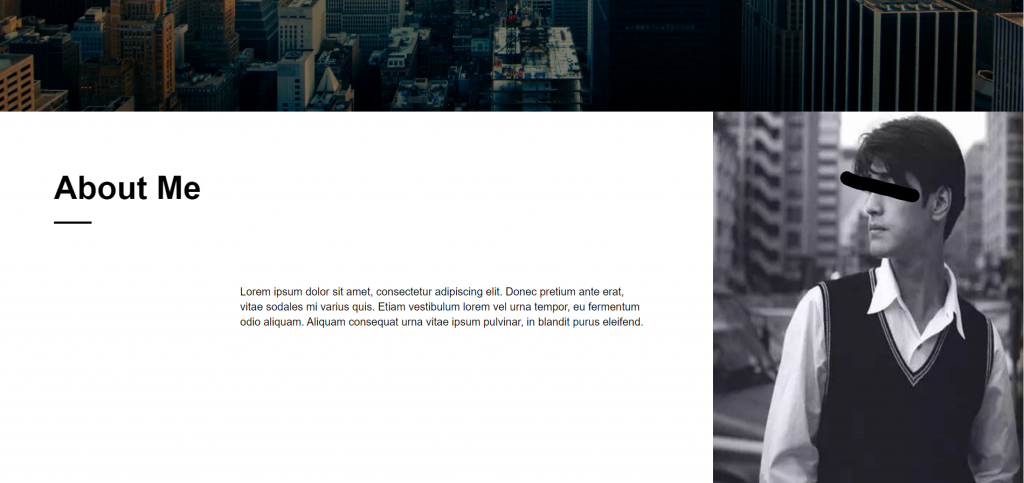
現在來看看效果如何

當然,照片上的人不是我 XD
會發現變得有格調了。
我是 chris,礙於時間與技術原因,今天就偷懶一點只做這一部分 :(,我們明天見!
喔對了,如果有不清楚地可以去我上面的 github 看一下,裡面有一些我偷跑部分XD。
