當我們需要開發的系統服務,又是一個團隊在進行開發的狀況,那我們要分享程式碼又想要版本控管的話,又不想放在卡在外面的服務,剛好有一套 GitLab 有社群版可以使用,除非您有想要特別的功能的話,可能就要花點錢付費就可以使用了。
yum install -y curl policycoreutils-python openssh-server
systemctl enable sshd ; systemctl start sshd
yum install postfix
systemctl enable postfix ; systemctl start postfix
curl https://packages.gitlab.com/install/repositories/gitlab/gitlab-ce/script.rpm.sh | sudo bash
sudo EXTERNAL_URL="https://gitlab.example.com" yum install -y gitlab-ce
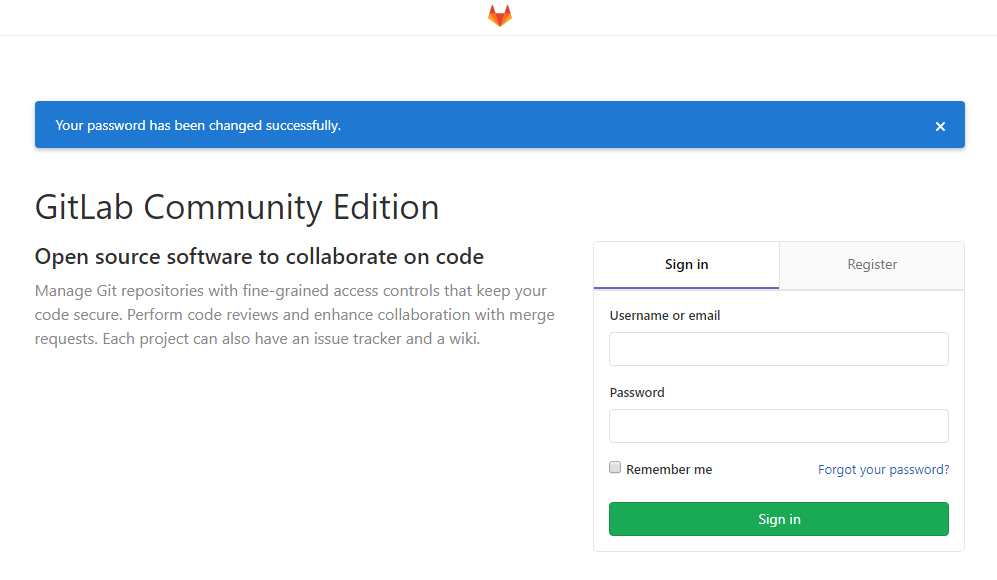
https://服務主機的位置 第一次登入會要求輸入管理者密碼,畫面如下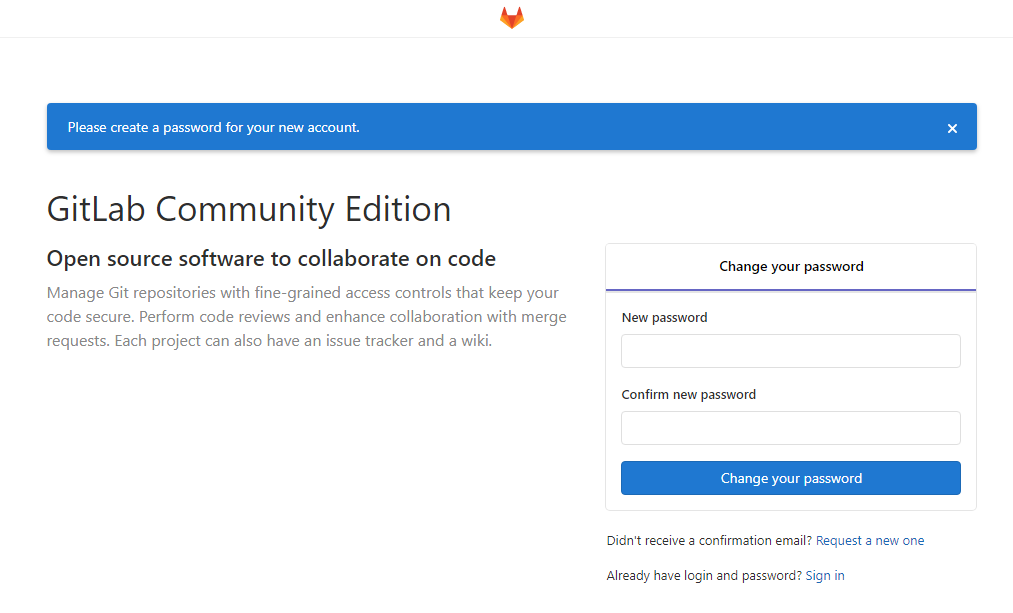
vim /etc/gitlab/gitlab.rb

裡面有一個,LetsEncrypt 選擇,預設是啟用的,將前面註解刪掉之後就存檔
letsencrypt['enable'] = false
/etc/gitlab/ssl 」該目錄下,再到內鍵使用的 web 服務是 nginx 設定vim /etc/gitlab/gitlab.rb
將以下這幾項註解都刪掉
nginx['enable'] = true
nginx['redirect_http_to_https'] = true
nginx['redirect_http_to_https_port'] = 80
以下兩項修改憑證所放置的路徑
nginx['ssl_certificate'] = "/etc/gitlab/ssl/fullchain.pem"
nginx['ssl_certificate_key'] = "/etc/gitlab/ssl/privkey.pem"
gitlab-ctl reconfigure


 iThome鐵人賽