今天把有參加鐵人賽的同事拉了一個群組,好像又有更多堅持下去的理由了XD
下面繼續介紹HTML的標籤
直接上程式
// <table>是表格的標籤
// <tr>是每一列的標籤(table raw)
// <th>是表格標題的標籤(table head)
// <td>是表格資料的標籤(table data)
<table border="1">
	<tr>
		<th>Name</th>
		<th>Age</th>
	</tr>
	<tr>
		<td>Duncan</td>
		<td>30</td>
	</tr>
	<tr>
		<td>Andy</td>
		<td>35</td>
	</tr>
</table>
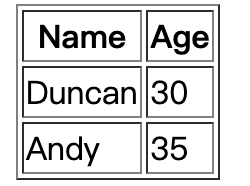
呈現的方式如圖
另外上述的寫法,不容易區別table head以及table data的分隔,另外有一種可讀性更高的寫法
// <table>是表格的標籤
// <tr>是每一列的標籤(table raw)
// <th>是表格標題的標籤(table head)
// <td>是表格資料的標籤(table data)
<table border="1">
<thead>
	<tr>
		<th>Name</th>
		<th>Age</th>
	</tr>
</thead>
<tbody>
	<tr>
		<td>Duncan</td>
		<td>30</td>
	</tr>
	<tr>
		<td>Andy</td>
		<td>35</td>
	</tr>
</tbody>
</table>
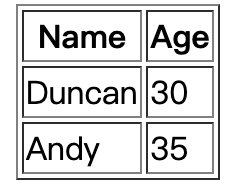
呈現的方式跟上面的寫法基本上沒有差別,但對讀程式的人會相對比較友善XD
HTML提供多種可以讓使用者輸入資料的元件,直接舉例比較容易理解
// text是輸入框
// color是顏色選取元件
// radio是選取方塊
// password是密碼,輸入後會自動隱碼
// submit是送出的按鈕
<input type="text">
<input type="color" >
<input type="radio" >
<input type="password">
<input type="submit" >
呈現的結果如下
表單內含有各種可以互動的元件,允許使用者輸入資料後送出
下面舉一個稍微比較複雜的例子
// form標籤用以收集使用者輸入的資訊
// action是這個表單要送往哪個網址, method則是要使用的協定(protocal)
<form action="https://wikipedia.org" method="GET">
    // label是標籤標籤(好繞口), for用以關聯某個輸入元件
    // id是標籤的鍵值
    // name是當表單送出時,這個元件所代表的屬性
    // placeholder表示元件的提示文字
    // required表示欄位必填
	<label for="username">email:</label>
	<input id="email" type="email" name="email" placeholder="email" required>
	<label for="password">password:</label>
	<input id="password" type="password" name="password" placeholder="password" required>
	<input type="submit" name="">
</form>
呈現的結果如下圖
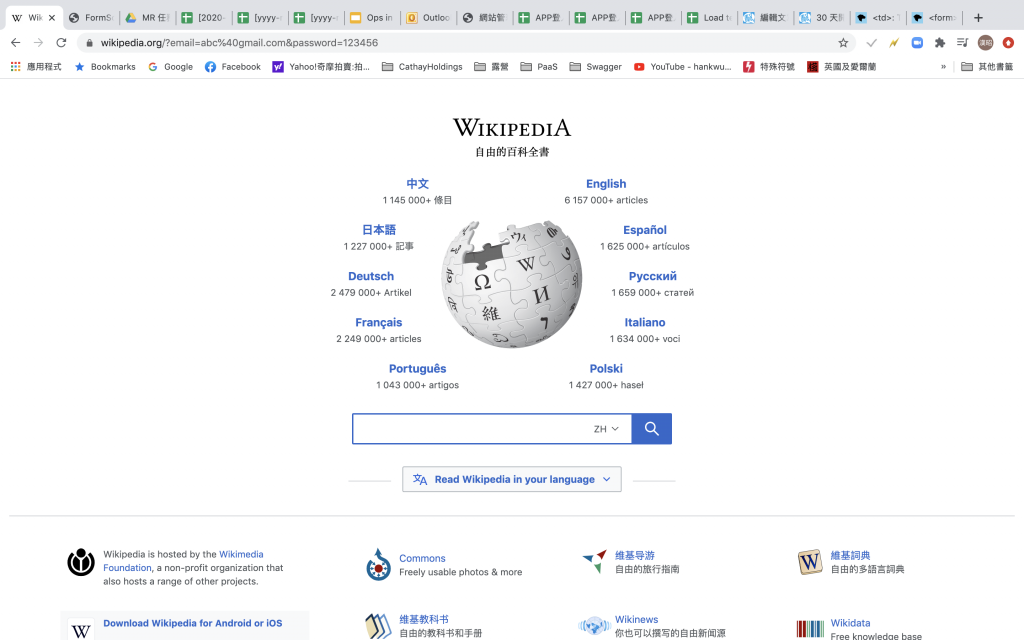
點擊了送出以後,會把網頁帶到維基百科,並且網址可以看到有把相關的屬性帶入網頁
