終於來到了操縱Docker的第一個章節,本章節將會教大家在各平台如何安裝Docker,並透過簡單的指令確認安裝成功與否。
$ sudo apt-get update
$ sudo apt-get install \
    apt-transport-https \
    ca-certificates \
    curl \
    gnupg-agent \
    software-properties-common
$ curl -fsSL https://download.docker.com/linux/ubuntu/gpg | sudo apt-key add -
$ sudo add-apt-repository \
   "deb [arch=amd64] https://download.docker.com/linux/ubuntu \
   $(lsb_release -cs) \
   stable"
$ sudo apt-get update
$ sudo apt-get install docker-ce docker-ce-cli containerd.io
$ sudo apt-get install docker-ce=<VERSION_STRING> docker-ce-cli=<VERSION_STRING> containe
$ sudo docker -v
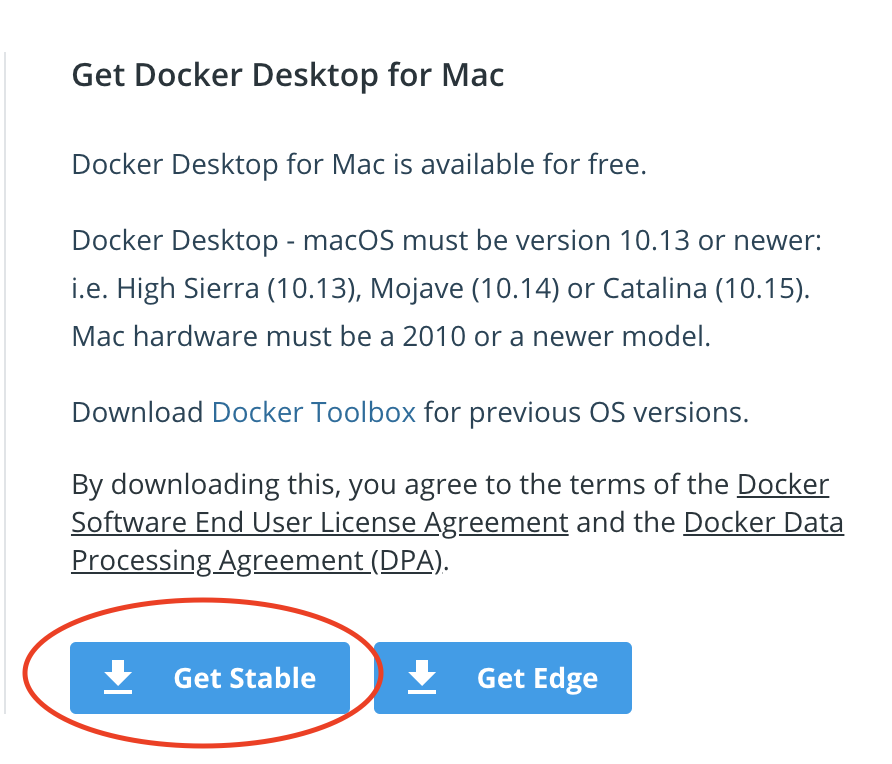
https://hub.docker.com/editions/community/docker-ce-desktop-mac/
$ brew -v
Homebrew 2.5.1
Homebrew/homebrew-core (git revision 3b988; last commit 2020-09-14)
$ /bin/bash -c "$(curl -fsSL https://raw.githubusercontent.com/Homebrew/install/master/install.sh)"
$ brew upgrade
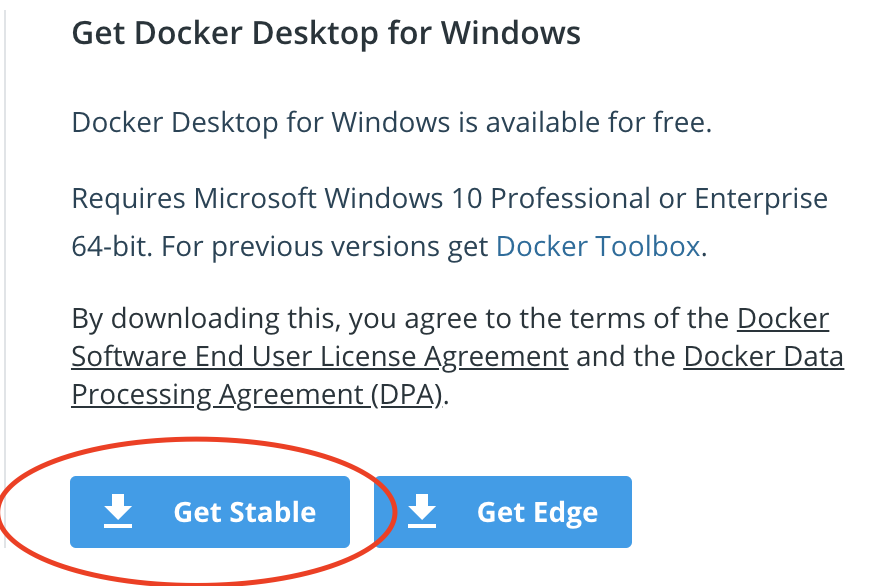
https://hub.docker.com/editions/community/docker-ce-desktop-windows/
$ sudo docker -v
Docker version 19.03.8, build afacb8b

$ sudo docker run hello-world
Unable to find image 'hello-world:latest' locally
latest: Pulling from library/hello-world
0e03bdcc26d7: Pull complete
Digest: sha256:4cf9c47f86df71d48364001ede3a4fcd85ae80ce02ebad74156906caff5378bc
Status: Downloaded newer image for hello-world:latest

Hello from Docker!
This message shows that your installation appears to be working correctly.

To generate this message, Docker took the following steps:
 1. The Docker client contacted the Docker daemon.
 2. The Docker daemon pulled the "hello-world" image from the Docker Hub.
    (amd64)
 3. The Docker daemon created a new container from that image which runs the
    executable that produces the output you are currently reading.
 4. The Docker daemon streamed that output to the Docker client, which sent it
    to your terminal.

To try something more ambitious, you can run an Ubuntu container with:
 $ docker run -it ubuntu bash

Share images, automate workflows, and more with a free Docker ID:
 https://hub.docker.com/

For more examples and ideas, visit:
 https://docs.docker.com/get-started/
如果能成功執行docker -v 並且啟動hello-world的container就代表你成功了!
恭喜大家順利的安裝完成Docker,邁出了踏入容器化殿堂的第一步。在下一章節當中,我們會先透過基本的Docker指令來讓大家玩轉Container,敬請期待。
https://hub.docker.com/editions/community/