An old saying - images can be explained more than thoudsands of words
Human beings are more attracted by visualisation than words.
Research shows images are easily be memorised in brain than text.
No doubts, you love to watch videos than reading right XD 
Finally we are proceeding to a more interesting topic, DETECTING IMAGES!!!
Waiting no more! Let's start~
Open Google Cloud Platform ( follow the step in A Tour of Qwiklabs and Google Cloud )
Activate Cloud Shell
Like what we did in the previous lesson.
Create an API Key
Like what we did in the previous lesson.
Upload an Image to a Cloud Storage bucket
Go Storage in Google Cloud Platform and give your bucket a globally unique name.
We use this image as a sample. donuts.png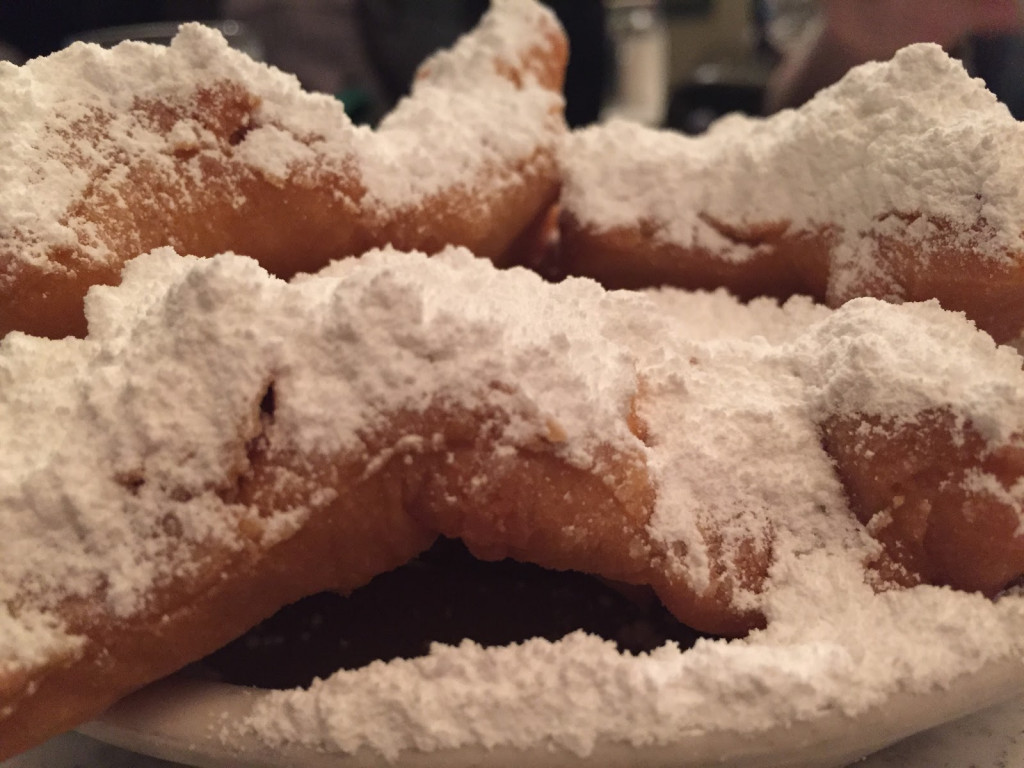
Once this image is uploaded, set the permission to PUBLIC. So we'll now see that the file has public access.
{
  "requests": [
      {
        "image": {
          "source": {
              "gcsImageUri": "gs://my-bucket-name/donuts.png"
          }
        },
        "features": [
          {
            "type": "LABEL_DETECTION",
            "maxResults": 10
          }
        ]
      }
  ]
}
curl -s -X POST -H "Content-Type: application/json" --data-binary @request.json https://vision.googleapis.com/v1/images:annotate?key=${API_KEY}
It returns a list of labels (words) of what's in the image like this: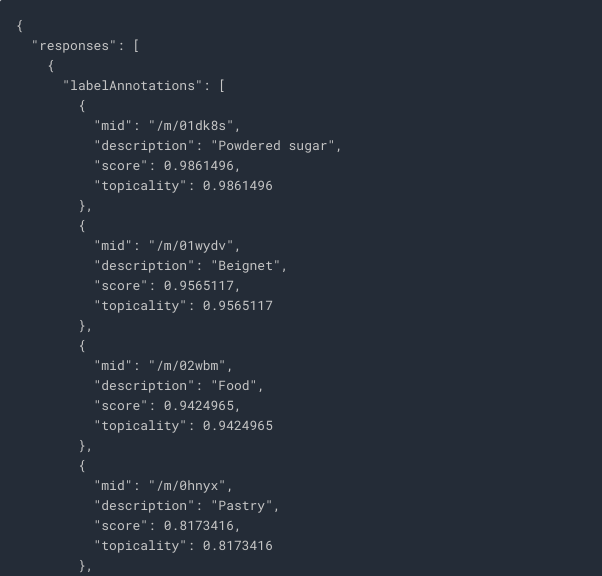
We use the same image donuts.png for web detection.
This time we edit the same request.json as following:
{
  "requests": [
      {
        "image": {
          "source": {
              "gcsImageUri": "gs://my-bucket-name/donuts.png"
          }
        },
        "features": [
          {
            "type": "WEB_DETECTION",
            "maxResults": 10
          }
        ]
      }
  ]
}
You may notice type is changing from LABEL_DETECTION to WEB_DETECTION.
Then just use the same command line as above:
curl -s -X POST -H "Content-Type: application/json" --data-binary @request.json https://vision.googleapis.com/v1/images:annotate?key=${API_KEY}
Entities of this image will be listed under webEntities: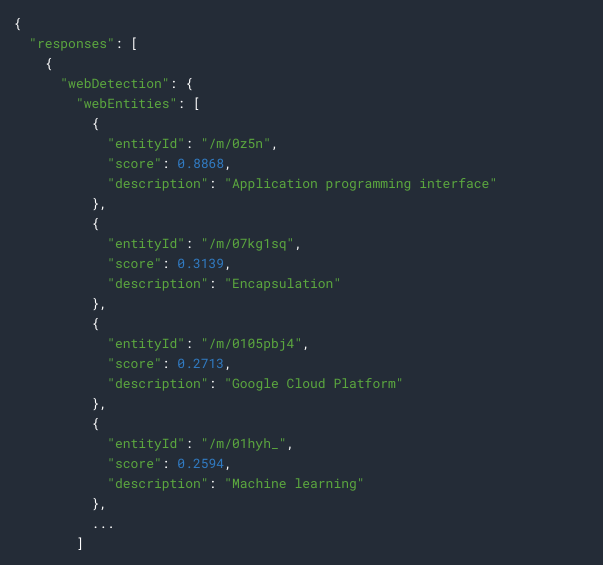
If you scroll further down of the result, you will see urls which give similiar images of the detected image under visuallySimilarImages: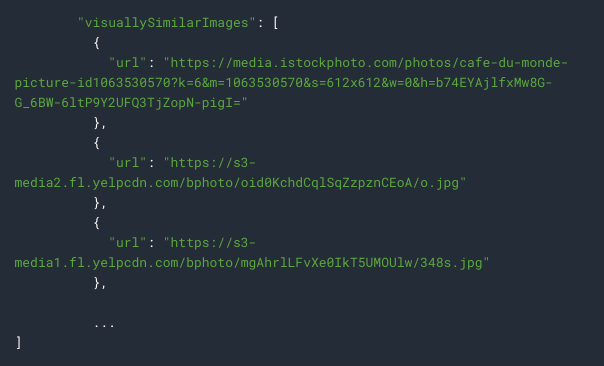
Sounds even more magical right!!!
Let's upload another image for face detection. selfie.png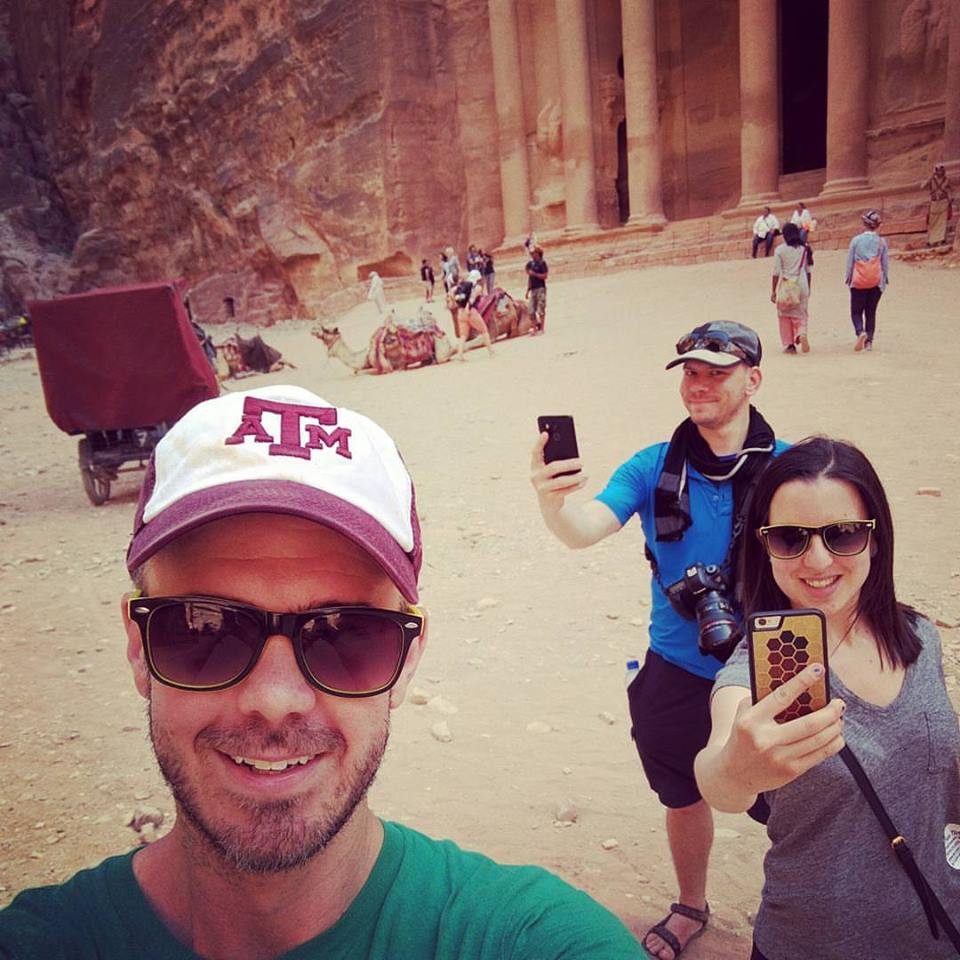
Once this image is uploaded, set the permission to PUBLIC. So we'll now see that the file has public access.
Edit the same request.json to the following code:
{
  "requests": [
      {
        "image": {
          "source": {
              "gcsImageUri": "gs://my-bucket-name/selfie.png"
          }
        },
        "features": [
          {
            "type": "FACE_DETECTION"
          },
          {
            "type": "LANDMARK_DETECTION"
          }
        ]
      }
  ]
}
Notice we have 2 types here: FACE_DETECTION and LANDMARK_DETECTION
Use the same command line to call Vision API:
curl -s -X POST -H "Content-Type: application/json" --data-binary @request.json https://vision.googleapis.com/v1/images:annotate?key=${API_KEY}
API returns an object for each face found in the image. Take a look at faceAnnotations object in the result:
Wow unbelievable right!!!
Let's upload our last image for landmark detection. city.png
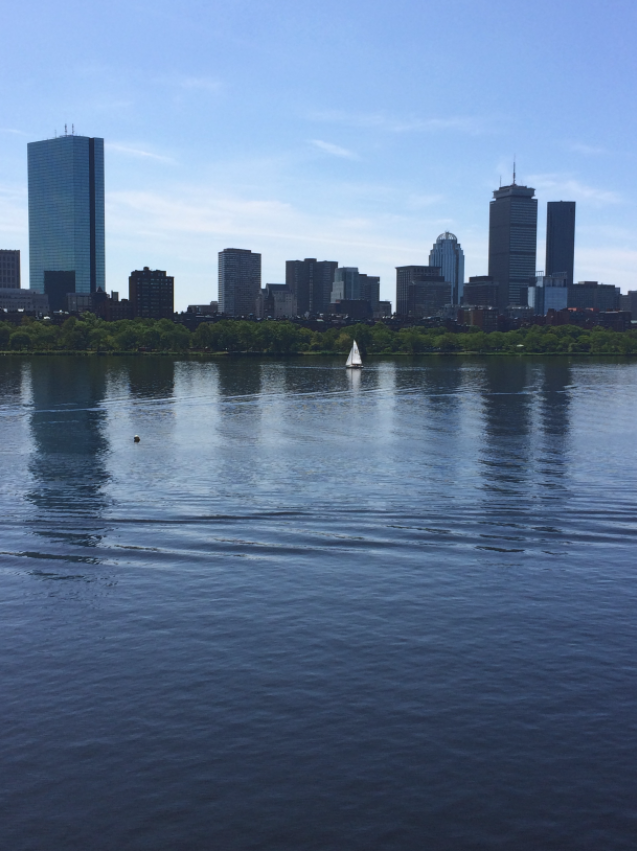
Once this image is uploaded, set the permission to PUBLIC. So we'll now see that the file has public access.
Use one last time for the same command line:
curl -s -X POST -H "Content-Type: application/json" --data-binary @request.json <https://vision.googleapis.com/v1/images:annotate?key=${API_KEY}>
The result tells us this image is taken in Boston with exact location:
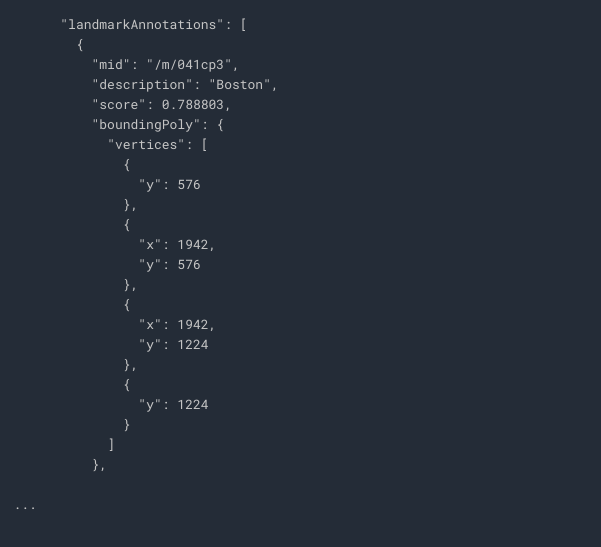
boundingPoly -> region in the image where the landmark was identified.
Vision API does lots of amazing works!
Different type shows different results. What a convenient work!
Hope you enjoy this lesson ~