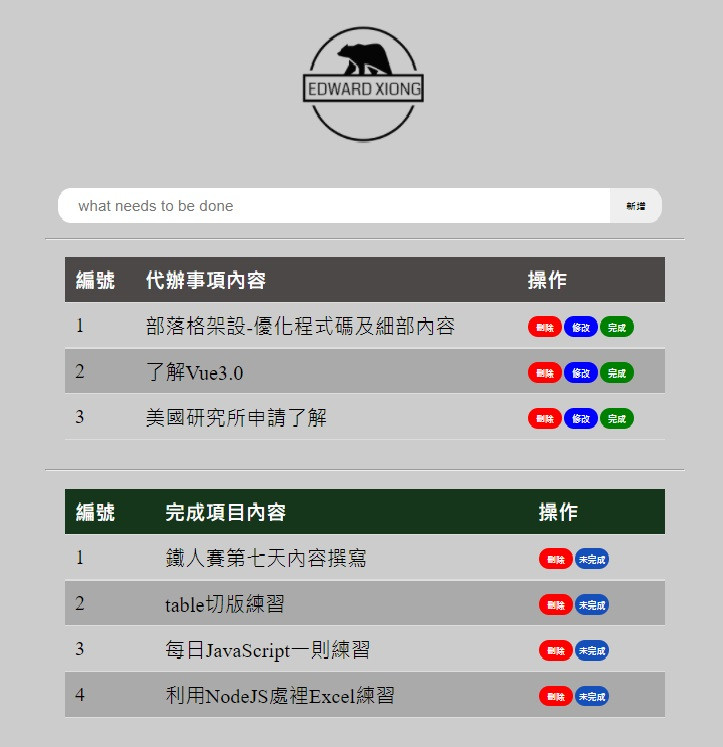
聽完Vue的介紹後,既然這麼好用,趕緊回到家,利用Vue來練習toDoList:
因為框架的原因,寫起來十分得心應手。在代辦事項及完成事項來說,只需要透過v-model及v-for渲染我的畫面即可,我不用再去想著Real DOM的問題。HTML有如模板一樣,一次渲染出來,乾淨俐落如下:
代辦事項部分:
<tbody>
       <tr v-for="(item,index) in toDoItem" :key="index">
            <td>{{index+1}}</td>
             <td>{{item}}</td>
             <td><button
             id="deleteStyle"
             @click="removetoDoHandler(index)">刪除</button>
             <button
             id="fixed"
             @click="fixedItem(index)">修改</button>
             <button
             id="finished"
             @click="finishedHandler(index)">完成</button>
             </td>
        </tr>
</tbody>
完成事項部分:
<tbody>
       <tr v-for="(item,index) in finishedItem" :key="index">
              <td>{{index+1}}</td>
              <td>{{item}}</td>
              <td><button
              id="deleteStyle"
              @click="removeFinishdHandler()">刪除</button>
              <button
              id="notFinished"
              @click="backToDoList(index)">未完成</button></td>
       </tr>
</tbody>
上述為Vue模板部分,至於供給模板的資料全都放在data屬性:
data() {
            return {
                inputText: '',
                toDoItem: [],
                finishedItem: [],
        }
}
對於使用的方法,也全都存在methods屬性中:
methods: {
            addNewItem() {
                this.toDoItem.push(this.inputText)
                this.inputText = ''
            },
            removetoDoHandler(index) {
                this.toDoItem.splice(index, 1)
            },
            removeFinishdHandler(index) {
                this.finishedItem.splice(index, 1)
            },
            fixedItem(index) {
                const newItem = prompt("修改代辦事項",this.toDoItem[index])
                if (newItem) {
                    this.toDoItem.splice(index, 1)
                    this.toDoItem[index] = newItem
                    alert("修改完成:" + newItem)
                }
            },
            finishedHandler(index) {
                this.finishedItem.push(this.toDoItem[index])
                this.toDoItem.splice(index, 1)
            },
            backToDoList(index) {
                this.toDoItem.push(this.finishedItem[index])
                this.finishedItem.splice(index, 1)
            }
 }
對於Vue這套框架,雖然自己實作一次,但我還有好多東西想去了解呢~就讓我明天再去找Vue來詢問吧!
待續......
