目前在業界上的Kubernetes Cluster,大部分還是基於公有雲(GCP、AWS、Azure、百度雲...etc)而建立,因此章節將透過GCP的免費試用額度讓大家能夠本機創建並操作公有雲上的Kubernetes cluster。
google提供了12個月或者是300美金額度的免費試用,在兩者其一達成之前都是免費狀態。我們可以利用這項優惠來練習kubernetes。
https://cloud.google.com/free?hl=zh-tw
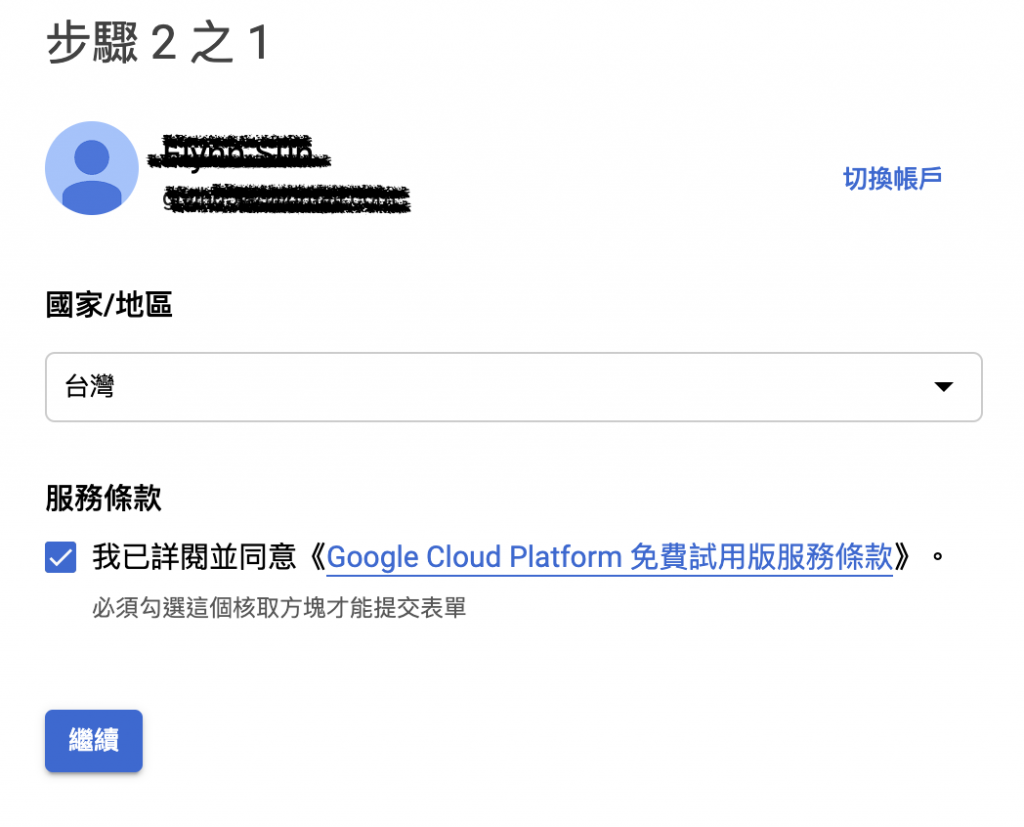
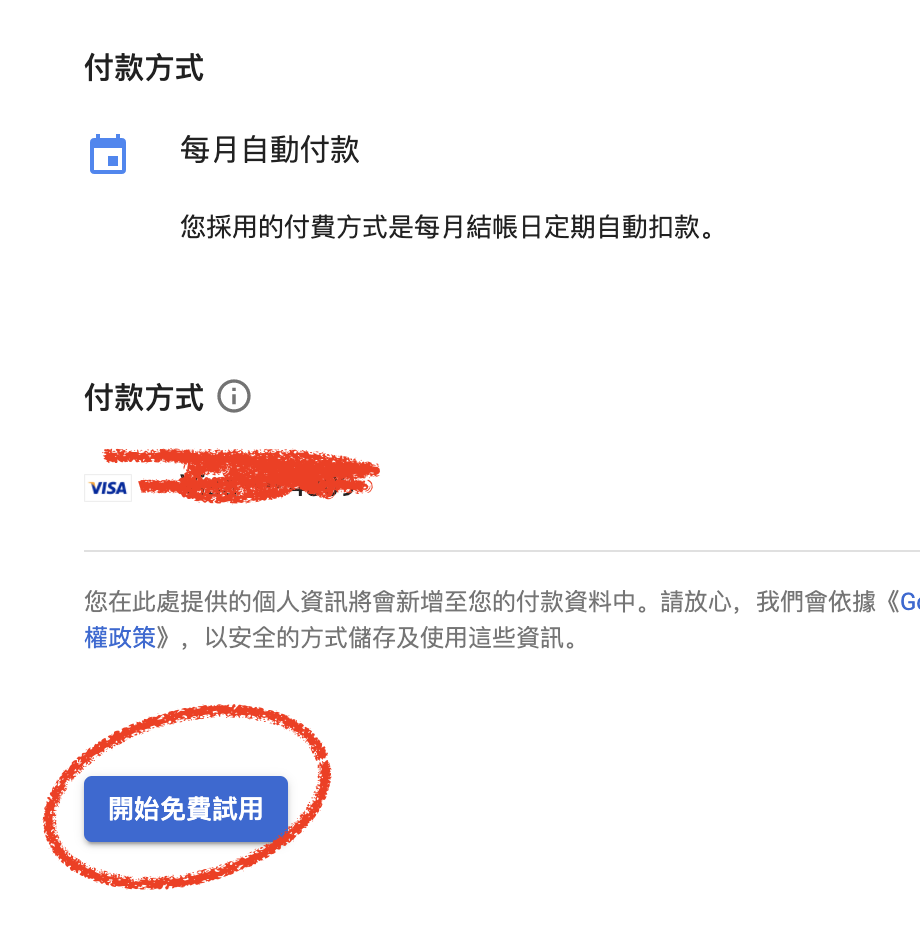
填寫完資料之後,開始試用(p.s: 結束試用後並不會開始自動扣款,需要信用卡資訊只是確認使用者並非機器人)
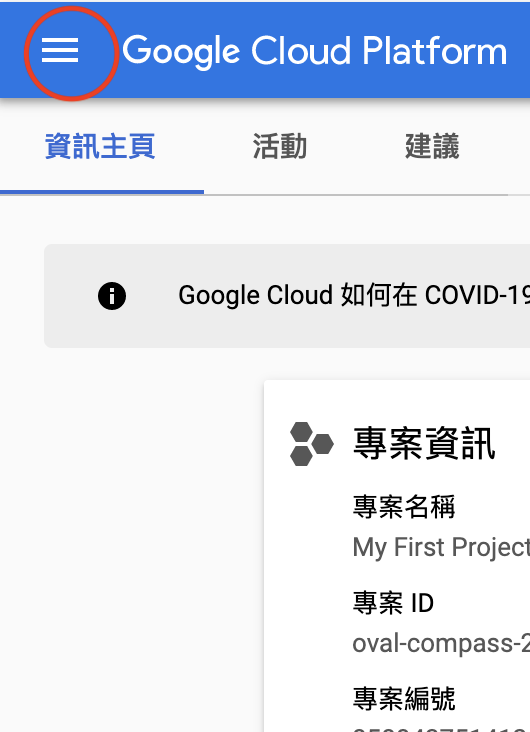
完成註冊後請到下方網址,請先創建一個專案,並點選左上方的資訊主頁
https://console.cloud.google.com/home/
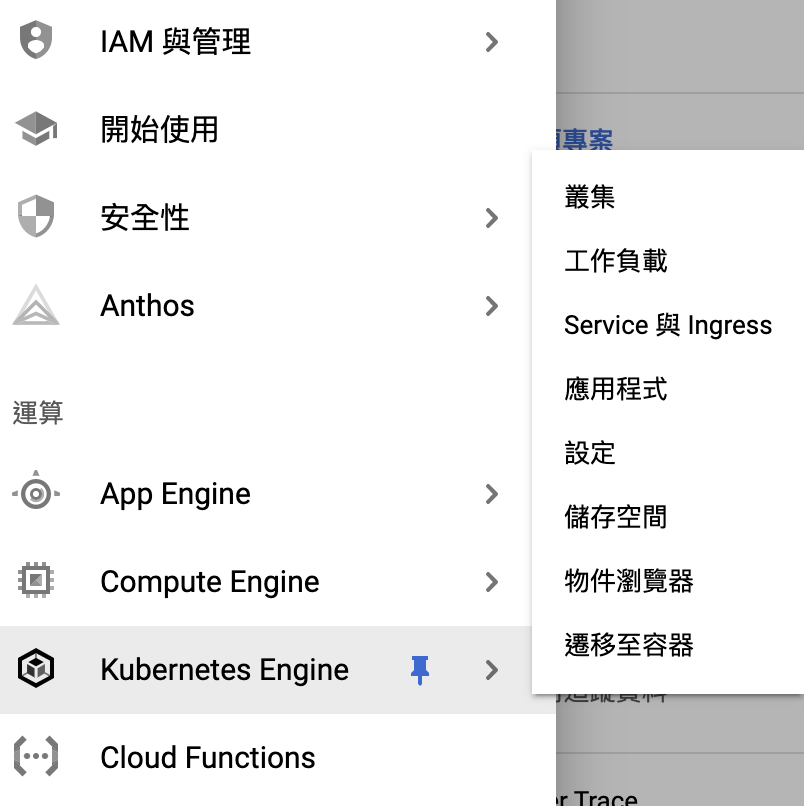
將游標移動到運算下方的Kubernetes Engine,先點選右方的固定(因未來練習很常用到)並點選右方叢集,並點選創建叢集。
創建叢集時,建議先使用GCP建議方案
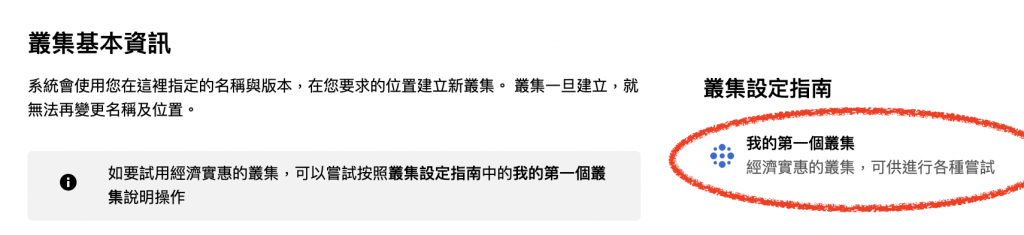
到這裡K8S的第一個叢集就建立完畢。
再來我們將透過google的cloud sdk與我們的cluster進行連結,因筆者使用macOS,因此以macOS為例,若為其他作業系統使用者,請參考下方網址
https://cloud.google.com/sdk/docs/quickstart
https://cloud.google.com/sdk/docs/quickstart-macos
$ python -v
$ wget https://dl.google.com/dl/cloudsdk/channels/rapid/downloads/google-cloud-sdk-311.0.0-darwin-x86_64.tar.gz
$ tar xfz google-cloud-sdk-311.0.0-darwin-x86_64.tar.gz
$ ./google-cloud-sdk/install.sh
$ gcloud init
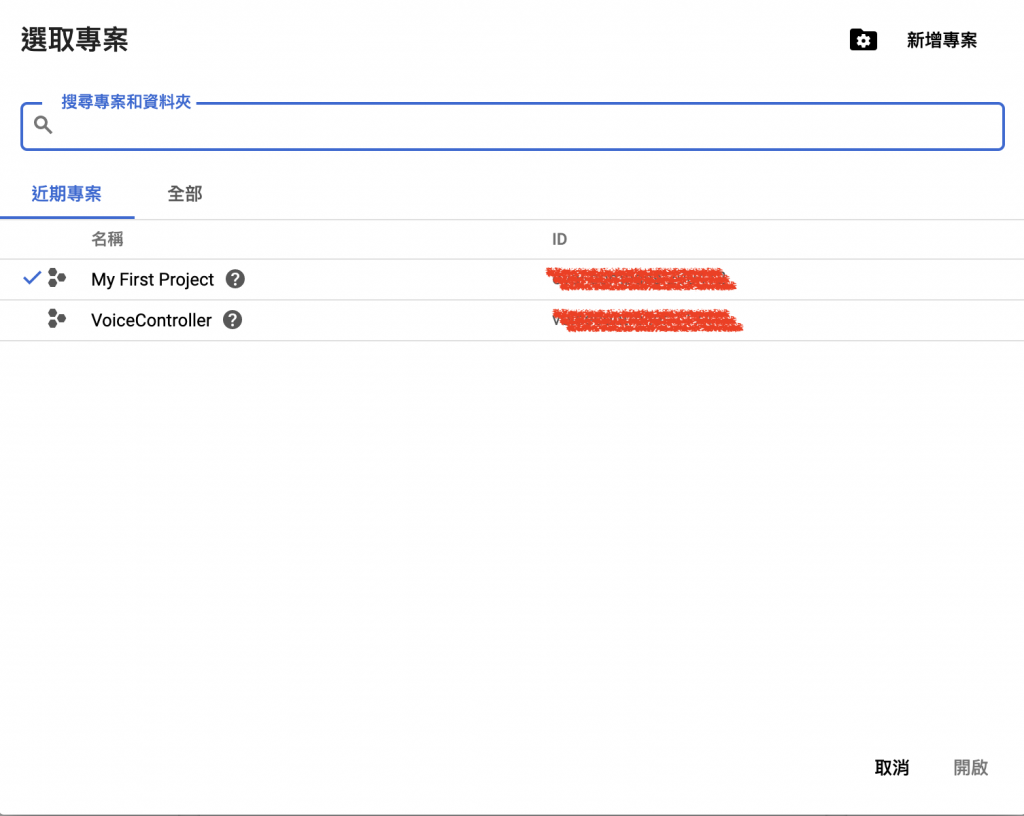
這邊要注意選擇有cluster的專案,可透過專案ID來判斷。
區域則建議選剛剛創建k8s cluster的區域(在台灣的小夥伴應該是27)
$ gcloud auth login
$ gcloud config set project <project_id>
PS: project_id能在專案選項看到
$ gcloud container clusters get-credentials <cluster_name> --region <region>
$ kubectl config current-context
gke_oval-compass-290412_asia-east1-a_my-first-cluster-1
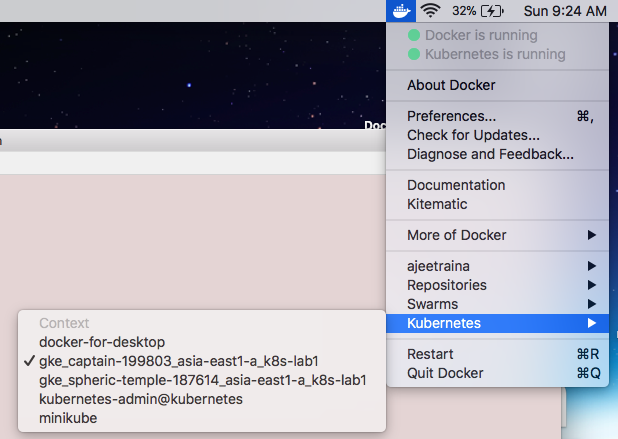
$ kubectl config use-context gke_stage-data-alchemy-183102_asia-east1_stg-ceres-cluster
Switched to context "gke_stage-data-alchemy-183102_asia-east1_stg-ceres-cluster".
And then you can see the kubernetes cluster in your docker-desktop.

先確認這是你全新的環境,並且沒有任何pod在你的cluster中
$ kubectl get pod
No resources found in default namespace.
接下來透過官方的application,建立一個deployment
$ kubectl apply -f https://k8s.io/examples/service/access/hello-application.yaml
deployment.apps/hello-world created
然後,我們再確認一次cluster,這時應該會有了剛剛所建立的pod了
$ kubectl get pod
NAME                           READY   STATUS    RESTARTS   AGE
hello-world-86d6c6f84d-n6tg8   1/1     Running   0          64s
hello-world-86d6c6f84d-v2c9n   1/1     Running   0          64s
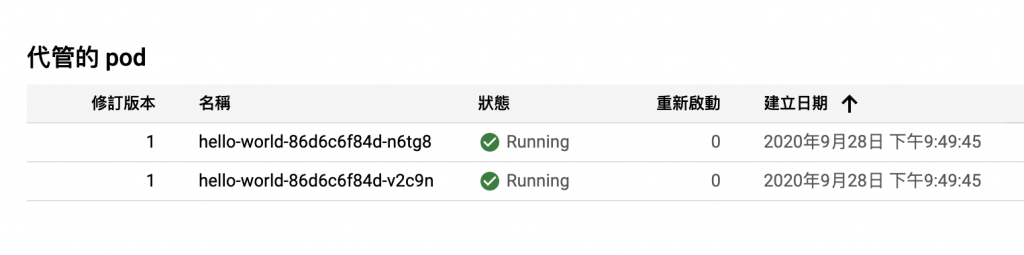
最後,則是上GKE看看剛剛建立的結果。那確實是我剛剛建立的deployment,接下來我們點擊進去hello-world
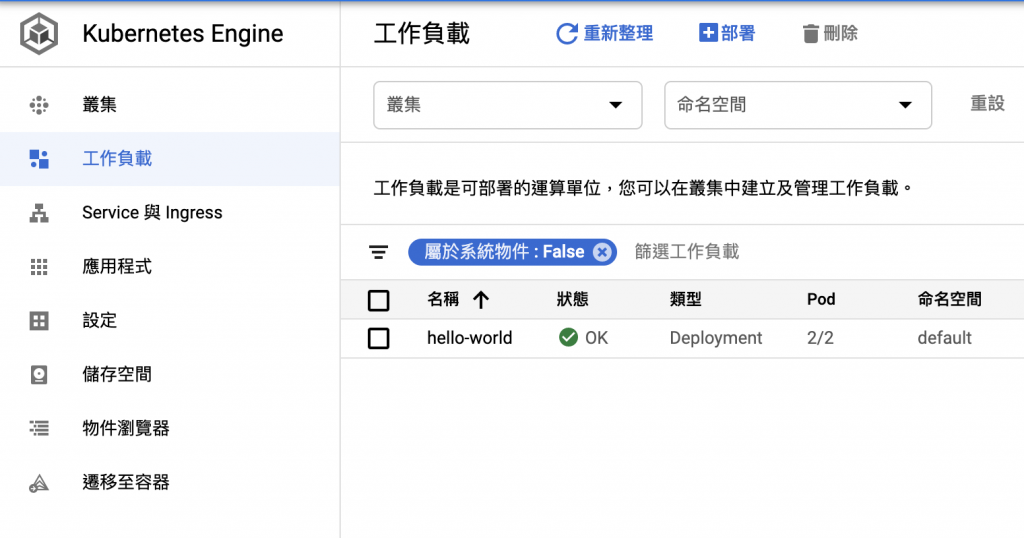
裡頭的Pod也確實是兩個,並且名字與我在local環境下的kubectl得到的資訊一致。
到這邊就確認我們成功部署並連接到GKE了。
$ gcloud container clusters create k8s-lab1 --disk-size 10 --zone asia-east1-a --machine-type n1-standard-2 --num-nodes 3 --scopes compute-rw
And then you can see the kubernetes cluster in your docker-desktop
$ kubectl get node
$ kubectl run nginx --image=nginx --replicas=3
deployment "nginx" created
$ kubectl get pods
NAME      READY   STATUS    RESTARTS   AGE
nginx-76df748b9-dhmlh 1/1 Running 0 12s
nginx-76df748b9-mkd97 1/1 Running 0 12s
nginx-76df748b9-rmnk2 1/1 Running 0 12s
And you can do what you want to do in your GKE cluster from your local mac.
到這裡為止,從GCP試用到建立第一個GKE叢集以及利用Cloud SDK從本機連到GKE就完成了。
後面的章節將透過GKE平台以及Cloud SDK來練習並熟悉K8S。
https://cloud.google.com/free?hl=zh-tw

 iThome鐵人賽