頁面路由的相關功能需求
一、何謂頁面路由
二、組成頁面路由的網址要素
三、頁面路由的應用
四、總結
五、延伸閱讀
瀏覽者進到什麼網址,會得到什麼頁面和內容
例如下方的路由
// http://xxx.com.tw/
// http://xxx.com.tw/news
// http://xxx.com.tw/news/01

{
    path: '/',
    component: () => import('layouts/Front.vue'),
    children: [
      { path: '', name: 'front.index', component: () => import('pages/Index.vue') },
      {
        path: 'news',
        component: { render: h => h('router-view') }, /* 使用父層的Layout component */
        children: [
          { path: '', name: 'front.news.list', component: () => import('pages/front/news/list.vue') },
          { path: ':id', name: 'front.news.detail', component: () => import('pages/front/news/list.vue') }
        ]
      }
    ]
},
// http://xxx.com.tw/back/
// http://xxx.com.tw/back/news
// http://xxx.com.tw/back/news/post
// http://xxx.com.tw/back/news/edit/01

{
    path: '/back',
    component: () => import('layouts/Back.vue'),
    children: [
      { path: '', name: 'back.index', component: () => import('pages/Index.vue') },
      {
        path: 'news',
        component: { render: h => h('router-view') }, /* 使用父層的Layout component */
        children: [
          { path: '', name: 'back.news.list', component: () => import('pages/back/area01/list.vue'), meta: { requireLogin: true, roles: ['user'] } },
          { path: 'post', name: 'back.area01.post', component: () => import('pages/back/area01/post.vue'), meta: { requireLogin: true, roles: ['user', 'manager'] } },
          { path: 'edit/:ID', name: 'back.area01.edit', component: () => import('pages/back/area01/edit.vue'), meta: { requireLogin: true, roles: ['manager'] } }
        ]
      }
    ]
}
我們以IT邦幫忙來舉例
通常會用在資料的「清單頁面」,表示「分頁」、「篩選」、「搜尋」
如下圖看到的,我現在瀏覽的「技術文章」清單頁面的「熱門」頁籤的「第二頁」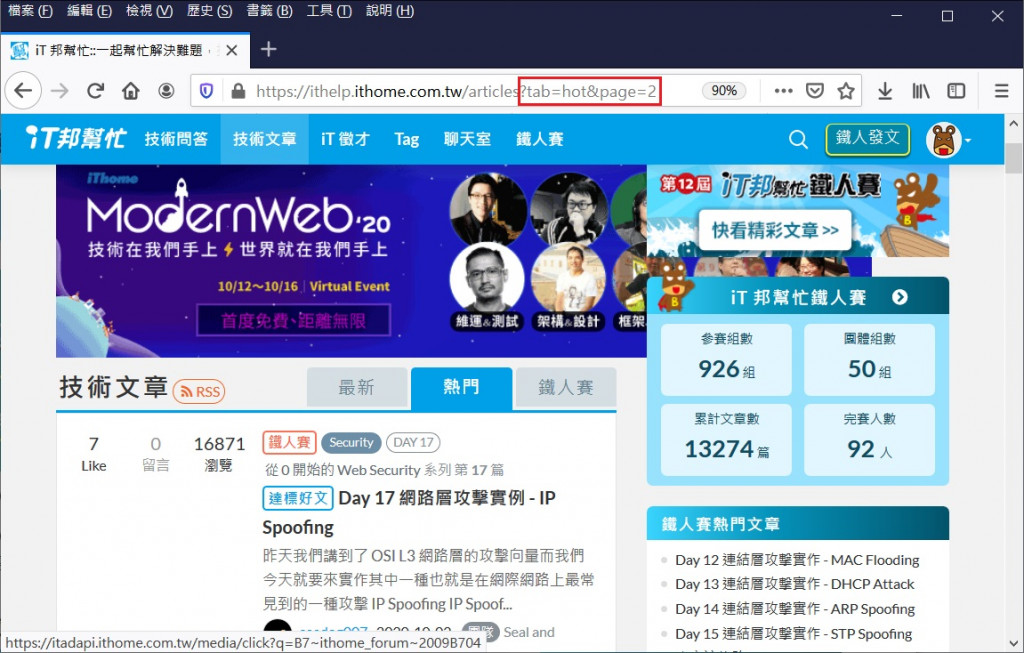
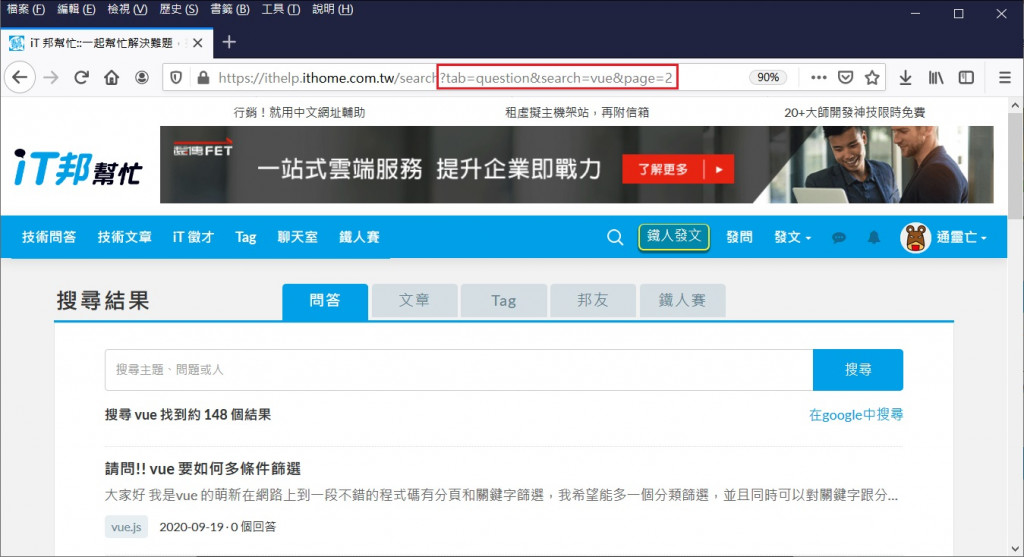
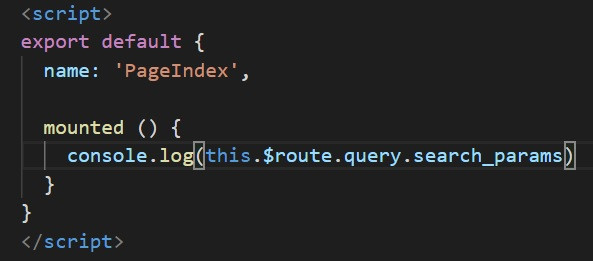
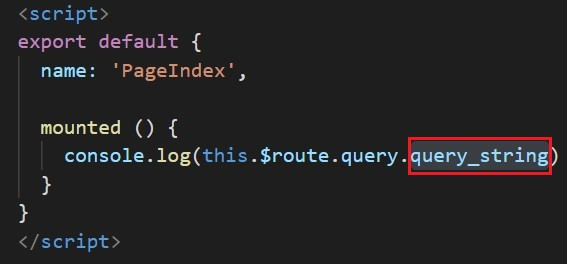
Vue 的 Vue Router 可以透過 route.query.xxx取得某一個query string的值
通常會用在資料的「詳細頁面」、「編輯頁面」,表示目前正在正在觀看或編輯某一筆資料
如下圖看到的,我現在瀏覽的是「技術文章」的文章編號「10245099」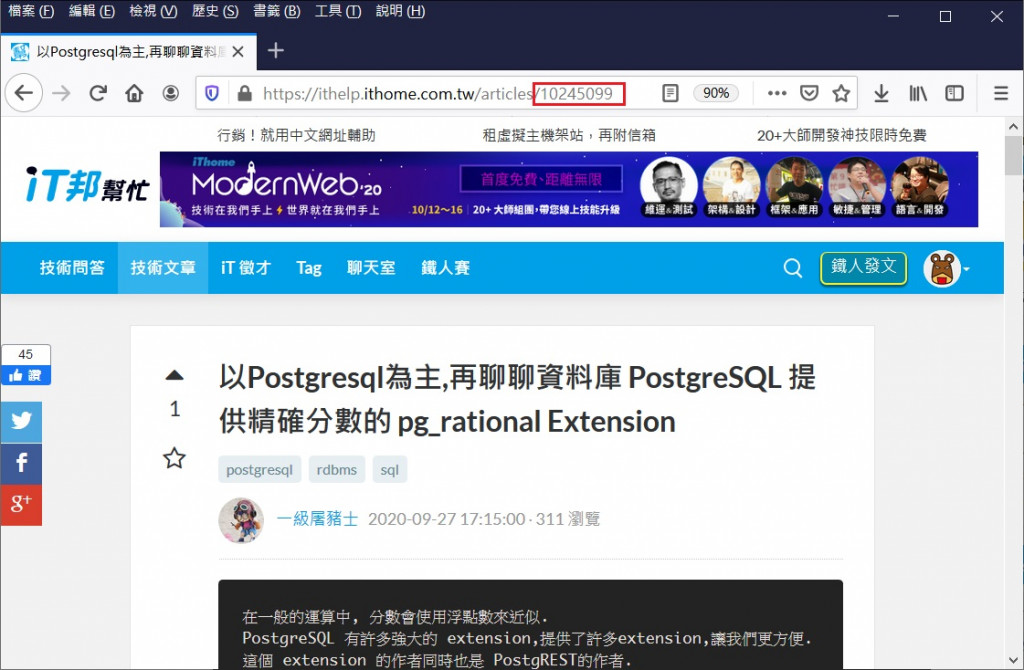
如果在後面加上/edit,會進到編輯那一筆文章的頁面 (首先你要有權限)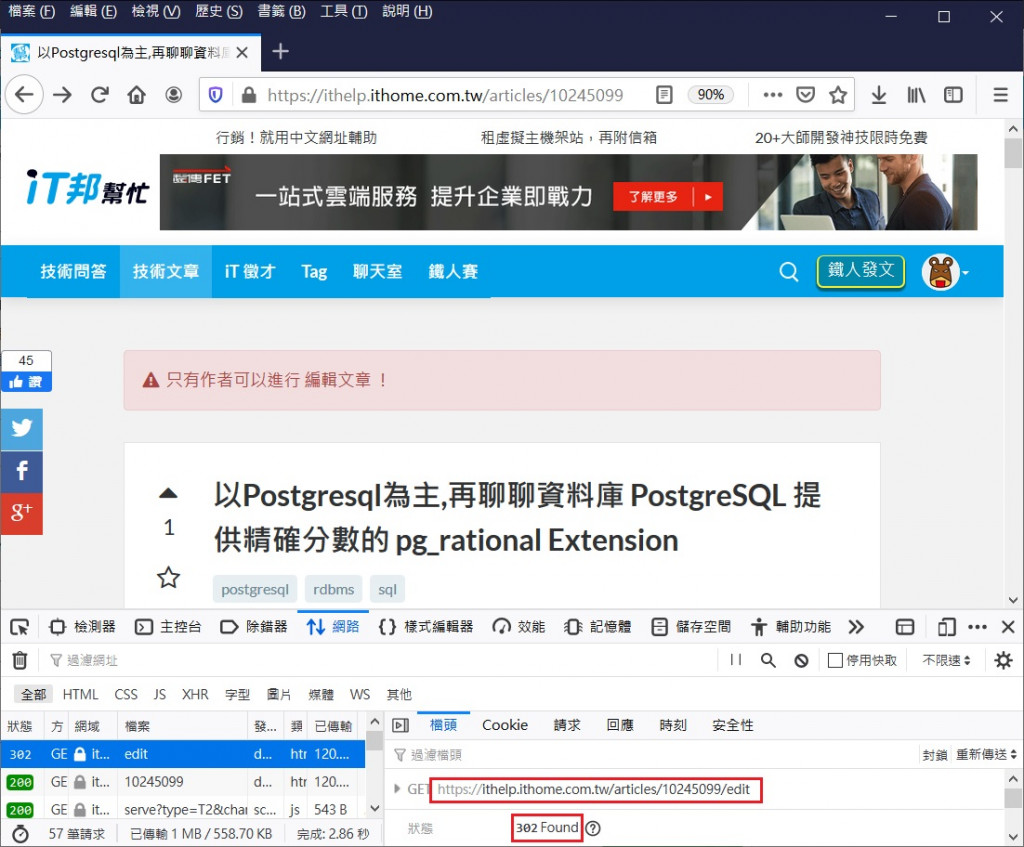
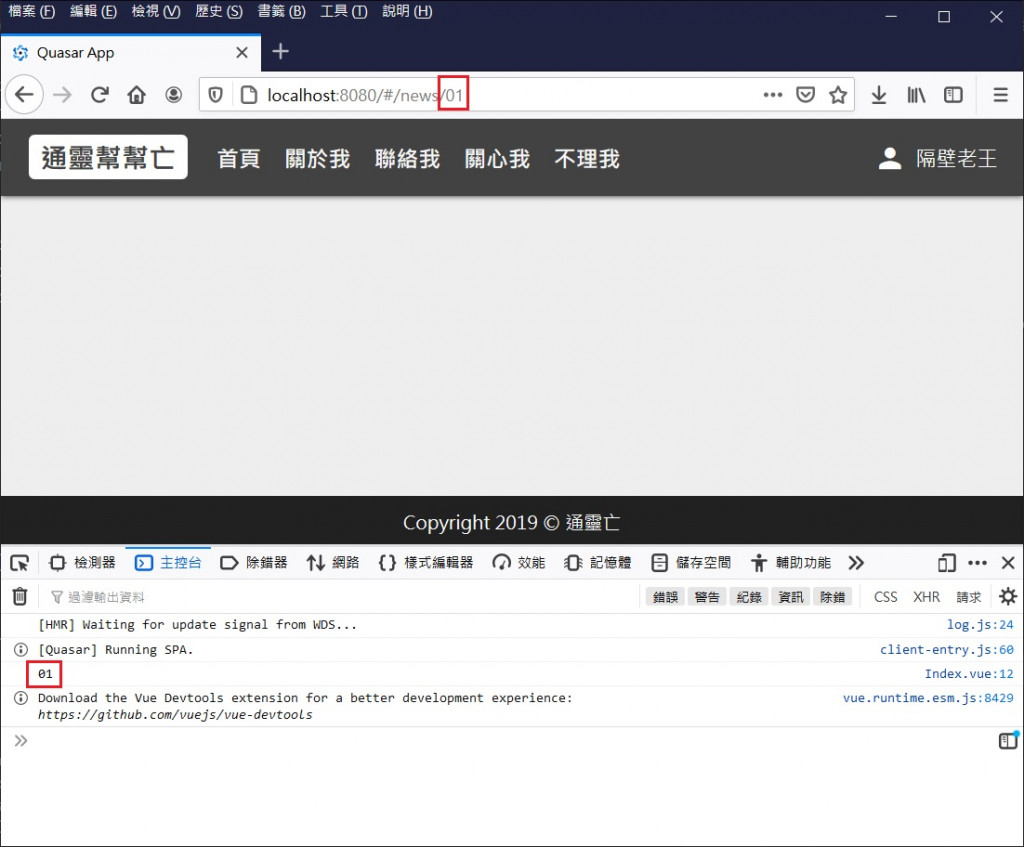
Vue 的 Vue Router 可以透過 route.params.xxx取得某一個params的值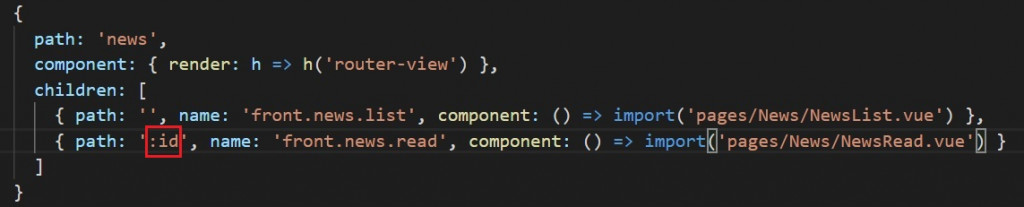

可以在 <q-header>,搭配<q-btn>放橫式的導覽列
https://quasar.dev/vue-components/button#QBtn-API
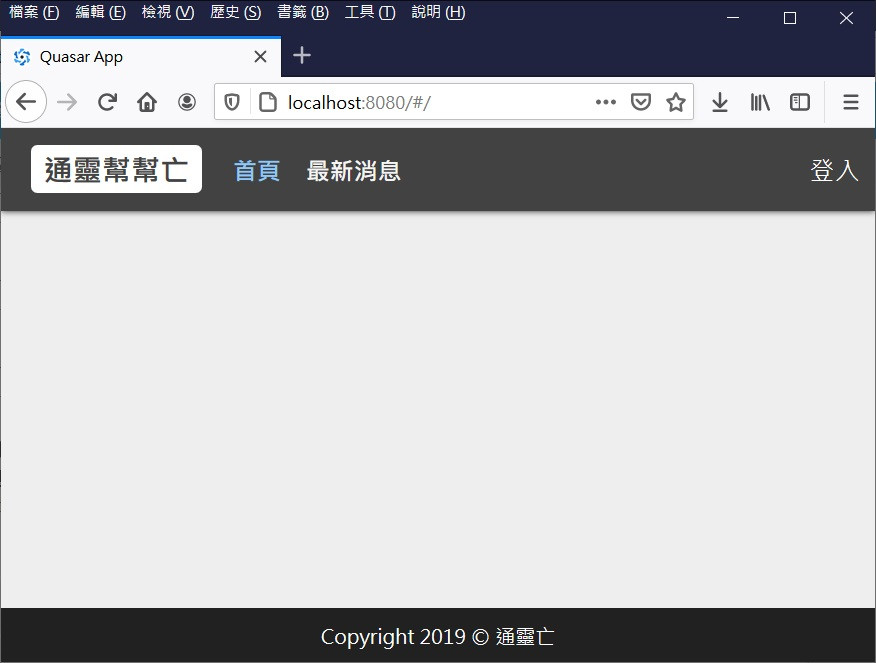
<q-header>
    <q-toolbar-title class="flex no-wrap items-center">
        <div class="header__title">通靈幫幫亡</div>
        <ul class="header__menu mobile-hide">
          <li class="menu_link"><q-btn dense unelevated exact :to="{ name: 'front.index' }" active-class="text-blue-3">首頁</q-btn></li>
          <li class="menu_link"><q-btn dense unelevated exact :to="{ name: 'front.news.list' }" active-class="text-blue-3">最新消息</q-btn></li>
        </ul>
    </q-toolbar-title>
</q-header>
或者在左右側的q-drawer,搭配<q-list>、<q-expansion-item>、<q-item>
製作直式的導覽選單
https://quasar.dev/layout/drawer#QDrawer-API
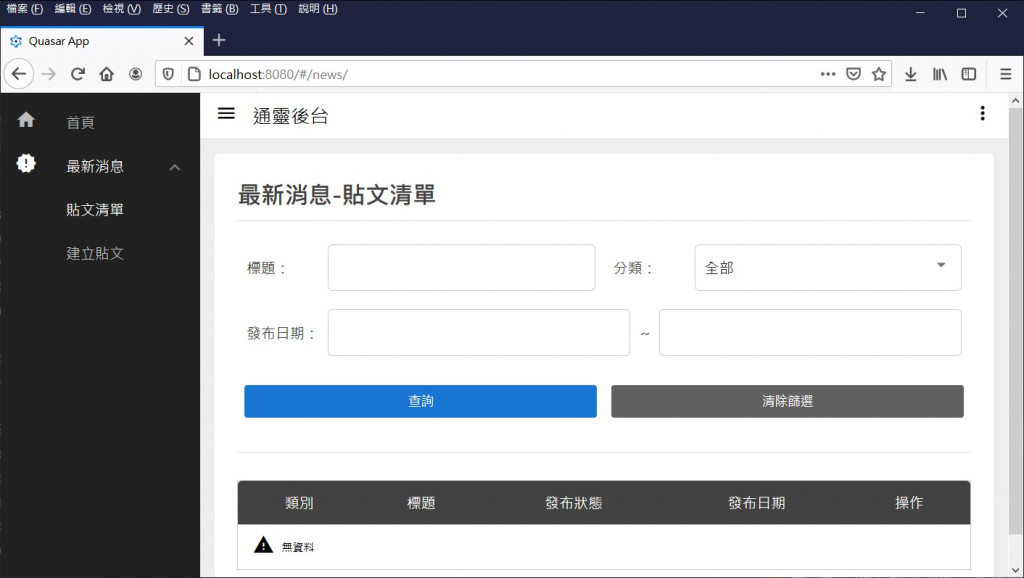
<q-drawer show-if-above v-model="left" side="left" behavior="desktop" :width="220"
          content-class="bg-grey-10 text-grey-5 q-pt-sm drawer">
  <q-list>
    <q-item clickable  tag="a" exact :to="{name: 'back.index'}" active-class="text-white">
      <q-item-section avatar>
        <q-icon name="home" />
      </q-item-section>

      <q-item-section>
        <q-item-label>首頁</q-item-label>
      </q-item-section>
    </q-item>
    <q-expansion-item
      icon="new_releases"
      label="最新消息"
      :header-class="{ 'text-white': true }"
    >
        <q-item clickable  tag="a" active-class="text-white" :inset-level="1" :to="{ name: 'back.news.list' }">
            <q-item-section>
            <q-item-label>貼文清單</q-item-label>
            </q-item-section>
        </q-item>
        <q-item clickable  tag="a" active-class="text-white" :inset-level="1" :to="{ name: 'back.news.post' }">
            <q-item-section>
            <q-item-label>建立貼文</q-item-label>
            </q-item-section>
        </q-item>
    </q-expansion-item>
  </q-list>
</q-drawer>
篩選的部分,可以用Vue-router的Push State
並使用QInput、QSelect、QCheckbox、Q-Pagination等元件實現
Vue的跳頁若是在同一頁使用router.push()
必須搭配Watch,才會在頁面路由更新的時候更新內容
原因是router.push()的底層是使用原生JS的history.PushState
watch: {
    $route () {
      this.getQueryAndParams()
      this.readList()
    }
}
第16天的練習內容,當中的權限控制就是在路由的meta上設定
該頁面是否需要登入
並在boot掛上一個routeAuth.js

// src/router/route.js
{ path: '', name: 'back.index', component: () => import('pages/Index.vue'), meta: { requireLogin: true } },
// src/boot/routeAuth.js

import axios from 'axios'

export default ({ app, router, store, Vue }) => {
  router.beforeEach((to, from, next) => {
    if (to.meta.requireLogin === true) {
      // 檢查是否登入、身分是否符合

      // 權限符合進到下一頁
      next()

      // 權限不符合,回到前端首頁
      next({ name: 'front.index' })
    }
    else {
      next()
    }
  })
}
權限細分下去可以分為
任何跟權限有關的部分
前端與後端,兩邊都是需要擋的
透過三篇的內容,簡單介紹完了網站很重要的「版型與頁面」、「頁面路由」
明天將補充一些版型實作上的需求,結束第四個部分
對於Vue的路由想要更深入的了解
可以參考下方的延伸閱讀


 iThome鐵人賽