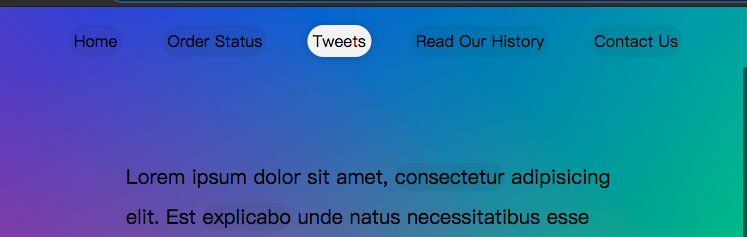
今天要來學習的是游標移入<a>元素的時候,highlight那個元素
const triggers = document.querySelectorAll('a');
const highlight = document.createElement('span');

highlight.classList.add('highlight');
document.body.append(highlight);
首先,選定所有的<a>元素,然後在DOM裡加入一個<span>,並且加上highlight class
.highlight {
  transition: all 0.2s;
  border-bottom: 2px solid white;
  position: absolute;
  top: 0;
  background: white;
  left: 0;
  z-index: -1;
  border-radius: 20px;
  display: block;
  box-shadow: 0 0 10px rgba(0,0,0,0.2);
}
這邊可以看到原作者提供的樣式
function highlightLink() {
console.log(this);
}
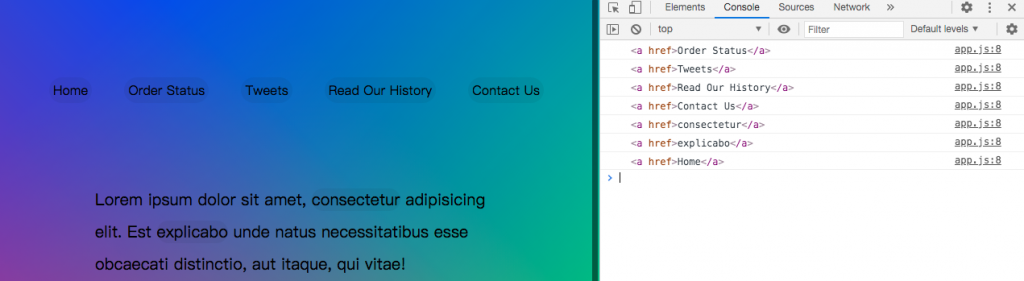
triggers.forEach(a => a.addEventListener('mouseenter', highlightLink));
這邊幫每一個選定的<a>綁上監聽器,使用console.log(this)可以印出觸發事件的元素,如下圖所示
function highlightLink() {
    const linkCoords = this.getBoundingClientRect();
    console.log(linkCoords);
}
接下來使用getBoundingClientRect(),這個方法可以取得選定元素的大小,還有它的位置,如下圖所示
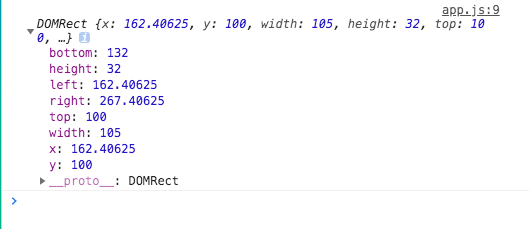
Element.getBoundingClientRect()此方法會回傳元素在頁面上的相對位置
然後就將得到的資料帶入,就可以highlight游標移入的元素
function highlightLink() {
    const linkCoords = this.getBoundingClientRect();
    console.log(linkCoords);
    highlight.style.width = `${linkCoords.width}px`;
    highlight.style.height = `${linkCoords.height}px`;
    highlight.style.transform = `translate(${linkCoords.left}px, ${linkCoords.top}px)`;
}
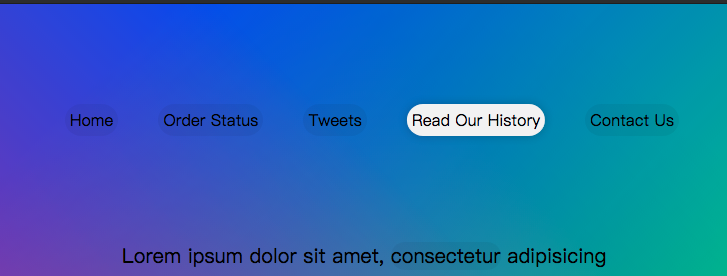
但是,當我們小小的向上捲動,這時就會發現,它的位置跑掉了?!

這是因為getBoundingClientRect()回傳的資訊並不會把頁面滾動算進去
function highlightLink() {
    const linkCoords = this.getBoundingClientRect();
    console.log(linkCoords);
    const coords = {
        width: linkCoords.width,
        height: linkCoords.height,
        left: linkCoords.left + window.scrollX,
        top: linkCoords.top + window.scrollY
    };

    highlight.style.width = `${coords.width}px`;
    highlight.style.height = `${coords.height}px`;
    highlight.style.transform = `translate(${coords.left}px, ${coords.top}px)`;
}
所以,我們要加上頁面滾動的距離就完成啦