今天要來學習語音生成,也就是文字轉語音
const msg = new SpeechSynthesisUtterance();
let voices = [];
const voicesDropdown = document.querySelector('[name="voice"]');
const options = document.querySelectorAll('[type="range"], [name="text"]');
const speakButton = document.querySelector('#speak');
const stopButton = document.querySelector('#stop');
首先,不免俗的要先來選擇元素
這邊還要新增一個SpeechSynthesisUtterance物件
Web Speech API 的SpeechSynthesisUtterance代表的是語音的需求,它包含了生成音訊所需的資訊,例如語言、音調、聲音、速率...等
SpeechSynthesisUtterance.lang
獲取或設置語音的語言
SpeechSynthesisUtterance.pitch
獲取或設置語音的音調
SpeechSynthesisUtterance.rate
獲取或設置語音的速度
SpeechSynthesisUtterance.text
獲取或設置語音的內容
SpeechSynthesisUtterance.voice
獲取或設置語音的聲音
SpeechSynthesisUtterance.volume
獲取或設置語音的音量
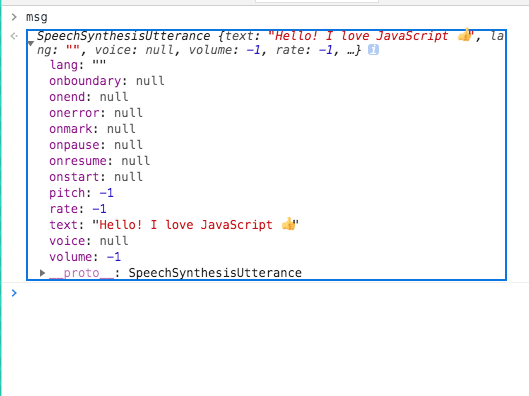
msg.text = document.querySelector('[name="text"]').value;
這邊就是設定語音的內容
下圖可以看到SpeechSynthesisUtterance物件的內容
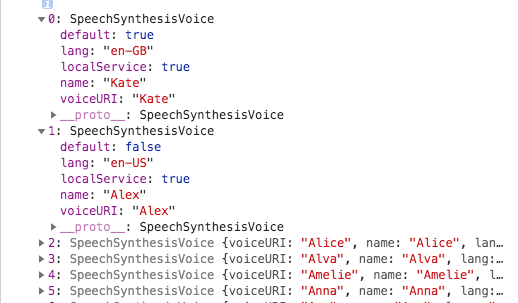
接下來要取得可用的聲音列表
function populateVoices() {
    voices = this.getVoices();
    console.log(voices)
}

speechSynthesis.addEventListener('voiceschanged', populateVoices);
首先,要幫speechSynthesis加上一個事件監聽器,監聽voiceschanged事件,因為我們需要等待speechSynthesis讀取,讀取完成之後,用getVoices()取得聲音的資料,如下圖所示
function populateVoices() {
voices = this.getVoices();
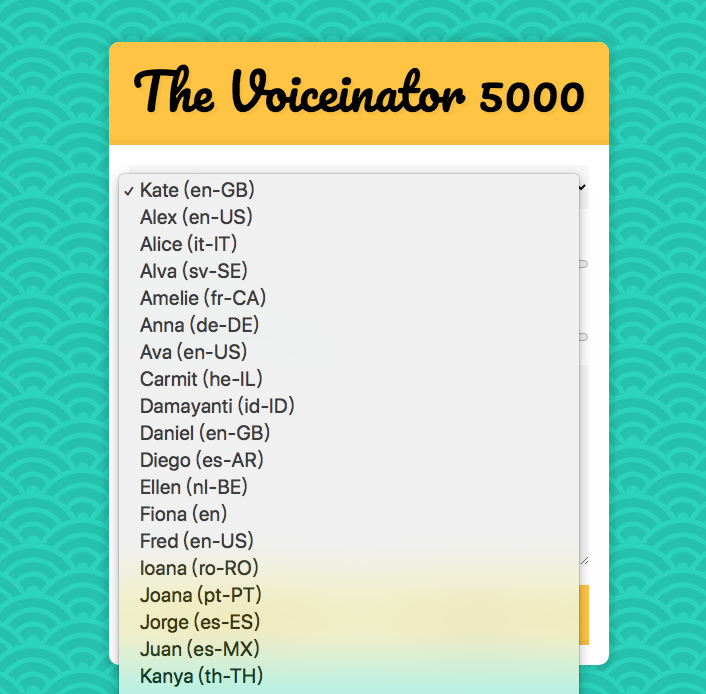
voicesDropdown.innerHTML = voices
.map(voice => `<option value="${voice.name}">${voice.name} (${voice.lang})</option>`)
.join('');
}
然後就把讀取到的內容插入html
這邊我們要來設置聲音
function setVoice() {
    console.log(this.value);
}

voicesDropdown.addEventListener('change', setVoice);
首先,幫voicesDropdown綁上監聽器,當選單改變,我們可以得到聲音的名字

function setVoice() {
    msg.voice = voices.find(voice => voice.name === this.value);
    toggle();
}

function toggle(startOver = true) {
    speechSynthesis.cancel();
    if(startOver) {
        speechSynthesis.speak(msg);
    }
}
接下來,在voices裡找到我們選擇的聲音,並且設為SpeechSynthesisUtterance.voice
這邊另外再加上一個toggle(),每當呼叫這個函式的時候,要取消進行中的語音,然後判斷startOver這個參數來決定是否重啟語音(預設會重啟)
SpeechSynthesis.cancel()從發聲隊列中刪除所有發聲
SpeechSynthesis.speak()將語音添加到語音隊列中
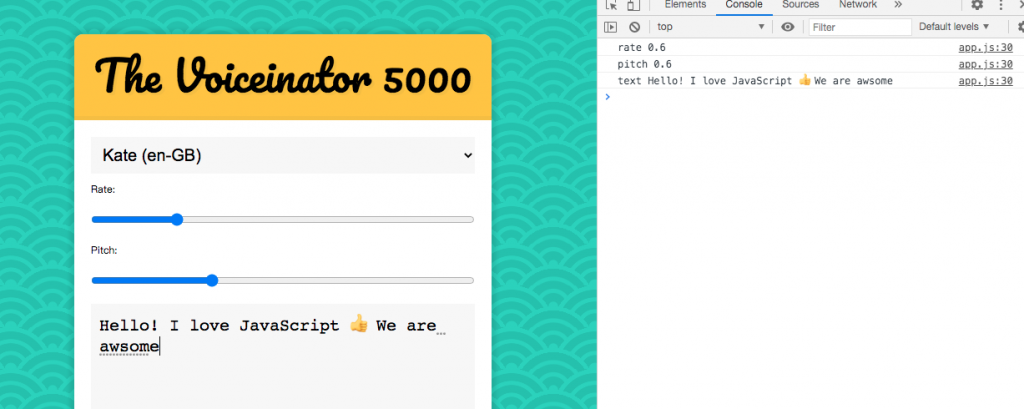
接下來要變更語速、音調還有語音內容
function setOption() {
    console.log(this.name, this.value);
}
options.forEach(option => option.addEventListener('change', setOption));
這邊幫輸入的元素加上監聽器,每當數值會內容變更的時候,我們就可以看到變更參數的名稱還有數值
function setOption() {
    console.log(this.name, this.value);
    msg[this.name] = this.value;
    toggle();
}
最後再幫SpeechSynthesisUtterance物件上對應名稱的屬性設定參數就完成了
這邊要幫開始、停止按鈕綁上事件
speakButton.addEventListener('click', toggle);
stopButton.addEventListener('click', () => toggle(false));
開始按鈕比較簡單,只要觸發toggle()就好了
而停止按鈕就稍微麻煩一點了,這邊要傳一個值來阻止語音啟動,但是不能直接用toggle(false),因為這樣做toggle只會在頁面讀取時觸發,按按鈕什麼事都不會發生喔
這邊有兩種解法:
bind(),e.g. toggle.bind(null, false)
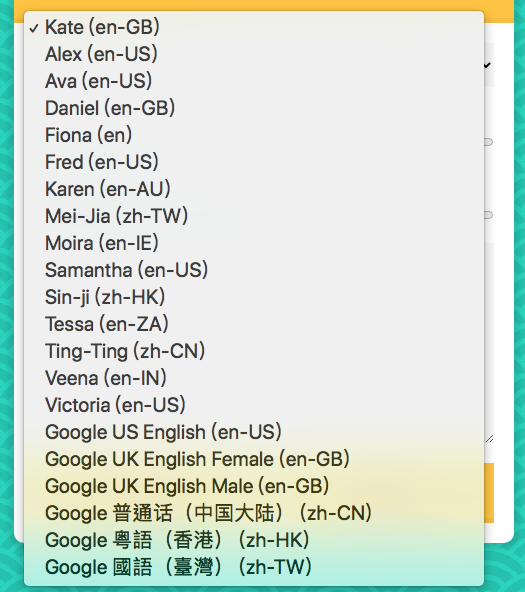
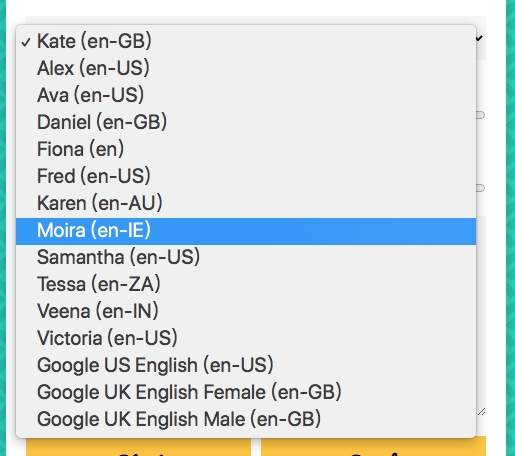
最後一步,我們要來篩選聲音列表
voicesDropdown.innerHTML = voices
        .filter(voice => voice.lang.includes('en'))
        .map(voice => `<option value="${voice.name}">${voice.name} (${voice.lang})</option>`)
        .join('');
這邊非常簡單,只要在voicesDropdown加上一個filter(),篩選有關鍵字的聲音就好了,e.g. en, zh
假如今天需要兩種語言的聲音呢?
const langs = ['en', 'zh']

.filter(voice => langs.some(el => voice.lang.includes(el)))
我們只需要增加一個陣列,在裡面紀錄需要的語言,然後用之前學過的some()來進行篩選就可以囉