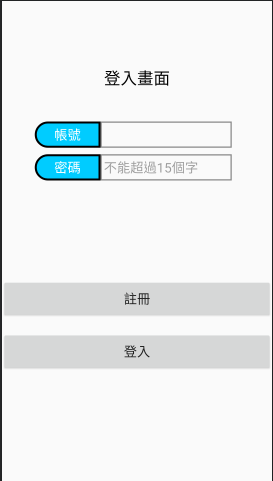
Intent一般用於做Activity與另一個Activity間的交互,今天要來分享將第一個Activity所執行的結果拉到第二個Activity做呈現,我會使用之前做的登入畫面。
Android Studio 菜鳥筆記本-Day 12-登入畫面套用外型
1.先新增一個空的Activity,取名為「Register」,建立之後它會自動生成一個xml檔案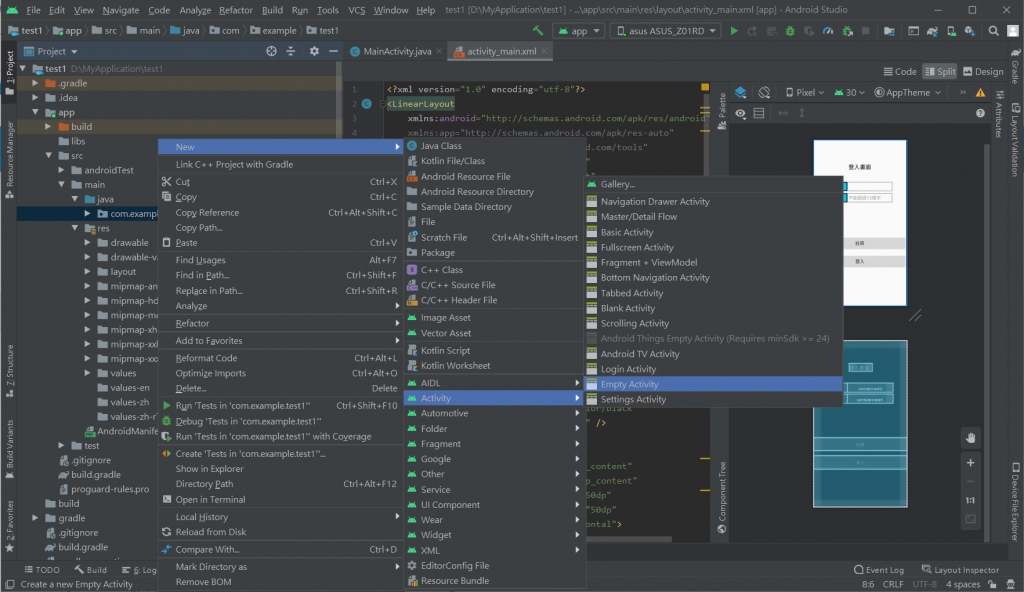
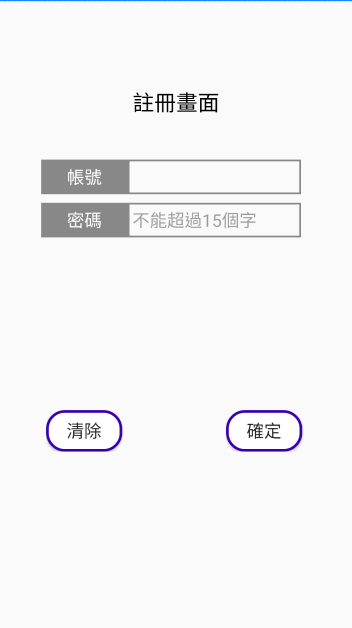
2.在activity_register.xml檔設定
 <LinearLayout
            android:layout_width="match_parent"
            android:layout_height="match_parent"
            android:orientation="vertical">
            <LinearLayout
                android:layout_width="wrap_content"
                android:layout_height="wrap_content"
                android:layout_marginTop="100dp"
                android:layout_gravity="center"
                android:orientation="horizontal">
                <TextView
                    android:layout_width="wrap_content"
                    android:layout_height="wrap_content"
                    android:text="註冊畫面"
                    android:textColor="@color/black"
                    android:textSize="25sp" />
            </LinearLayout>
            <LinearLayout
                android:layout_width="wrap_content"
                android:layout_height="wrap_content"
                android:layout_marginTop="50dp"
                android:layout_marginLeft="50dp"
                android:orientation="horizontal">
                <TextView
                    android:id="@+id/account"
                    android:layout_width="100dp"
                    android:layout_height="match_parent"
                    android:gravity="center"
                    android:background="@color/gray"
                    android:text="帳號"
                    android:textColor="@color/white"
                    android:textSize="20sp" />
                <EditText
                    android:id="@+id/userid"
                    android:layout_width="200dp"
                    android:layout_height="match_parent"
                    android:background="@drawable/shapeeditview"
                    android:textSize="20sp" />
            </LinearLayout>
            <LinearLayout
                android:layout_width="300dp"
                android:layout_height="wrap_content"
                android:layout_marginTop="10dp"
                android:layout_marginLeft="50dp"
                android:orientation="horizontal">
                <TextView
                    android:id="@+id/passwd"
                    android:layout_width="100dp"
                    android:layout_height="match_parent"
                    android:gravity="center"
                    android:background="@color/gray"
                    android:text="密碼"
                    android:textColor="@color/white"
                    android:textSize="20sp" />
                <EditText
                    android:id="@+id/userpasswd"
                    android:layout_width="200dp"
                    android:layout_height="match_parent"
                    android:hint="不能超過15個字"
                    android:background="@drawable/shapeeditview"
                    android:textSize="20sp"
                    android:inputType="textPassword"
                    android:maxLength="15"
                    android:ems="15"/>
            </LinearLayout>
            <LinearLayout
                android:layout_marginTop="200dp"
                android:layout_width="300dp"
                android:layout_height="wrap_content"
                android:layout_gravity="center">
                <Button
                    android:id="@+id/cler"
                    android:layout_width="wrap_content"
                    android:layout_height="wrap_content"
                    android:background="@drawable/shapebutton"
                    android:text="清除"
                    android:textSize="20sp"/>
                <Button
                    android:id="@+id/comfirm"
                    android:layout_width="wrap_content"
                    android:layout_height="wrap_content"
                    android:layout_marginLeft="120dp"
                    android:background="@drawable/shapebutton"
                    android:text="確定"
                    android:textSize="20sp"/>
            </LinearLayout>
        </LinearLayout>
3.取得按鈕的控制元件,在點擊註冊按鈕時設定從MainActivity跳轉到Register
userregister=(Button)findViewById(R.id.userregister);
 private void buttonsetting() {
        userregister.setOnClickListener(new View.OnClickListener() {
            @Override
            public void onClick(View view) {
                Intent main =new Intent();
                main.setClass(MainActivity.this,Register.class);
                startActivity(main);
            }
        });


 iThome鐵人賽