再來我們要利用 Passport 來進行相關驗證工作,先在 Auth 資料夾底下新增一個 JwtStrategy:
並在 constructor 的地方撰寫 Strategy 設定,例如,從 Request 拿到 Jwt:
新增 secretOrKey(跟 AuthModule 設定的一樣):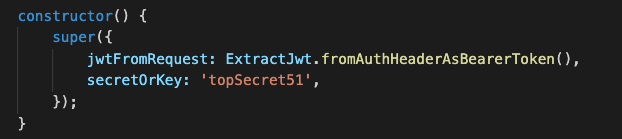
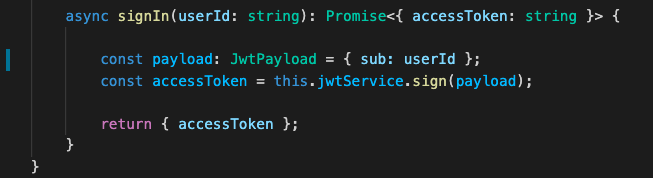
再來我們要撰寫一個方法,讓 Passport verify 這個 Jwt 之後如果是 valid 的話,就做這個 function 裡面的事(若是 verify 沒通過則會 throw error),那它接收的參數是 payload: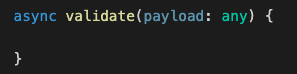
不過型別是 any 好像不太好,我們可以新增一個 interface 叫 JwtPayload: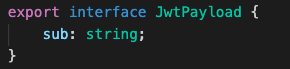
然後讓 payload 都是這種型別: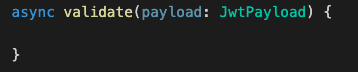
之後我們來撰寫 validate 方法裡面的邏輯,我們在驗證 Jwt 成功之後想做的事情是「拿到這個 User」,而且我們在 payload 裡面有 userId 這個 sub,可以用來查詢到該 User,那我們先將 UserRepository 給注入進來: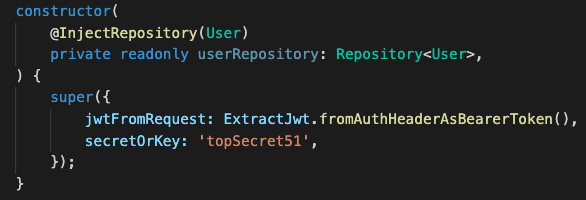
然後在 valiadte 裡查詢這個 User 並 return: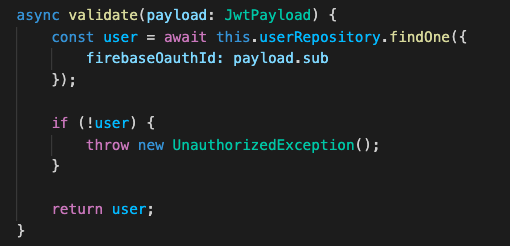
若要讓程式碼更好看,可以在 return 加上:
完成了以上步驟之後,我們馬上來試看看現在撰寫的有沒有用,我們用新增任務那支 API 來做測試,先在 controller 這邊加上 AuthGuard: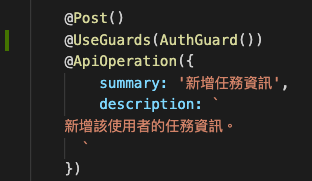
運行之後會有錯誤,它提示你如果要用 defaultStrategy,要記得 import PassportModule,由於我們的 Apiv1Moudle 本來就有 import AuthModule,故只要在 export 的地方加上 PassportModule: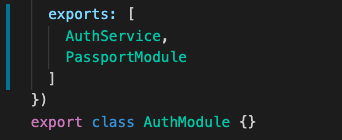
然後我們也要記得把 JwtStrategy 給放進 provider 與 export: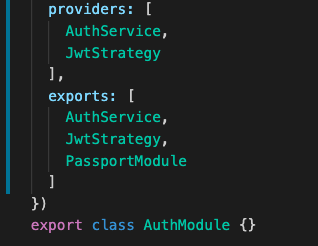
運行之後還是有錯,因為我們忘記把 TypeOrm 的 ForFeature 在 AuthModule 給引入: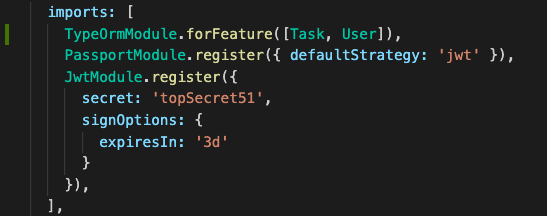
(每個要用到 Entity 的地方都要引入 ForFeature,之後可以優化,不然每次新增資料表使用的時候,忘記新增到那裡都會報錯)
做完前置之後,雖然我們還沒調整新增任務的邏輯,但只是要測試 JwtStrategy 有沒有成功擋住而已。
試著打這支 API 看看: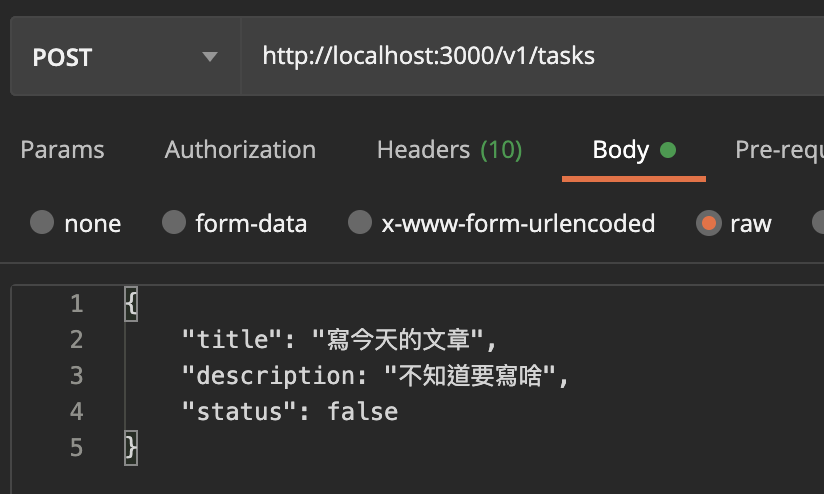
然後我們就得到了 401: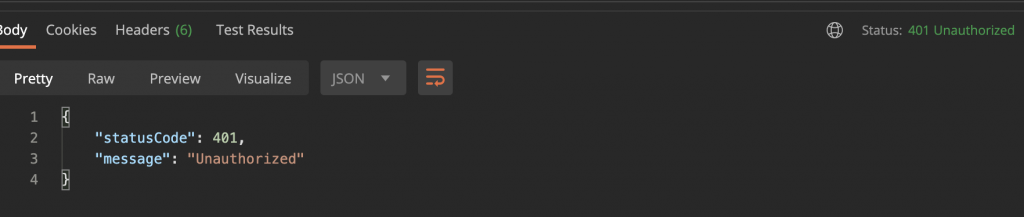
OK,這樣基礎配置 JwtStrategy 就完成了,下一篇章我們來優化帶入 User 的部分。
/*
本系列文係個人新手開發心得,可能會有許多錯誤,煩請多多包容不吝指教。
*/


 iThome鐵人賽