iT邦幫忙

第 12 屆 iThome 鐵人賽

DAY 23
0
自我挑戰組

從零開始的後端異世界生活系列 第 23

Day 23 - 在 NestJS 中實作 JWT 與 AuthModule (2)

在 AuthService 中撰寫登入方法

上一篇章我們完成了 AuthModuleAuthService 的創建,並在 Module 裡註冊了 JwtModule,再來我們要到 AuthService 去撰寫登入的方法,並且會返回我們需要的 Token。

進到 AuthService 後,由於我們有 imports JwtModule,故我們可以使用它其中的 JwtService,在 AuthService 的 constructor 先注入 JwtService:
https://ithelp.ithome.com.tw/upload/images/20201008/20119619lKbUpuxdeS.png

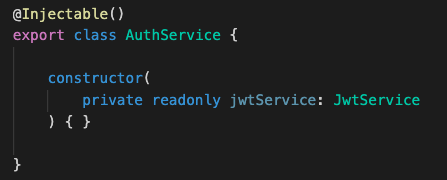
再來我們要撰寫登入的方法,先寫個 Function 並預期返回 Token,且我想帶入的資訊為 userId(FirebaseOAuthId):
https://ithelp.ithome.com.tw/upload/images/20201008/20119619T6haShcdti.png

然後我們將 Payload 帶進 JwtService 的 signIn 方法裡,這樣初步產 Token 的設置就完成了:
https://ithelp.ithome.com.tw/upload/images/20201008/20119619FEvOLmLZiZ.png

新增 User 相關 Service 與 Controller

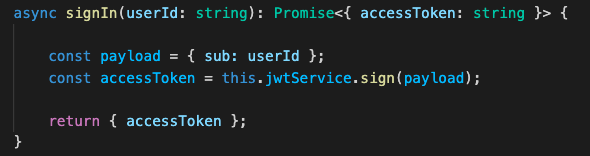
再來我們要新增 User 相關的 Service 與 Controller(登入與 User 相關),這邊直接寫下:

nest g controller apiv1/user
nest g service services/user

撰寫 UserService

我們先到 AuthModule 將 AuthService 給 export:
https://ithelp.ithome.com.tw/upload/images/20201008/20119619BbubpD1sHi.png

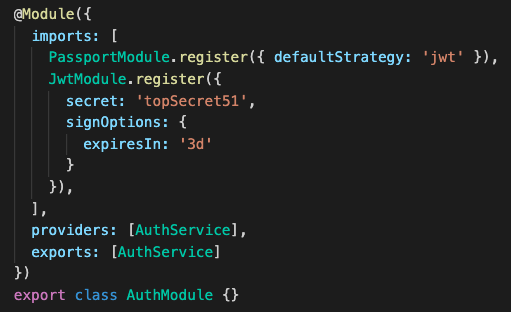
再到 UserService,先將 AuthService 給注入,並記得到 ServiceModule import AuthModule:
https://ithelp.ithome.com.tw/upload/images/20201008/20119619Ymc5BlOmLa.png

https://ithelp.ithome.com.tw/upload/images/20201008/2011961945PJK90J9r.png

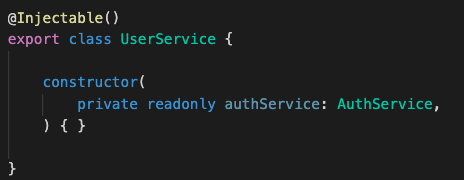
先簡單寫一個 getToken 的方法:
https://ithelp.ithome.com.tw/upload/images/20201008/20119619xIYpTne3PT.png

然後創建一個參數給這個方法承接:
https://ithelp.ithome.com.tw/upload/images/20201008/20119619QpH4Gf8ao7.png

我們先不寫邏輯,先測試看看會不會吐 Token 給我們,所以先隨便寫個 Function:
https://ithelp.ithome.com.tw/upload/images/20201008/20119619xxYqqvMpcn.png

撰寫 UserController

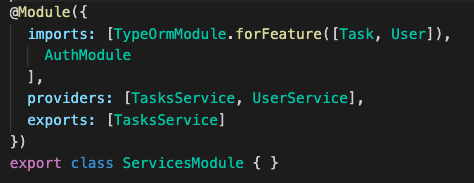
我們先到 ServicesModule 這邊 export UserService,我們才能將它注入:
https://ithelp.ithome.com.tw/upload/images/20201008/20119619WHq4uce2LS.png

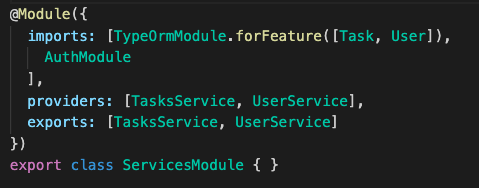
之後我們到 UserController 將 UserService 注入:
https://ithelp.ithome.com.tw/upload/images/20201008/20119619d4LrGTBFnp.png

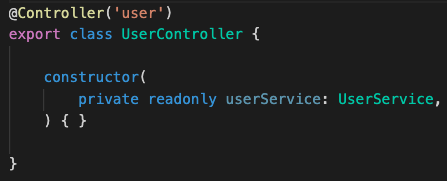
再來要撰寫 API 的接口,先簡易寫個範例,所以先不完善:
https://ithelp.ithome.com.tw/upload/images/20201008/20119619CgJm5PoATr.png

試試超簡易版登入 API

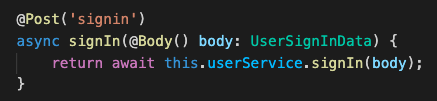
我們到 Postman 試打看看這隻 API,參數的部分先隨便塞給它個 userId(畢竟還沒驗證):
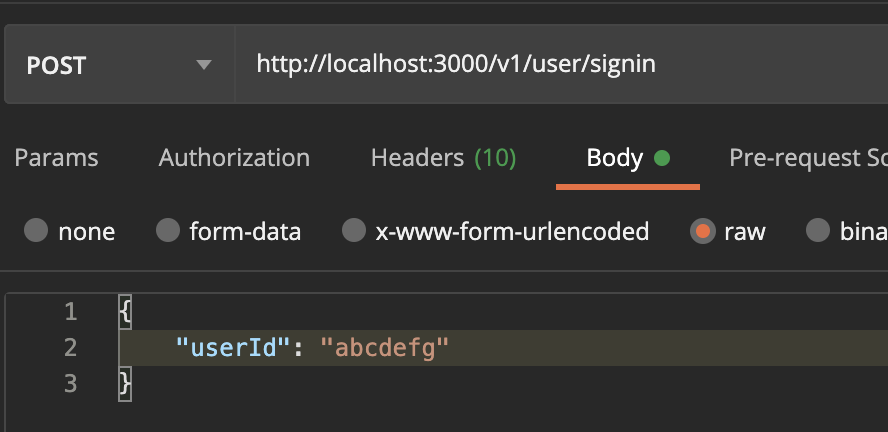
https://ithelp.ithome.com.tw/upload/images/20201008/20119619tazoCLq8DS.png

打出去之後,返回了一串 Token:
https://ithelp.ithome.com.tw/upload/images/20201008/20119619EBODFEYP7s.png

我們拿這一串去 jwt.io 解析看看:
https://ithelp.ithome.com.tw/upload/images/20201008/20119619aGzl3qPayX.png

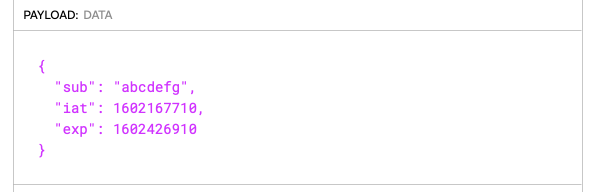
的確有把我們的 payload 給帶進去,這樣我們就完成一半了!

接下來,明天繼續。

註:要運行 Server 如果發生 DataBase 相關 Entity 找不到,記得去 TypeOrmConfig 新增,要使用該 Entity 記得去 ForFeature 新增。
註:要在 Auth 模塊新建一個 AuthController 來完成本篇以上的事情也可以。

/*
本系列文係個人新手開發心得,可能會有許多錯誤,煩請多多包容不吝指教。
*/


上一篇
Day 22 - 在 NestJS 中實作 JWT 與 AuthModule (1)
下一篇
Day 24 - 在 NestJS 中實作 JWT 與 AuthModule (3)
系列文
從零開始的後端異世界生活30
圖片
  直播研討會
圖片
{{ item.channelVendor }} {{ item.webinarstarted }} |
{{ formatDate(item.duration) }}
直播中

尚未有邦友留言

立即登入留言