首先,我們可以先拉一下底層的image,再把我們的app內容疊上去,從終端機(cmd)打上:
docker pull python
成功的話,可以在介面上看到新的image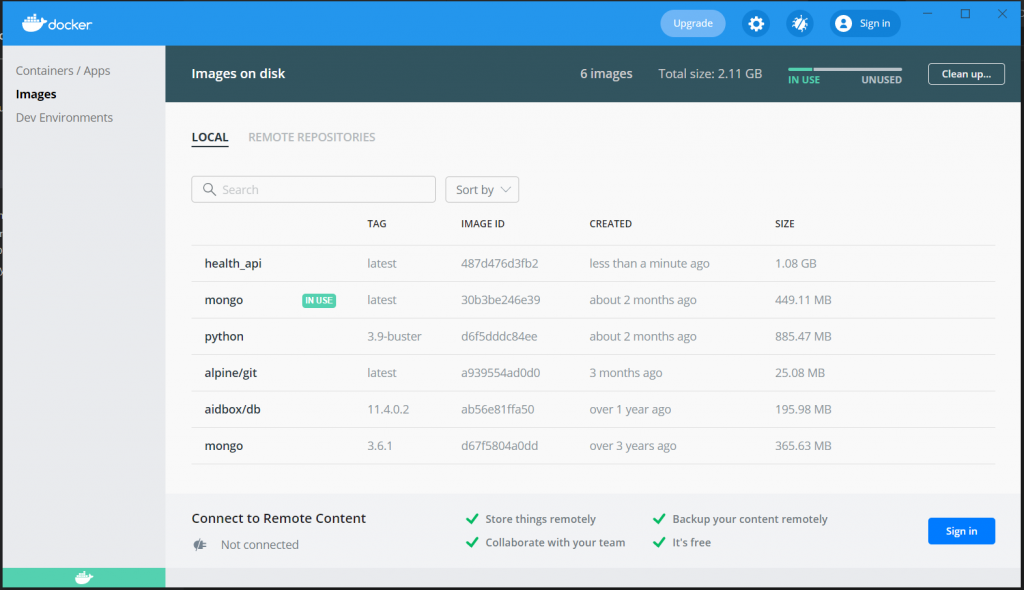
再來,我們可以開始寫dockerfile(可以放在主程式的旁邊) :
:
FROM python:3.9-buster

WORKDIR /app

COPY . /app

RUN apt-get update

RUN apt-get install nano

RUN pip install -r requirements.txt

CMD python3 main.py
可以看到python:3.9-buster為我們剛剛拉到的image名稱,再來將目前路徑的程式都放到未來container中/app的地方。更新套件及裝上nano,未來如果有小地方要修改的話,可以方便我們使用
docker exec -it <container ID> bash
來進行小幅度的修改(注意,小心不要引起git版本的衝突)。
再來藉由requirements.txt來安裝想使用的python套件。
在測試階段可以先使用CMD python3 main.py ,
但是在未來需要正式營運時可以開始使用gunicorn(如果你比較喜歡uwsgi,也可以用這個套件,但是我比較喜歡綠色獨角獸)。
CMD nohup gunicorn -w 4 main:app --access-logfile gunicorn_access.txt --error-logfile gunicorn_error.txt -b :5000
nohup可以幫助我們避免關閉session時產生input/output Error,當然你如果都不print東西,也可以避免這個錯誤。
我們可以將那些路由被接觸了,寫在gunicorn_access.txt,
錯誤訊息寫在gunicorn_error.txt,
而對外port設定為5000。
進行build image的程序,. 代表現在的路徑,代表我們在dockerfile的路徑上執行:
docker image build -t <喜歡的image name> .
最後將image run成container,以提供我們的服務:
docker run -p 3000:5000 <喜歡的image name>
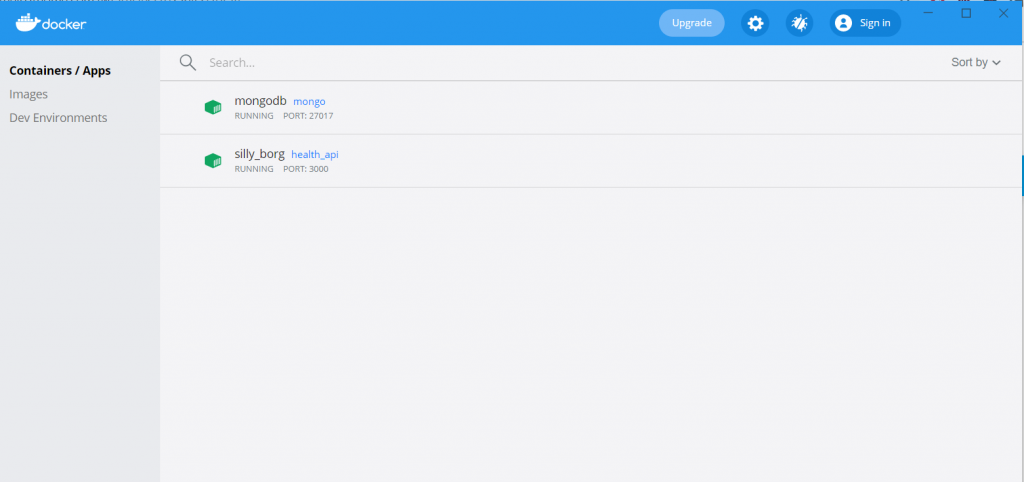
對內port為3000,對外為5000,我們可以從localhost:3000來看到我們的服務。
 wilsonsujames
