只要再撐過這一天,就只要寫結語就可以達成30天的目標了。
本來已經快想不到可以寫甚麼了,那就來拿Line Messaging API來當這天的主題。
Line Messaging API的東西真的還蠻多的,也很多人有做過相關的主題說明了,
要在一天說明完真的很困難,所以這裡主要就說一下應用概念。
像疾管家這種官方做出來api就覺得蠻厲害的,你只需要加入好友就可以使用應用服務。
相比於用react native或是kivy來開發一個app所需要投入的成本相對低很多。
但是相對來說就是固定於line的框架,自由度受限於line的開放服務。
假設你今天的公司上班簽到表還是用手寫的,或是必須要自己打上excel,
你非常辛苦的打好了一份每月簽到表,
再拿給人資小姐的時候,卻被人資小姐說你的簽到表不符合規範,必須要重新交貨。
雖然就算人資小姐很正,
但是你可是一名軟體工程師,不是簽到工程師。
聊天機器人影片版本:
我想是時候你可以幫公司開發一套簽到聊天機器人系統了。
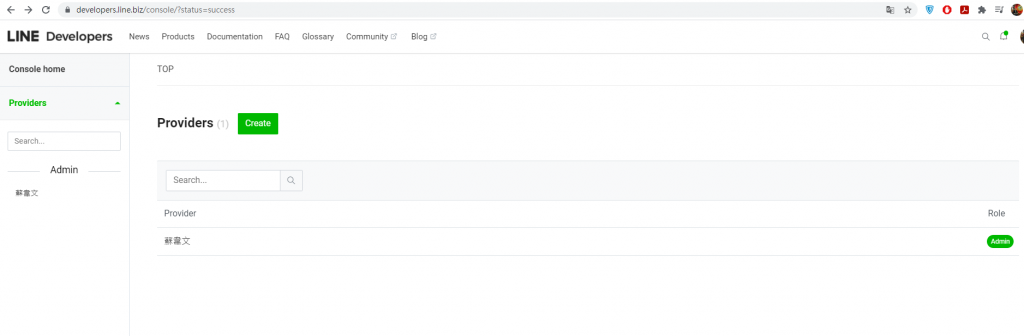
首先,相信你已經註冊了開發者帳號:
https://developers.line.biz/en/
接著創立了Provider以及line message API 的 channel了:
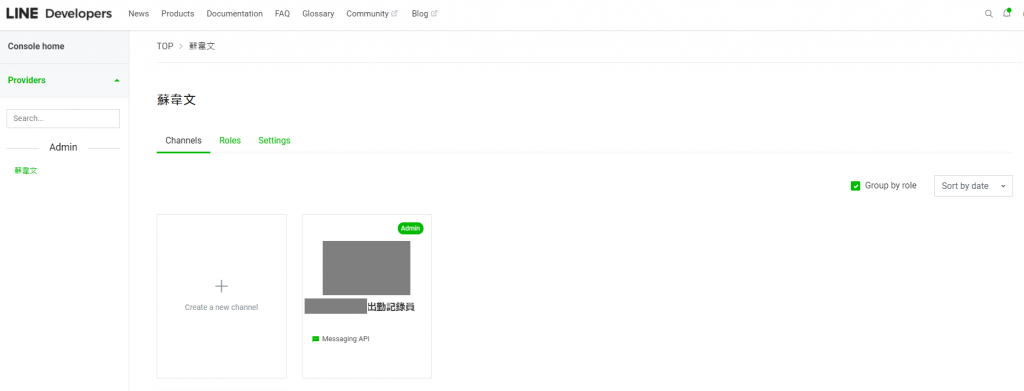
可以先串接出一個可以使用的linebot,再來思考把功能補上:
https://github.com/line/line-bot-sdk-python
進行安裝:
pip install line-bot-sdk
可以先使用範例說明的Usage example來先做串接:
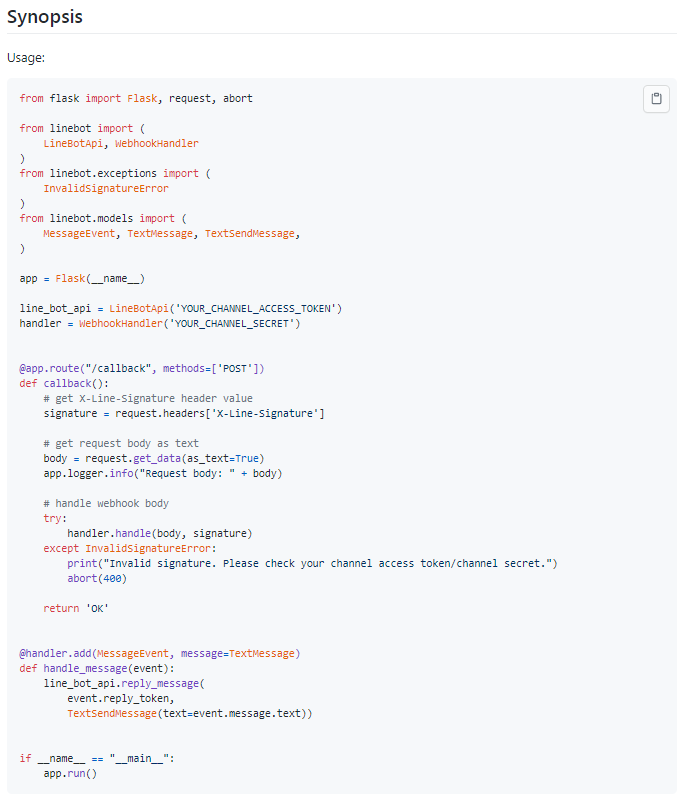
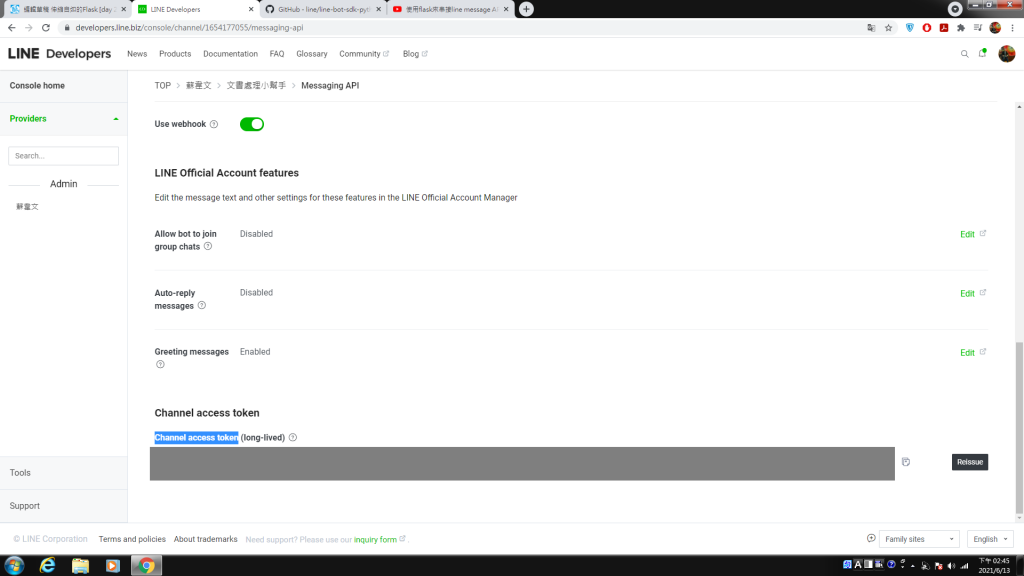
在自己的channel中獲取Channel secret及Channel access token,並且替代範例程式的'YOUR_CHANNEL_ACCESS_TOKEN'及'YOUR_CHANNEL_SECRET'。

推上GCP app engine,在串接webhook:
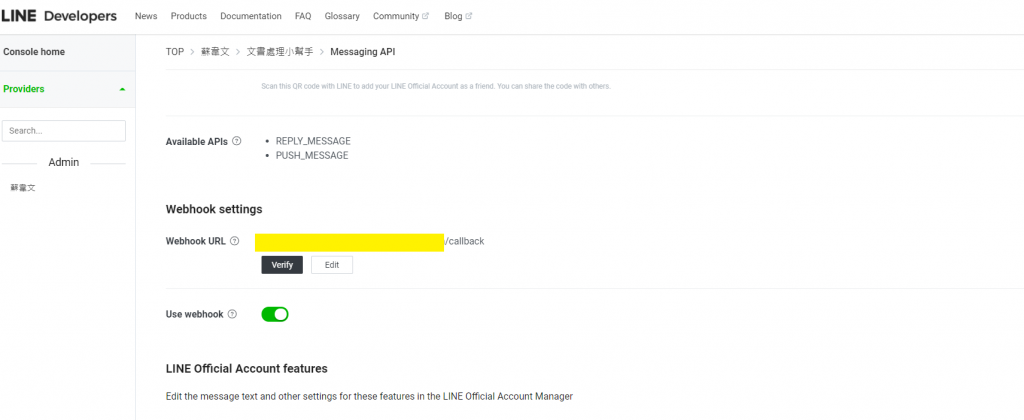
記得路由的路徑有加上callback。
再來可以跟line bot對話看看有沒有成功。
再來可以補上richmenu的設定:
(這裡另外寫新的PY檔來呼叫API以設定richmenu)
import requests

url = 'https://api.line.me/v2/bot/richmenu'

data = {
    "size": {
      "width": 2500,
      "height": 1686
    },
    "selected": "false",
    "name": "行銷平台選單",
    "chatBarText": "選單",
    "areas": [
      {
        "bounds": {
          "x": 0,
          "y": 0,
          "width": 883,
          "height": 943
        },
        "action": {
          "type": "message",
          "text": "行銷平台"
        }
      },
            {
        "bounds": {
          "x": 883,
          "y": 0,
          "width": 883,
          "height": 943
        },
        "action": {
          "type": "message",
          "text": "個人資料"
        }
      },      {
        "bounds": {
          "x": 1766,
          "y": 0,
          "width": 883,
          "height": 943
        },
        "action": {
          "type": "message",
          "text": "會員註冊"
        }
      },
       {
        "bounds": {
          "x": 0,
          "y": 943,
          "width": 883,
          "height": 943
        },
        "action": {
          "type": "message",
          "text": "最新活動消息"
        }
      },
       {
        "bounds": {
          "x": 883,
          "y": 943,
          "width": 883,
          "height": 943
        },
        "action": {
          "type": "message",
          "text": "修正個人資料"
        }
      },
       {
        "bounds": {
          "x": 1766,
          "y": 943,
          "width": 883,
          "height": 943
        },
        "action": {
          "type": "message",
          "text": "客服協助"
        }
      }
   ]
}
創立richmenu,並獲得richmenu ID:
r=requests.post(url, headers={'Authorization': 'Bearer <你的Channel access token>'}, json=data)
print(r)
print(r.json())
上傳richmenu圖片,line有規定特定的圖片size,這裡根據設定上傳寬2500,高1686像素的圖片:
with open('./richmenu.png', 'rb') as img:
    menu_bin=img.read()
r=requests.post("https://api-data.line.me/v2/bot/richmenu/richmenu-<你的richmenu ID>/content", data=menu_bin, headers={'Authorization': 'Bearer <你的Channel access token>',"Content-Type": "image/png"})
print(r)
print(r.json())
(設定richmenu API到這裡結束,回傳可以獲得richmenu ID)
在callback的地方連結使用者與richmenu:
@app.route("/callback", methods=['POST','GET'])
def callback():
    # get X-Line-Signature header value

    signature = request.headers['X-Line-Signature']
    body = request.get_data(as_text=True)
    d = json.loads(body)
    User_id=d["events"][0]["source"]["userId"]

    line_bot_api.link_rich_menu_to_user(User_id, richmenu-<你的richmenu ID>)
要想要打卡我們可以先串接每個員工的員工編號、line userID
(使用了datastore資料庫來將資料寫入,先在GCP上搜尋datastore來開啟服務,前2G 不用錢,Free !):
    elif event.message.text[0:4] == "綁定帳號":
        UserName = event.message.text[4:]
        UserId = session.get('UserId')
        datastore_client = datastore.Client()
        kind = 'UserName'
        name = UserId
        task_key = datastore_client.key(kind, name)
        task = datastore.Entity(key=task_key)
        task['UserName'] = UserName
        datastore_client.put(task)

        line_bot_api.reply_message(event.reply_token,TextSendMessage(text="綁定姓名成功:"+UserName))
用storage來下載打卡excel範本到當前暫存區域/tmp:
from google.cloud import storage

def download_blob(bucket_name, source_blob_name, destination_file_name):
    """Downloads a blob from the bucket."""
    # bucket_name = "your-bucket-name"
    # source_blob_name = "storage-object-name"
    # destination_file_name = "local/path/to/file"
    storage_client = storage.Client()
    bucket = storage_client.bucket(bucket_name)
    blob = bucket.blob(source_blob_name)
    blob.download_to_filename(destination_file_name)
    print(
        "Blob {} downloaded to {}.".format(
            source_blob_name, destination_file_name
        )
    )
# 上船物件
def upload_blob(bucket_name, source_file_name, destination_blob_name):
    """Uploads a file to the bucket."""
    # bucket_name = "your-bucket-name"
    # source_file_name = "local/path/to/file"
    # destination_blob_name = "storage-object-name"

    storage_client = storage.Client()
    bucket = storage_client.bucket(bucket_name)
    blob = bucket.blob(destination_blob_name)

    blob.upload_from_filename(source_file_name)

    print(
        "File {} uploaded to {}.".format(
            source_file_name, destination_blob_name
        )
    )

    if event.message.text == "下載檔案":
        UserId = session.get('UserId')
        downloadfileName="/tmp/"+UserId+".xlsx"

        DBUserIdExcelName=UserId+".xlsx"

        download_blob("<你的storage bucket name>", "出勤紀錄表.xlsx" , downloadfileName)

        line_bot_api.reply_message(event.reply_token,TextSendMessage(text=downloadfileName+" 下         載出勤紀錄表成功"))
寫excel,openpyxl套件:
from openpyxl import load_workbook

wb = load_workbook(filename = downloadfileName)
ws = wb.active

cellnum=GoodAfterNoonCard[todayDay]
ws[cellnum].value = a[11:16]

ws["I2"].value = a[0:4]+"年"
ws["J2"].value = a[5:7]+"月"

wb.save(downloadfileName)
如果希望獲得員工位置:
限時間簽證(五分鐘內不點選就失效),itsdangerous套件:
from itsdangerous import TimedJSONWebSignatureSerializer

s = TimedJSONWebSignatureSerializer('punch', expires_in=3600)
TimeToken=s.dumps({'user_id': AccountName})

s = TimedJSONWebSignatureSerializer('punch')
data = s.loads(TimeToken)
再來,到了每個月最後一天,可以使用Flask_mail將寫好的excel簽到表寄給很正的人資小姐,
你甚至可以推廣給她,讓每個同事都加入這個聊天機器人當好友,讓她可以省去了一份份檢查的時間。
當然她也可能會不鳥你,不過至少你努力嘗試過了。
天啊,內容真的很多啊,我想就到這邊了,如果想要挑戰看看的,可以試著把上面的東西湊齊來試試看。
我想第29天的內容就到這了吧。
 wilsonsujames
