可以 ASP.NET Core 網站部署的環境相當多,包含 IIS, Nginx, App service(Azure), Elastic Beanstalk(AWS), App Engine(GCP)...等等,在本篇文章,我們將介紹如何將上一篇 GitHub Action 實作持續整合 - 以 ASP.NET Core 專案為例 後的成品,部署至 Azure App Service。
透過 GitHub Action 部署至 App Service 方法有兩種,我們將逐一介紹:
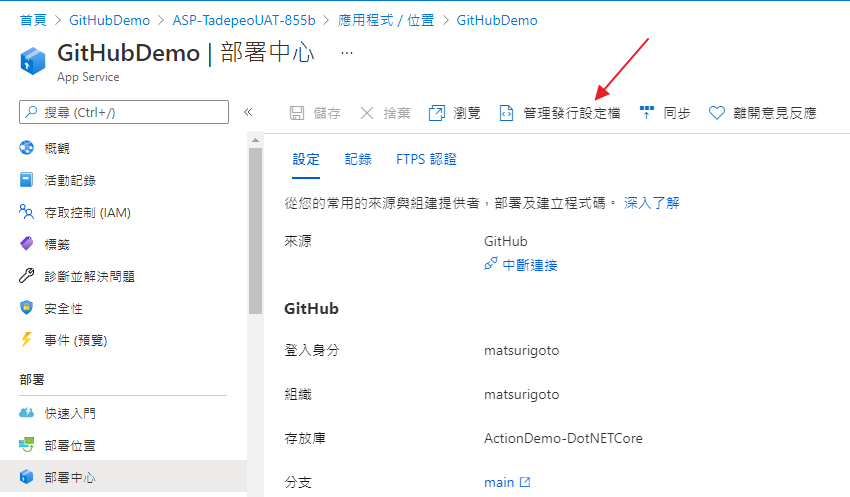
1. 使用部署中心進行部署
2. 手動設定工作流程
若你很熟悉這章節,或者想之後再參考,可以略過此前置工作
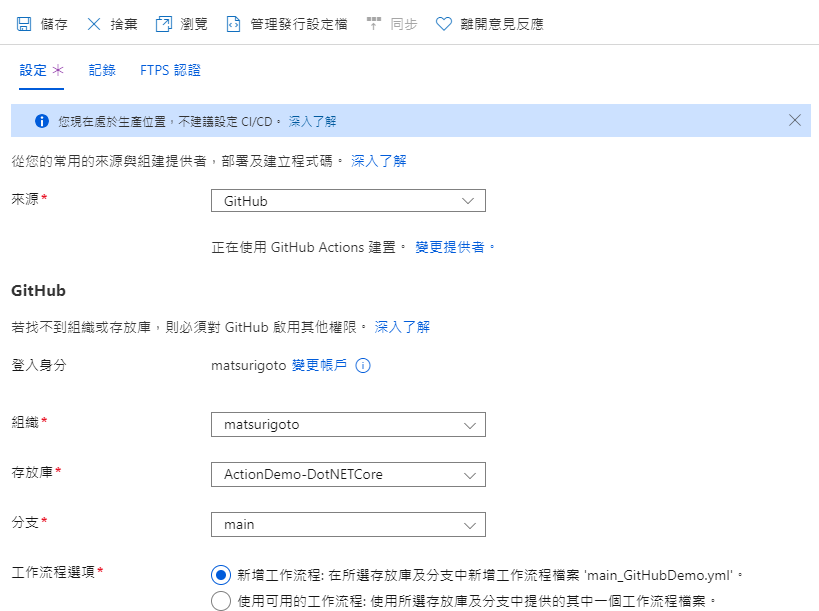
開啟 Azure Portal,點選建立資源 > Web 應用程式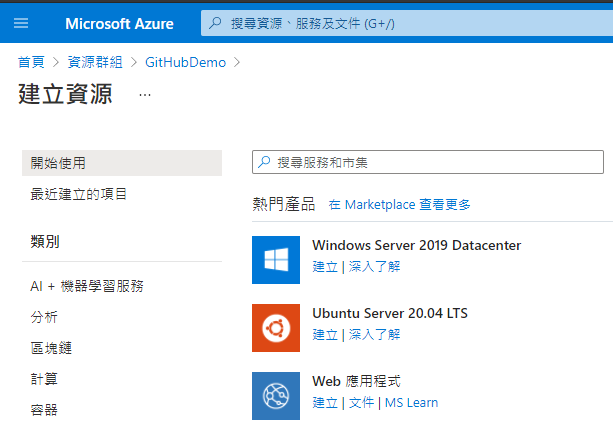
輸入相關資訊,包含資源群組、名稱...等,比較重要的是作業系統我們選擇 Linux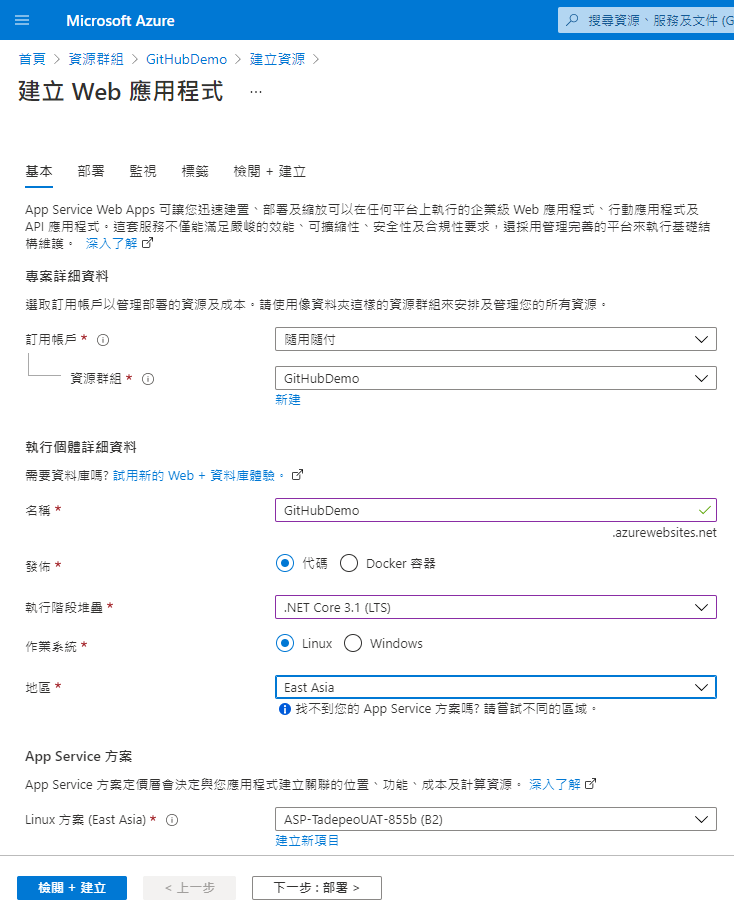
GitHub 部署部分我們先不設定,後續介紹較另外作法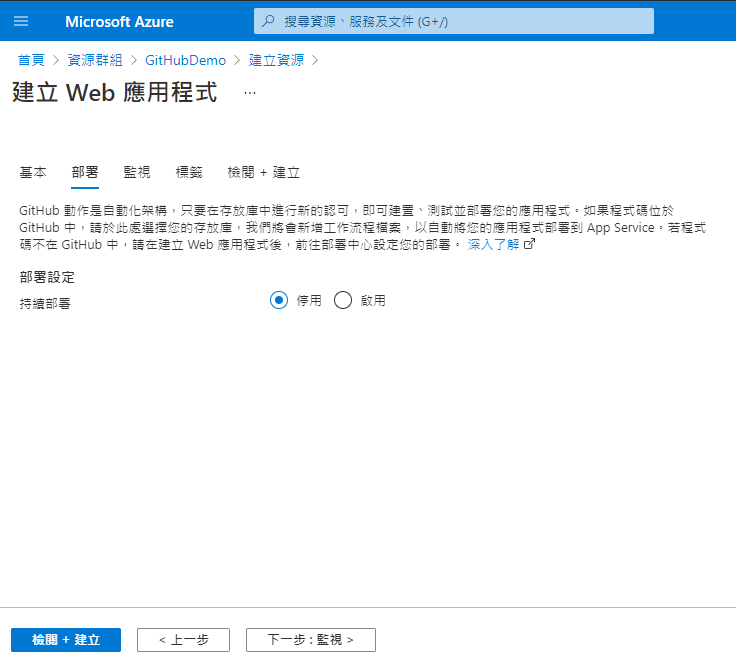
監視部分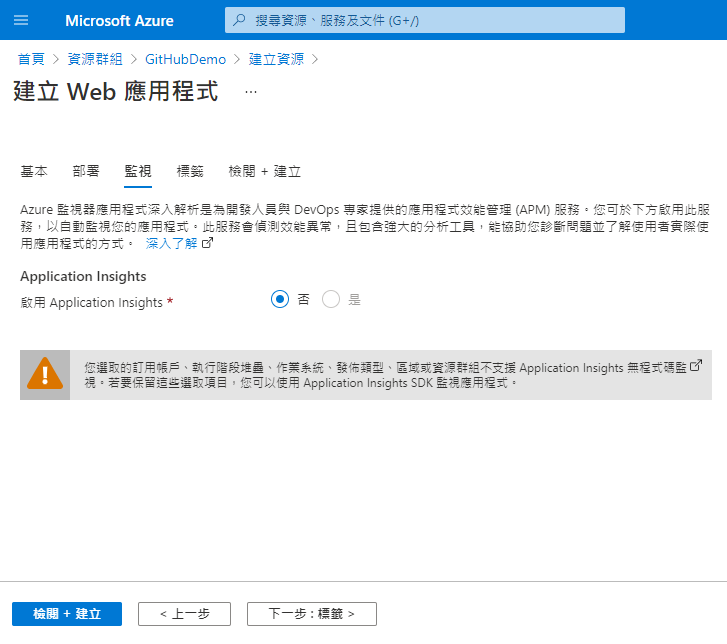
標籤部分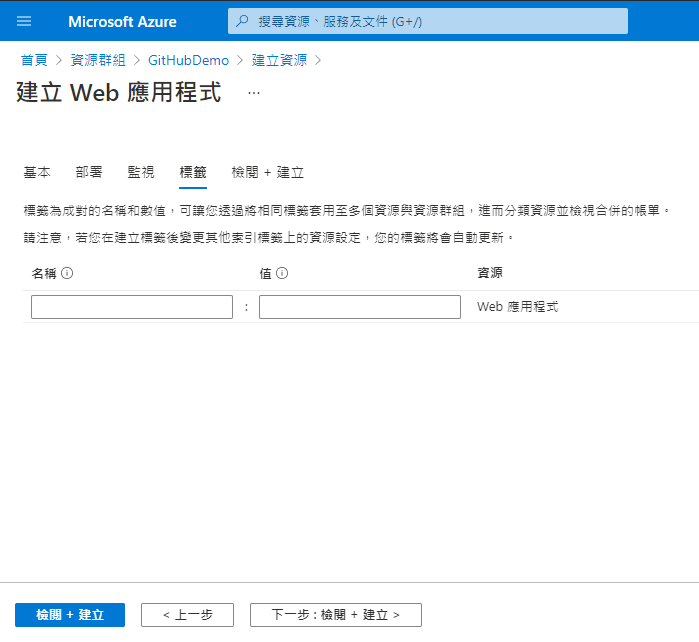
6.檢視沒問題後,點選建立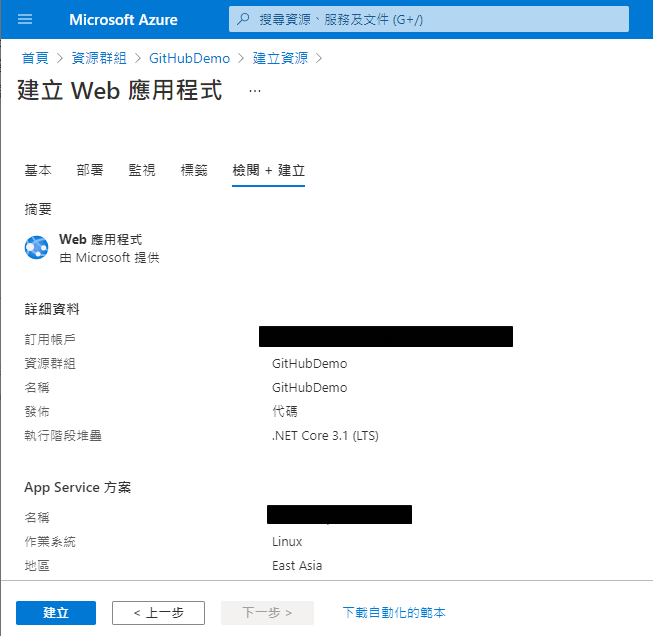
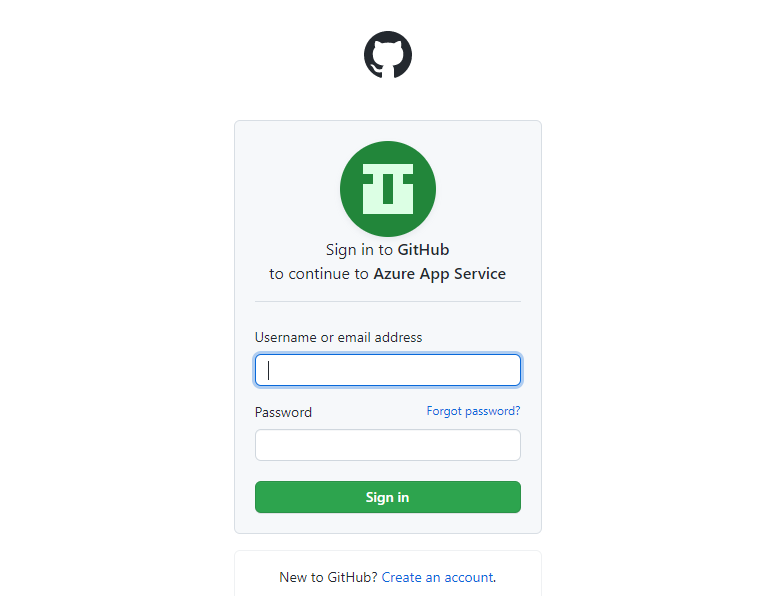
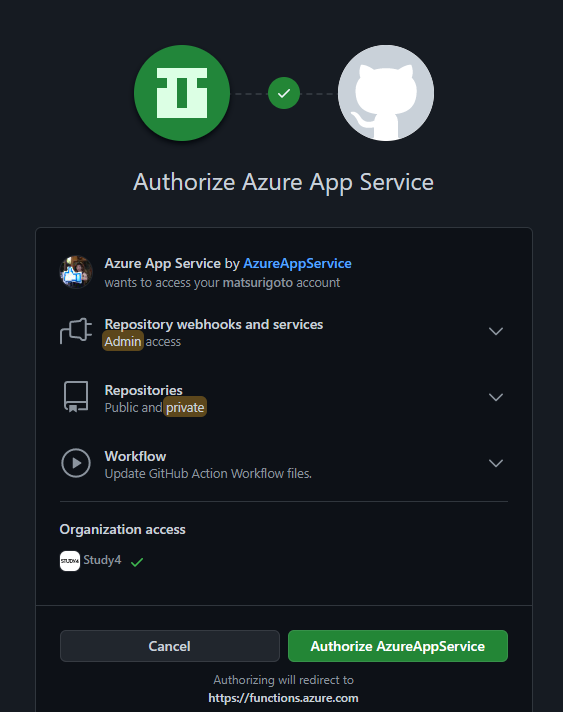
這個方式會需要授權 GitHub 權限,直接幫你建立 workflow
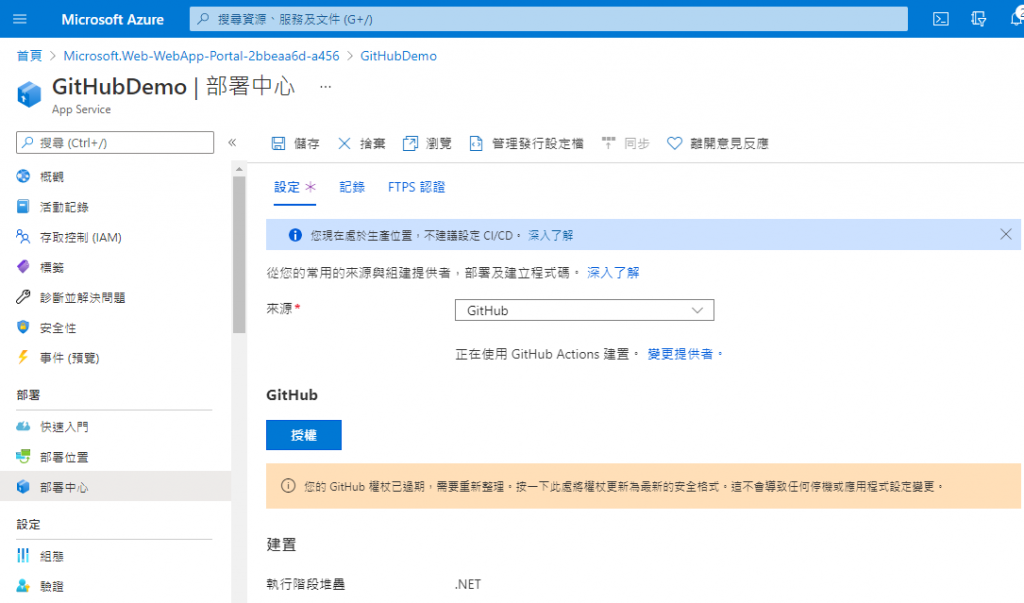
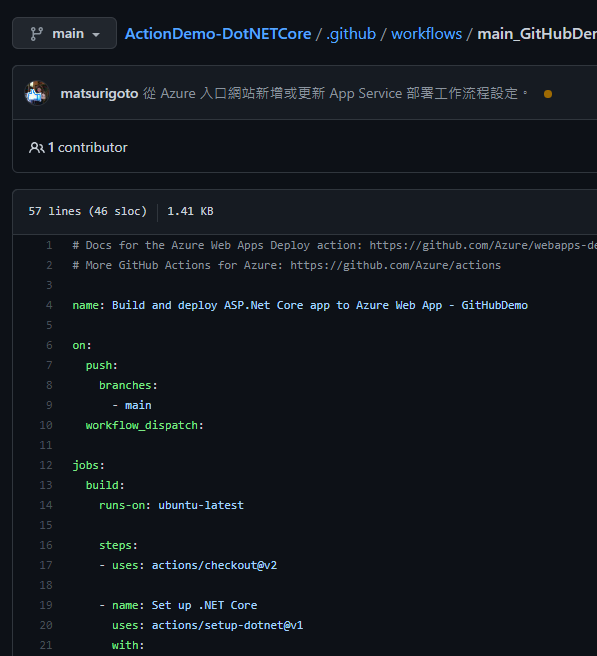
工程流程可以選擇既有的 workflow,或者新建一個新的 workflow

- name: dotnet publish
  run: dotnet publish -c Release -o ${{env.DOTNET_ROOT}}/myapp
改成
ActionDemo 是我的專案名,請實際狀況調整你的專案名稱
- name: dotnet publish
  run: dotnet publish ActionDemo\ActionDemo.csproj -c Release -o ${{env.DOTNET_ROOT}}/myapp


name: .NET
on:
push:
branches: [ main ]
pull_request:
branches: [ main ]
jobs:
build_and_deploy:
runs-on: ubuntu-latest
steps:
- uses: actions/checkout@v2
- name: Setup .NET
uses: actions/setup-dotnet@v1
with:
dotnet-version: 3.1.x
- name: Restore dependencies
run: dotnet restore
- name: Build
run: dotnet build --no-restore
- name: Test
run: dotnet test --no-build --verbosity normal
- name: dotnet build and publish
run: dotnet publish ActionDemo/ActionDemo.csproj -c Release -o './myapp'
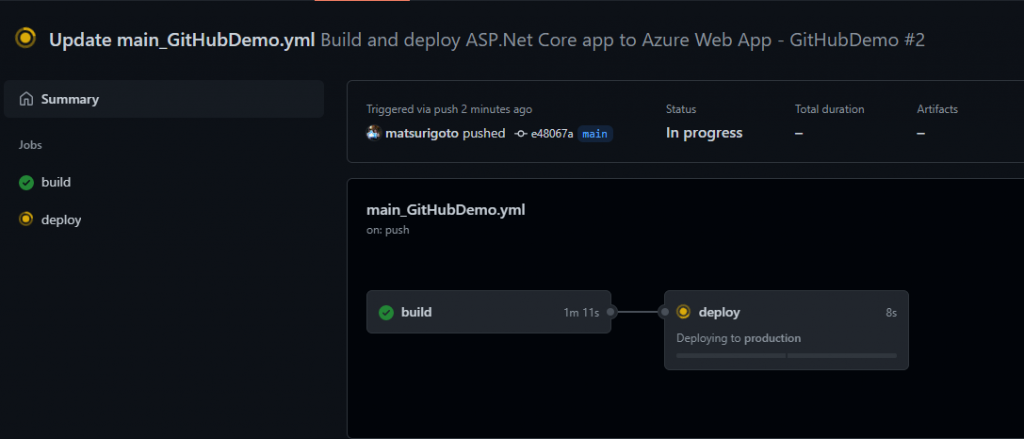
- name: 'Run Azure webapp deploy action using publish profile credentials'
uses: azure/webapps-deploy@v2
with:
app-name: 'GitHubDemo' # Replace with your app name
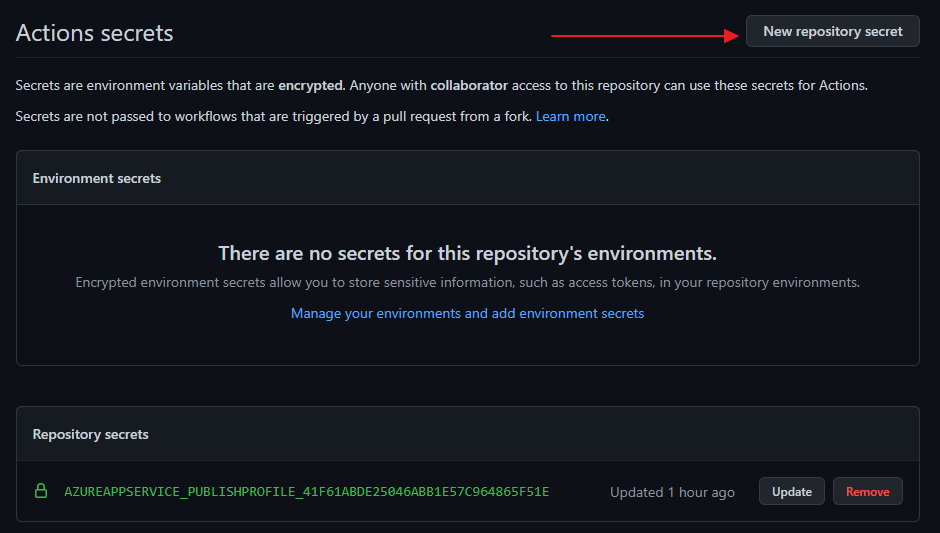
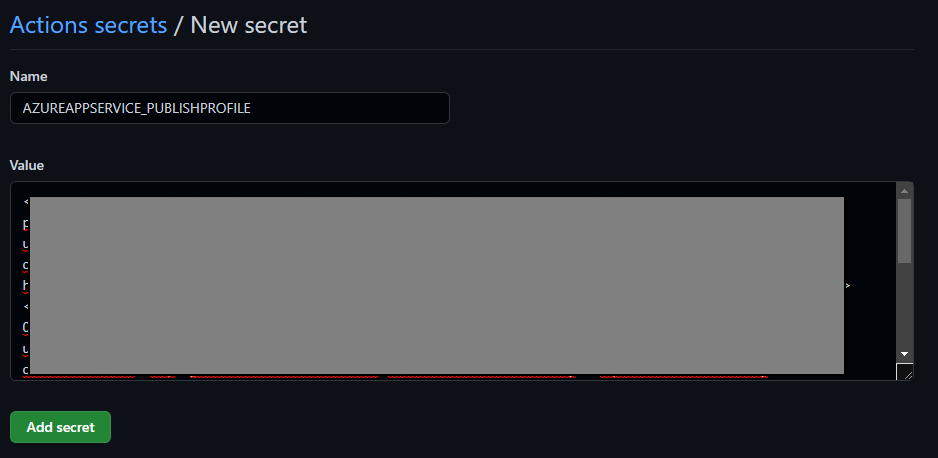
publish-profile: ${{ secrets.AZUREAPPSERVICE_PUBLISHPROFILE }} # Define secret variable in repository settings as per action documentation
package: './myapp'
因為我們專案的架構如下圖,有兩個專案,一個是單元測試,一個是網站專案,如果直接在 .sln 層執行下 dotnet publish 指令,會將兩個專案的內容都發布出來,會導致部署失敗
所以我們特別在 dotnet publish 指定網站專案路徑
閱讀完這篇文章,你會了解
接下來,我們會介紹如何部署至 IIS,但在這個之前,我們會先介紹 self-hosted runners。若喜歡我的文章,歡迎點 like, 分享與訂閱。
https://docs.microsoft.com/zh-tw/azure/app-service/deploy-github-actions?tabs=applevel