Terraform 是由 HashiCorp 建立的開放原始碼「基礎架構即程式碼」工具。
宣告式編碼工具 Terraform 可讓開發人員使用名為 HCL(HasHiCorp 配置語言)的高階配置語言,來進行基礎架構的配置,無論是支援主流的雲端供應商(AWS、GCP、Azure),或是從事網域註冊管理的 GoDaddy,到企業導入的主機自助服務 Nutanix,皆有支援,因為支援度廣泛,算是近年來 IT 進行配置的一大利器。
選擇寫程式碼來配置基礎架構,主要解決傳統上的三大痛點
文件維護不易
傳統配置基礎架構幾乎都是透過原廠提供的 Client 工具
隨著工具及硬體升級
往往介面操作不太一樣
造成文件無法對齊現有操作
版本控管
以管理域名為例
添加 A Record 及 CName Record 都是簡單操作就完成
但透過介面的操作
無法回朔前一個操作
使用 IaC 配置基礎架構
程式碼進入版控以後
很容易可以查找過去修改歷程
學習多套工具
IT 單位從虛擬機械到網域管理
如果每個導入的系統都要學習
則需要熟悉多套工具或熟悉多套軟體的 GUI 操作
使用支援廣泛的 IaC 工具
則可以使用一套工具
應用於其他地方
昨天我們已經配置好 aws config
也對於 terraform 引入基本的配置和宣告
provider "aws" {
    region                  = "ap-northeast-1"
    shared_credentials_file = "~/.aws/credentials"
    profile                 = "default"
}

terraform {
    required_providers {
        aws = {
            source  = "hashicorp/aws"
            version = "~>3.0"
        }
    }
}
Terraform 的執行只會執行當前位置底下的 .tf 檔
標準檔案配置為 main.tf、outputs.tf、variables.tf
其中 main.tf 為主要的基礎設施配置
outputs.tf 為結果輸出
variables.tf 則為常數宣告
如果有自己撰寫的模組
則在模組中的 outputs.tf 需要將創建的資源輸出
才能在引用模組的地方取得創建出來的資源
(詳細概念,等到未來實際操作會再解釋)
如果有學過強型別語言的人
可以用這個方式來理解這兩個語法
aws_instance gitlab = ....
resource "aws_instance" "gitlab" {
}
aws_instance 為變數型態
gitlab 為變數名稱
data 開頭的為查詢功能
無論是查詢我們佈建的支援
還是查詢其他的可用資源都是用這語法
而大括號內的 {} 則是寫查詢條件
data "aws_ami" "ubuntu" {

}
在配置基礎設施時
可能會使用官方提供現成的模組
或是自己撰寫的模組
撰寫完後要使用時則需要這樣撰寫
用 python 來理解 module
像是下列的寫法
引用後宣告變數名稱為 foo 的模組
from ../modules/ import ithome

foo = ithome(name="bar")
module "foo" {
    source = "../modules/ithome"
    name   = "bar"
}
ithome 模組中
main.tf
resource "aws_instance" "foo" {
    name = var.ec2_name
}
variables.tf
variable "ec2_name" {
    description = ""
    default     = "foo-name"
}
使用模組時
我們有宣告 name 為 bar
因此創建出來的資源名稱就會是 bar 而不會帶入預設值 "foo-name"
module "foo" {
    source = "../modules/ithome"
    name   = "bar"
}
也有一種是抽變數當常數使用
但區域變數或常數通常會用 .tfvars 或 locals
因此 variable 還是比較會用在模組中
程式碼的命名上比較推崇使用底線 _
而 aws 上有使用到的名稱則建議用 -
以供區別
配置 terraform 程式碼中
會習慣將等號對齊
以方便確認配置的資源規格
.tfstate 為執行配置時
記錄目前資源使用狀態的文件
如果遺失則需要將資源重新 import 近來才有辦法管理
裡面含有資訊很多
甚至含有創建的 public key和 private key
因此不建議進 Git 版控
但是多人協作時仍會需要 tfstate
不然無法進行配置或修改
此時會用 terraform cloud 或是 aws s3 來存放 tfstate
這部分的使用也會在日後說明
昨天只有新增完檔案
但是需要安裝延伸模組
才能夠識別這 terraform 檔案
並對語法上色
模組選擇上我們使用官方的 HashiCorp Terraform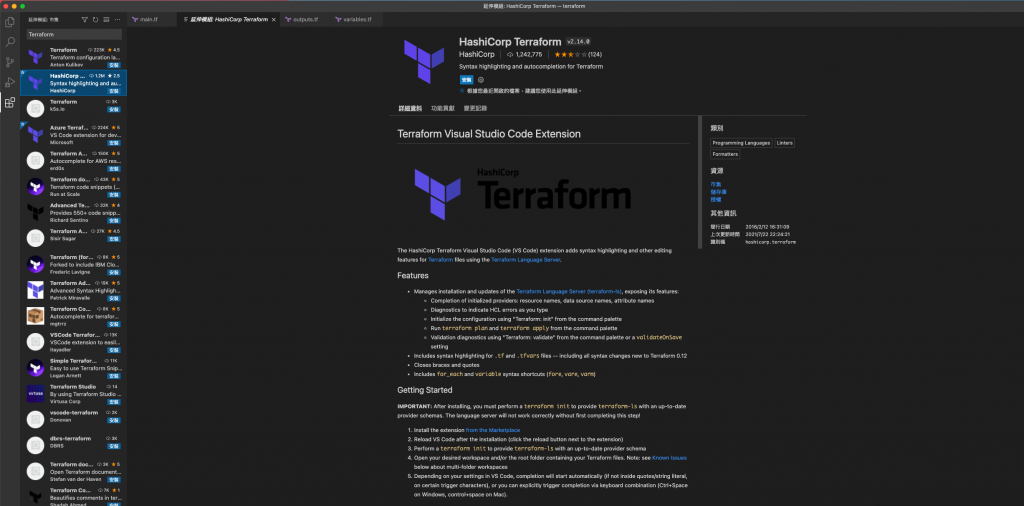
檢視安裝結果
打開昨天寫好的 main.tf
如果有自動上色
表示延伸模組有正常運作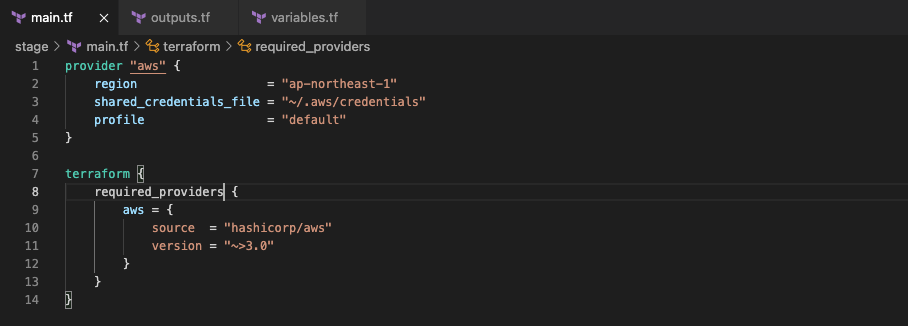
沒錯,今天我們要做的第一件事情
就是我們要安裝一台 EC2 並安裝 gitlab 版控
有使用過 aws cloud console 的小夥伴們一定不陌生
除了需要選擇 AMI
還需要配置硬碟、配置 Security Group
main.tf
data "aws_vpc" "default" {
    id = var.default_vpc_id
}
variables.tf
variable "default_vpc_id" {
    description = "the default vpc id when inital the aws"
    default = "vpc-0c580897ac763ea51"
}
main.tf
data "aws_subnet_ids" "subnet_ids" {
    vpc_id = data.aws_vpc.default.id
}
main.tf
resource "aws_security_group" "gitlab" {
    name        = "gitlab-server"
    description = "It used for gitlab server."
    vpc_id      = data.aws_vpc.default.id
    tags        = { Name = "Gitlab-Server" }
    revoke_rules_on_delete = null
}
resource "aws_security_group_rule" "gitlab_igress_22" {
    type              = "ingress"
    from_port         = 22
    to_port           = 22
    cidr_blocks       = ["0.0.0.0/0",]
    protocol          = "tcp"
    security_group_id = aws_security_group.gitlab.id
}

resource "aws_security_group_rule" "gitlab_egress_22" {
    type              = "egress"
    from_port         = 22
    to_port           = 22
    cidr_blocks       = ["0.0.0.0/0",]
    protocol          = "tcp"
    security_group_id = aws_security_group.gitlab.id
}
main.tf
resource "tls_private_key" "gitlab" {
    algorithm = "RSA"
    rsa_bits  = 4096
}

resource "aws_key_pair" "gitlab" {
    key_name = "gitlab"
    public_key = tls_private_key.gitlab.public_key_openssh
}
上方為在 aws上建立成對金鑰
而下方的指令則將 key輸出成一個實體的檔案
format 則是 terraform 中的一個函式
可以用來組合字串使用
main.tf
resource "local_file" "gitlab" {
    content  = tls_private_key.gitlab.private_key_pem
    filename = format("%s.pem", aws_key_pair.gitlab.key_name)
}
此處為選擇一個 ubuntu 20.04 的作業系統
data "aws_ami" "ubuntu" {
    most_recent = true

    filter {
        name   = "name"
        values = ["ubuntu/images/hvm-ssd/ubuntu-focal-20.04-amd64-server-*"]
    }

    filter {
        name   = "virtualization-type"
        values = ["hvm"]
    }

    owners = ["099720109477"] # Canonical
}
根據網路上查找的許多建議
實際上也在安裝過程中採過雷
建議使用四核心以上的 EC2
也就是至少使用 t3.xlarge 的規格
不然可能在安裝 gitlab 的過程中卡住
因為 aws 上 t 系列的機械
會計算 CPU 使用量
如果使用超規會耗費 CPU Credit
一但 CPU Credit 消耗完
則機械會無法使用
需等待一段時累積 CPU Credit
main.tf
resource "aws_instance" "gitlab" {
    ami                     = data.aws_ami.ubuntu.id
    instance_type           = "t3.xlarge"
    subnet_id               = sort(data.aws_subnet_ids.subnet_ids.ids)[0]
    key_name                = aws_key_pair.gitlab.key_name
    vpc_security_group_ids  = [ "value" ]
    disable_api_termination = false
    ebs_optimized           = true
    hibernation             = false

    tags = {
        Name  = "Gitlab Server"
        Usage = "For SCM"
        Creator = "Terraform"
    }

    root_block_device {
        delete_on_termination = true
        encrypted             = false
        throughput            = 0
        volume_size           = 30
        volume_type           = "gp2"
        tags                  = {
            Name     = "Gitlab Server"
            Attached = "Gitlab Server"
        }
    }
}
回到 vagrant ssh 進到虛擬機械中
並到切換路徑到專案目錄
輸入指令以執行配置
terraform apply
配置完成後
我們就可以登入 aws cloud console 介面來查看配置的結果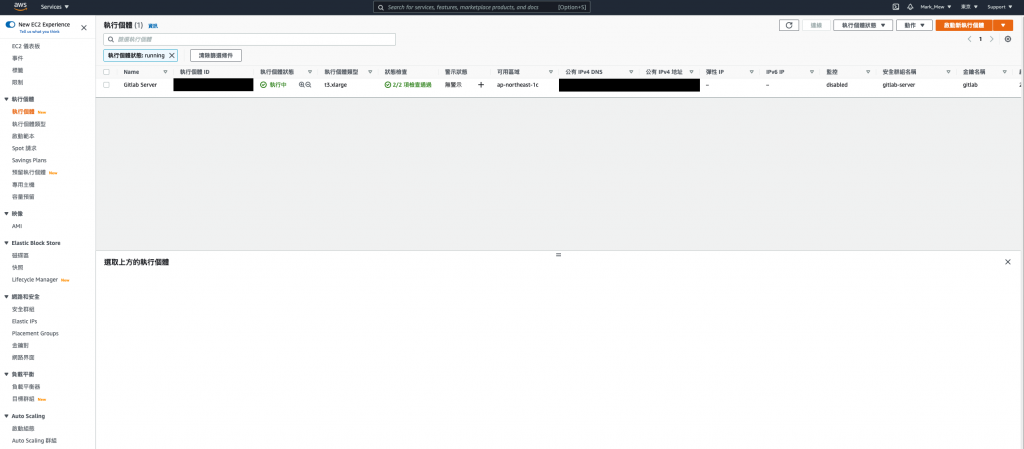
參考:


 iThome鐵人賽