昨天我們使用 Terraform 創建好一個給 Gitlab 使用的 EC2
一般來說,CI/CD 工具不會公開在外網做存取
通常解決方式會是透過 AWS Site-to-Site VPN 或是建立 AWS Classic VPN
但是這些都要額外的花費
因此我們一切從簡
改成用白名單的方式來設定
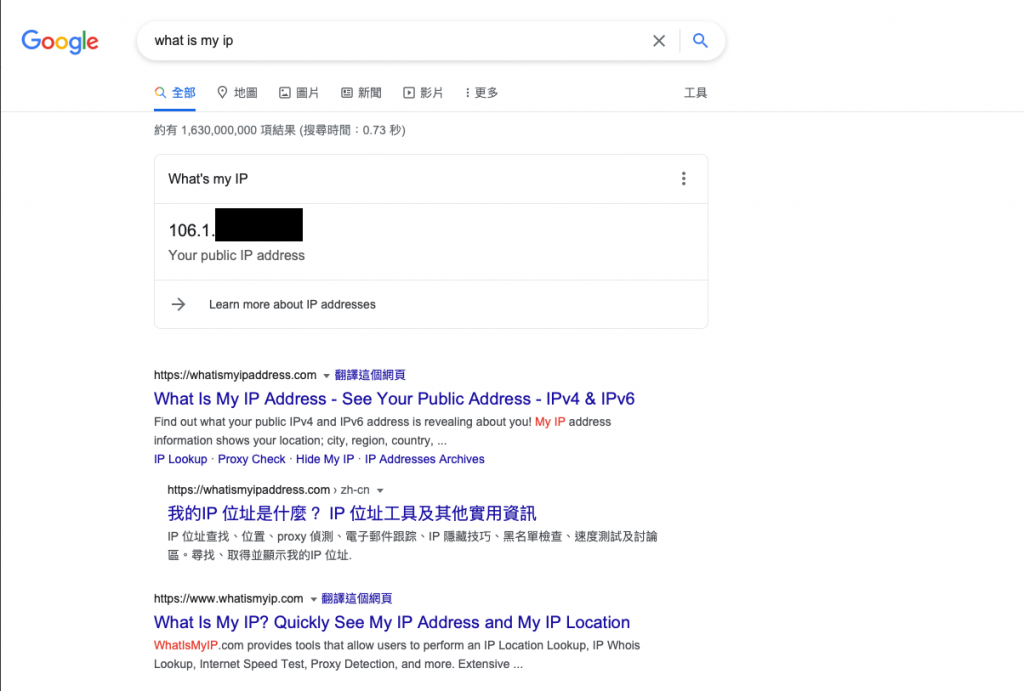
在 Google 上搜尋 What is my IP
將昨天 main.tf 上設置的 aws_security_group_rule 移除
改為以下代碼
因為等下可能會用到 80、443 port
因此也先在此設定
resource "aws_security_group_rule" "gitlab_igress_22" {
    type              = "ingress"
    from_port         = 22
    to_port           = 22
    cidr_blocks       = ["你的IP/32",]
    protocol          = "tcp"
    security_group_id = aws_security_group.gitlab.id
}

resource "aws_security_group_rule" "gitlab_egress_22" {
    type              = "egress"
    from_port         = 22
    to_port           = 22
    cidr_blocks       = ["你的IP/32",]
    protocol          = "tcp"
    security_group_id = aws_security_group.gitlab.id
}

resource "aws_security_group_rule" "gitlab_igress_80" {
    type              = "ingress"
    from_port         = 80
    to_port           = 80
    cidr_blocks       = ["你的IP/32",]
    protocol          = "tcp"
    security_group_id = aws_security_group.gitlab.id
}

resource "aws_security_group_rule" "gitlab_egress_80" {
    type              = "egress"
    from_port         = 80
    to_port           = 80
    cidr_blocks       = ["0.0.0.0/0",]
    protocol          = "tcp"
    security_group_id = aws_security_group.gitlab.id
}

resource "aws_security_group_rule" "gitlab_igress_443" {
    type              = "ingress"
    from_port         = 443
    to_port           = 443
    cidr_blocks       = ["你的IP/32",]
    protocol          = "tcp"
    security_group_id = aws_security_group.gitlab.id
}

resource "aws_security_group_rule" "gitlab_egress_443" {
    type              = "egress"
    from_port         = 443
    to_port           = 443
    cidr_blocks       = ["0.0.0.0/0",]
    protocol          = "tcp"
    security_group_id = aws_security_group.gitlab.id
}
回到 command line 輸入
terraform apply
昨天新增完 pem 檔以後
就在本機中出現 gitlab.pem 檔
可供 ssh 連到建立的 EC2
ssh -i "gitlab.pem" ubuntu@xxxxxx.ap-northeast-1.compute.amazonaws.com
不過直接執行的話
會出現錯誤訊息
permissions 0755 for 'gitlab.pem' are too open
這是 aws 的安全機制所造成
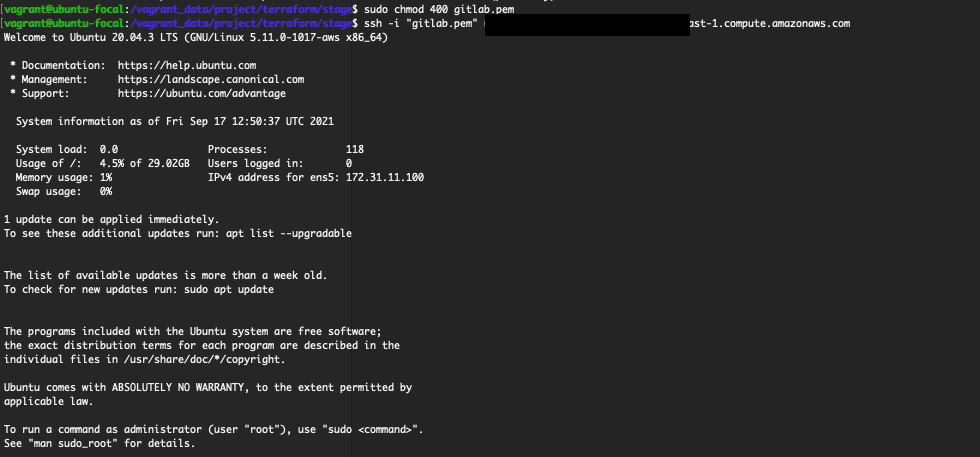
此時我們需要改成 400 才可以正常 ssh 到主機
sudo chmod 400 gitlab.pem
ssh -i "gitlab.pem" ubuntu@xxxxxx.ap-northeast-1.compute.amazonaws.com
剛剛我們在設定 outbound 的時候
80、443 port 是設定 0.0.0.0/0 也就是全開
是為了要能夠做 update 和 upgrade
sudo apt-get update
sudo apt-get upgrade -y
sudo apt-get install -y curl openssh-server ca-certificates tzdata perl
通常我們都會有 SMTP 服務來寄送郵件
所以會跳過安裝 postfix 套件
curl https://packages.gitlab.com/install/repositories/gitlab/gitlab-ee/script.deb.sh | sudo bash
sudo EXTERNAL_URL="https://gitlab.example.com" apt-get install gitlab-ee
如果當初我們在配置 EC2 的時候
選擇 t2.small
安裝到一半就會卡住
安裝 gitlab 時間有點久
需要一點時間等待
完成安裝後會出現 gitlab 的圖案
並告知預設密碼放在 /etc/gitlab/initial_root_password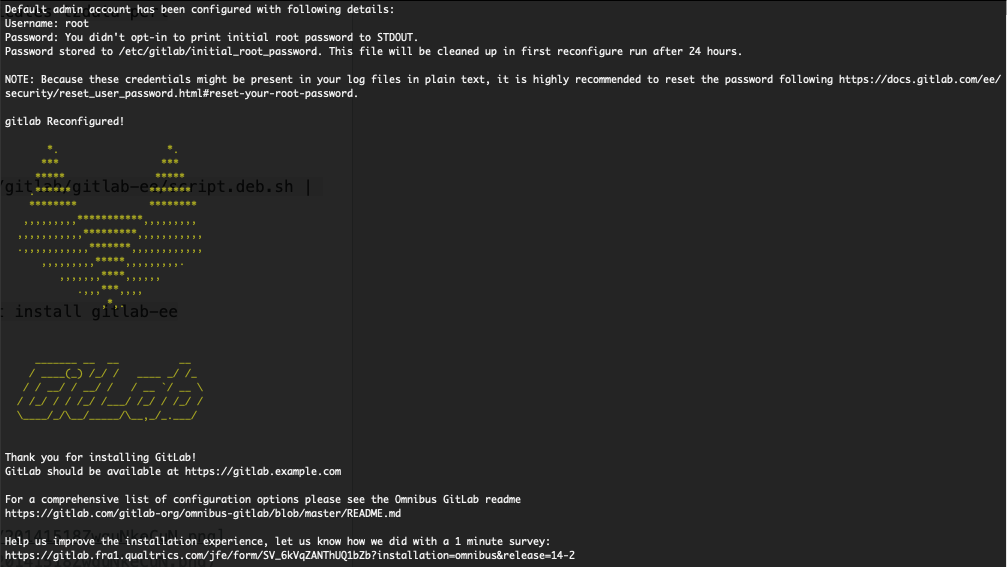
安裝步驟其實也可以參考 gitlab 官網
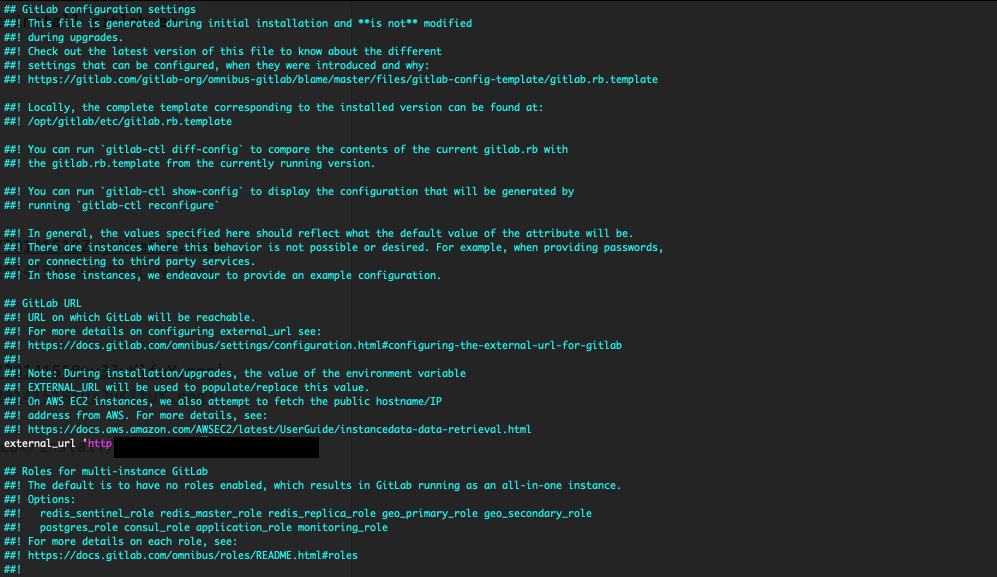
sudo vi /etc/gitlab/gitlab.rb
按下 Shift + i 進入編輯模式
將自己 EC2的 IP 貼上後
先按 ESC 再輸入 :wq 儲存離開
sudo gitlab-ctl reconfigure
sudo cat /etc/gitlab/initial_root_password
密碼複製起來,等等會用到
http : // 你的網址
帳號是 root,密碼則是前一個步驟查到的那串
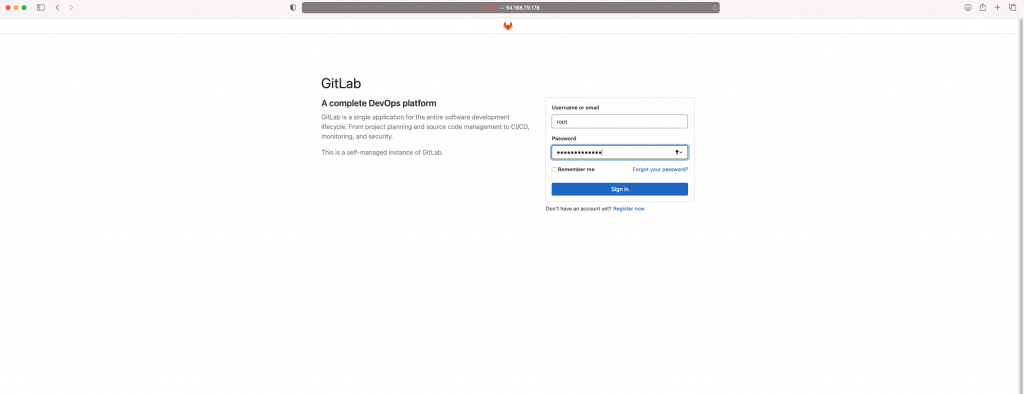
能夠正常登入後
就表示 Gitlab 設定完成囉
本來不打算寫這段
但是礙於此次挑戰的初衷
這是希望教大家按步驟把環境建起來的過程
可以的話還是盡可寫完整
參考 github 上配置的 .gitignore
在專案的根目錄(與 stage 資料夾同一層)
.terraform 為下 terraform init 時安裝的模組
無論 provider 是 aws
自己撰寫的模組都會安裝在這下面
而 .tfvars 則是用作本機使用的變數
通常也不會做版本控管
最後的 '.pem' 是我特別加的
因為我們產生金鑰的方式是使用 terraform
為了怕我們誤把 key check-in 進 git
因此特地排除
# Local .terraform directories
**/.terraform/*

# .tfstate files
*.tfstate
*.tfstate.*

# Crash log files
crash.log

# Exclude all .tfvars files, which are likely to contain sentitive data, such as
# password, private keys, and other secrets. These should not be part of version
# control as they are data points which are potentially sensitive and subject
# to change depending on the environment.
#
*.tfvars

# Ignore override files as they are usually used to override resources locally and so
# are not checked in
override.tf
override.tf.json
*_override.tf
*_override.tf.json

# Include override files you do wish to add to version control using negated pattern
#
# !example_override.tf

# Include tfplan files to ignore the plan output of command: terraform plan -out=tfplan
# example: *tfplan*

# Ignore CLI configuration files
.terraformrc
terraform.rc

*.pem
**/*.pem
到 http:// 你的gitlab網址 /help/ssh/index#generate-an-ssh-key-pair
有詳細產生的過程
因為我們有安裝 vagrant 起一台虛擬機械
所以可以直接在 ubuntu 底下下指令
-C 後方的是 comment
可以任意修改
主要是方便自己識別
ssh-keygen -t ed25519 -C "ithome ironman 2021"
要修改檔名的可以在
Enter file in which to save the key
輸入 key 要存放的位置
此處範例因為只是為了鐵人賽而產生
所以都沒有修改一直按 enter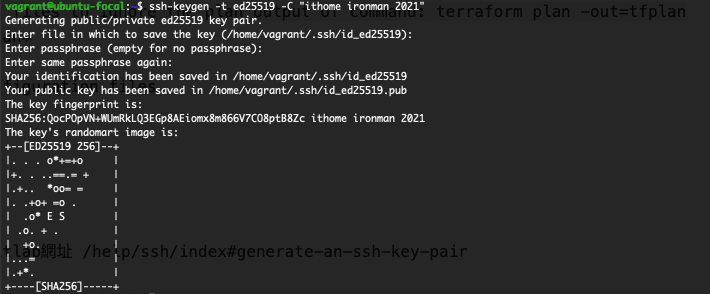
sudo cat /home/vagrant/.ssh/id_ed25519.pub
查看剛剛產生的 public key
並複製下來
來到 gitlab 網頁
圖像 Avatar -> Preferences -> SSH Keys
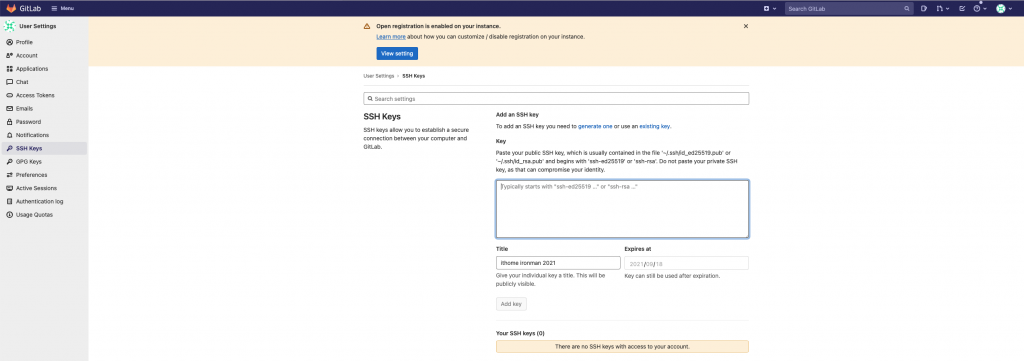
將剛剛的 Key 貼上後儲存就新增完了
為了分類清楚
我們還是先新增一個 group
點按首頁查詢框旁的 +
並按下 New Group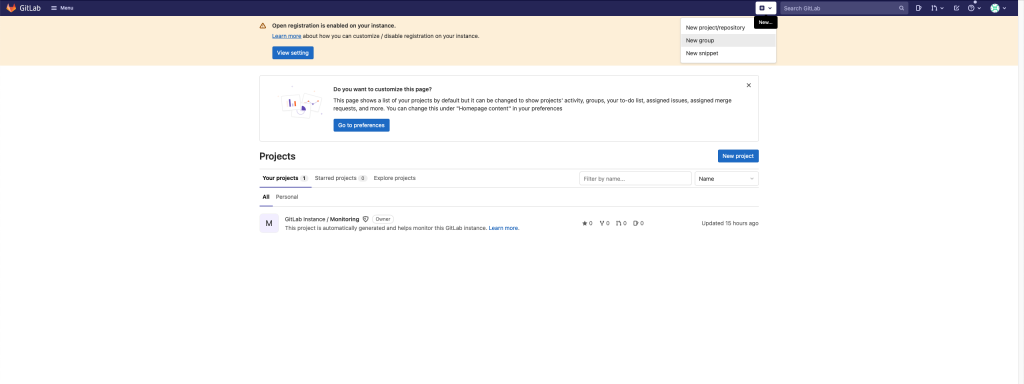
Create Group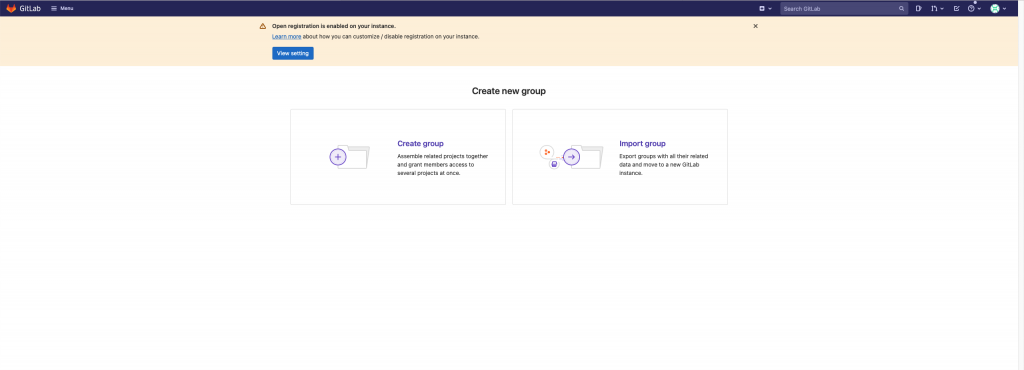
填寫好 Group 的名稱
並按下 Create Group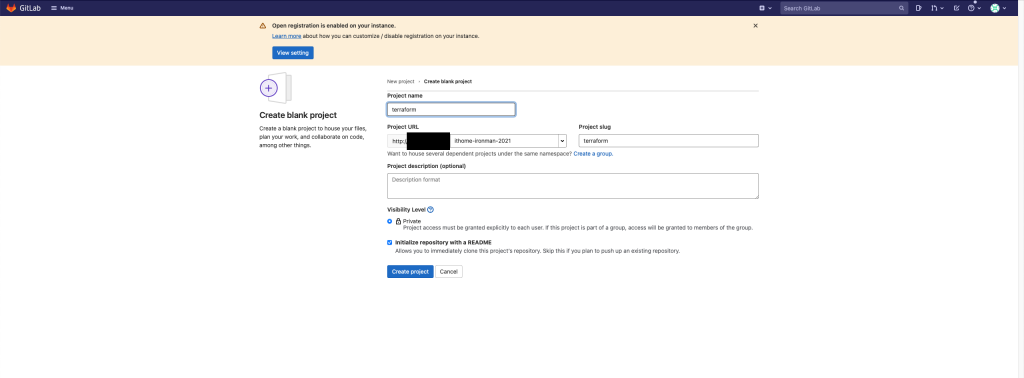
創建好 Group 以後
會進入創建好的 Group 中
點按畫面中間的 New Project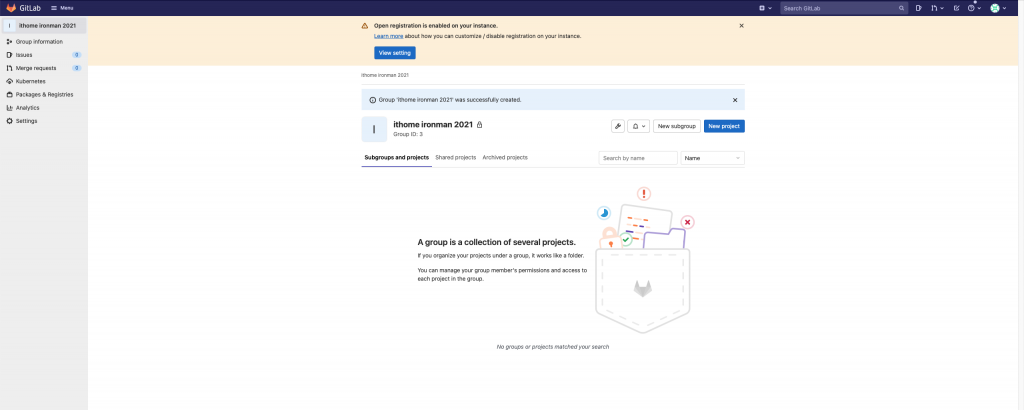
Create Blank Project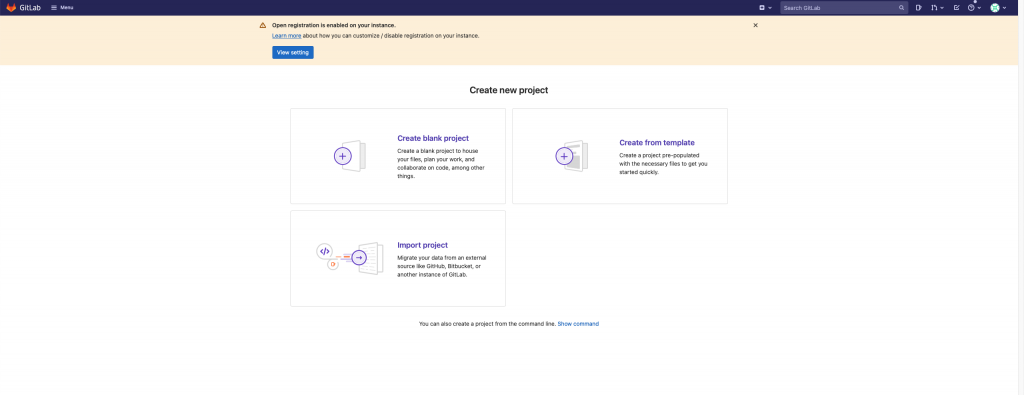
輸入好相關資訊後
按下 Create Project
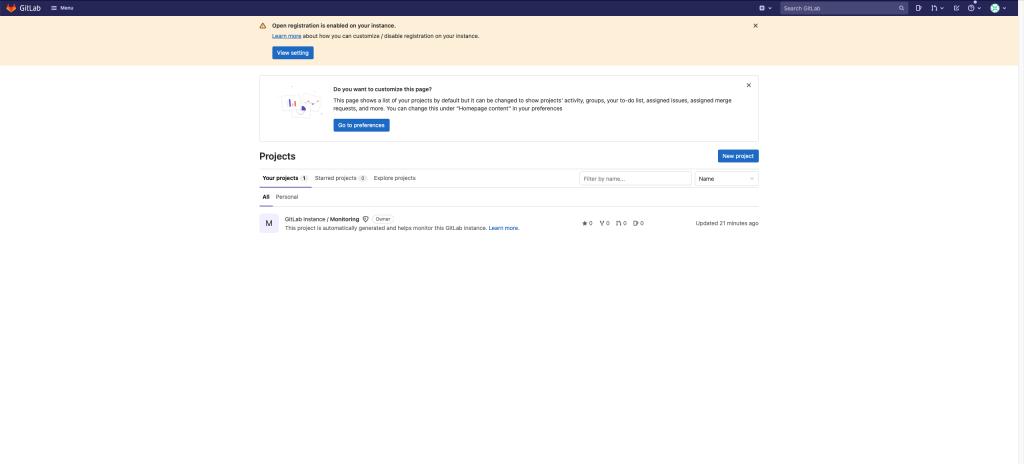
新增好專案後
就會自動進入到專案頁面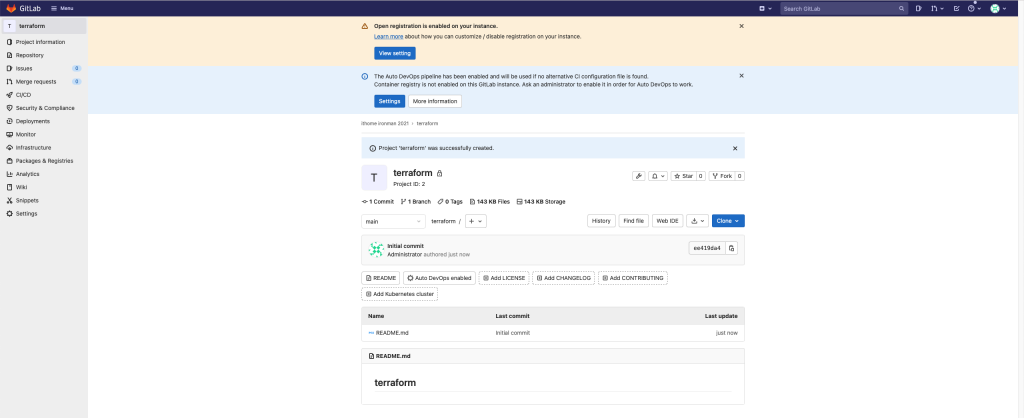
點按 clone 複製 ssh 的網誌備用
切換到專案目錄
cd /vagrant_data/project/terraform
初始化 git專案
git init
git remote add origin [剛剛複製的 git ssh 網址]
當時沒有調整設定
所以新的專案預設都會是 main
懶得重寫教學文
大家還是用 main
git checkout main
將 code 更新到最新
git pull --rebase
設定你的 git 資訊
git config --global user.email "你的email"
git config --global user.name "你的名稱"
添加 commit 檔案和訊息
git add .gitignore
git add stage/
git commit -m "initial aws infrastructure"
如果有誤加 pem 的人
記得 push前要把他移除
git rm stage/gitlab.pem
git commit --amend -m "initial aws infrastructure"
chech-in code 進 git
git push
Code check-in 進 git 頁面後
回到專案就可以看到內容囉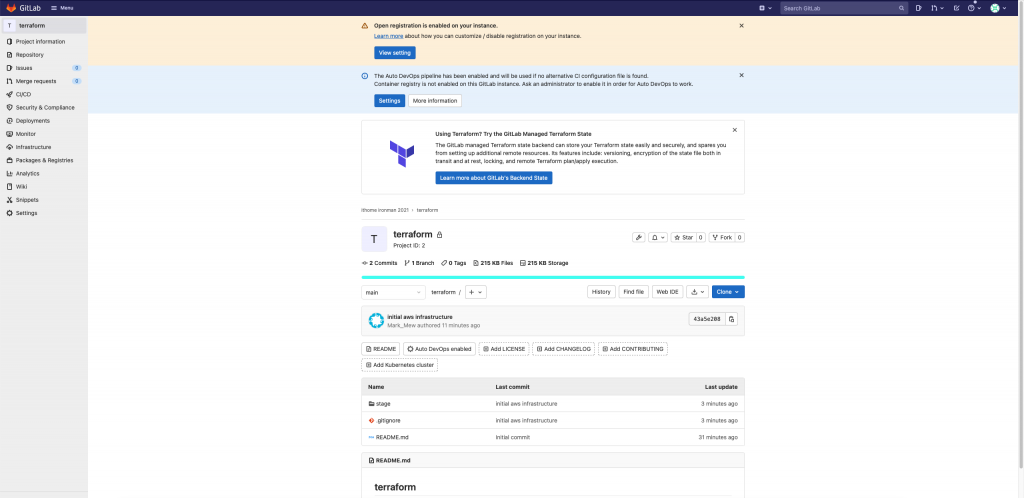
雖然整個 git 的操作規範
沒走 git flow
但是我相信大部分的配置
大家都會直接 apply 相關的設定
因此在大家決定使用 terraform 走 CI/CD 來自件建置環境前
大方向來說 main(或master) 都會和線上環境對齊
這也是 terraform 的使用
我沒有特別 follow git flow 的部分
參考資料: