昨天能夠透過 vagrant 建立並啟動虛擬機械
並且安裝好 aws-cli
接續昨天的進度
預計裝好 terraform 並配置好 aws 的設定
昨天安裝好 aws-cli 後
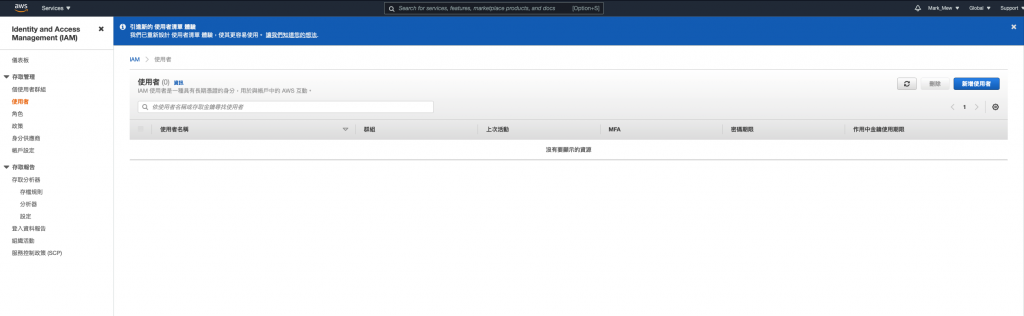
還需要另外配置使用者資訊
才有辦法對 aws 進行操作
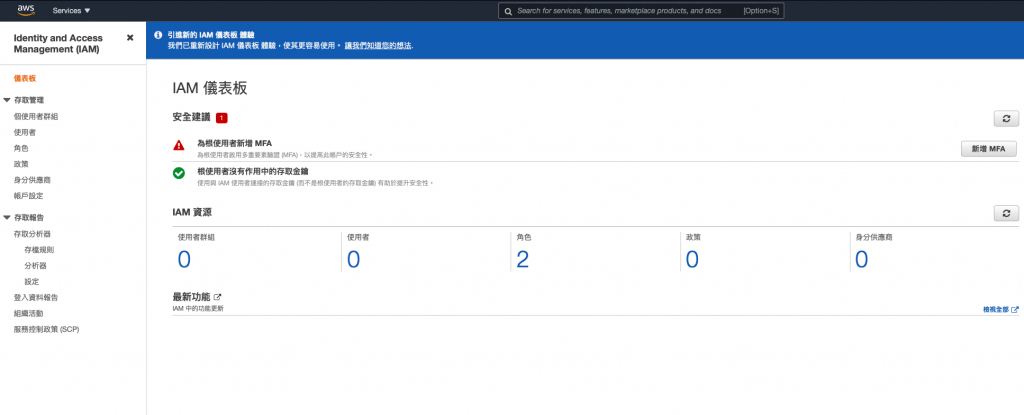
新的帳號如果沒有使用 MFA 會跳出警示
建議帳號的使用加上 MFA 會比較保險
因為是程式使用需要
因此勾選第一項即可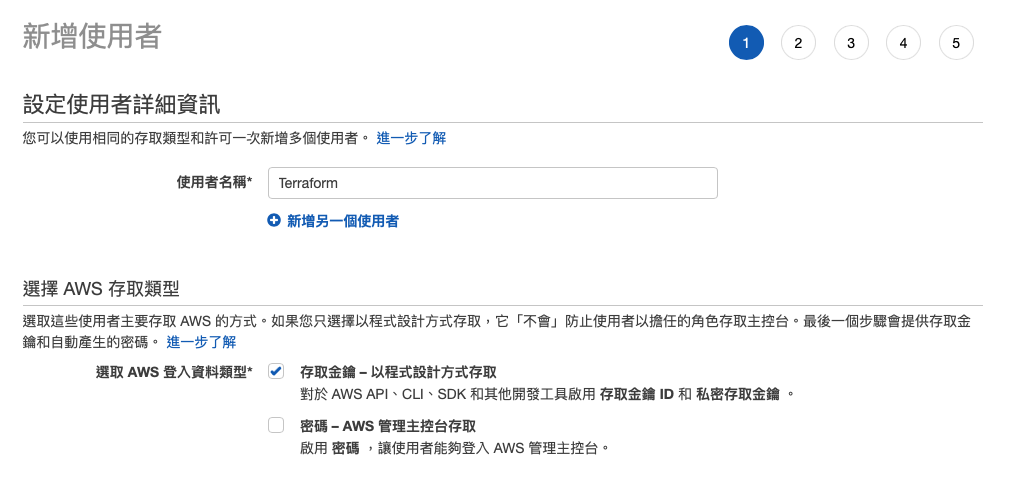
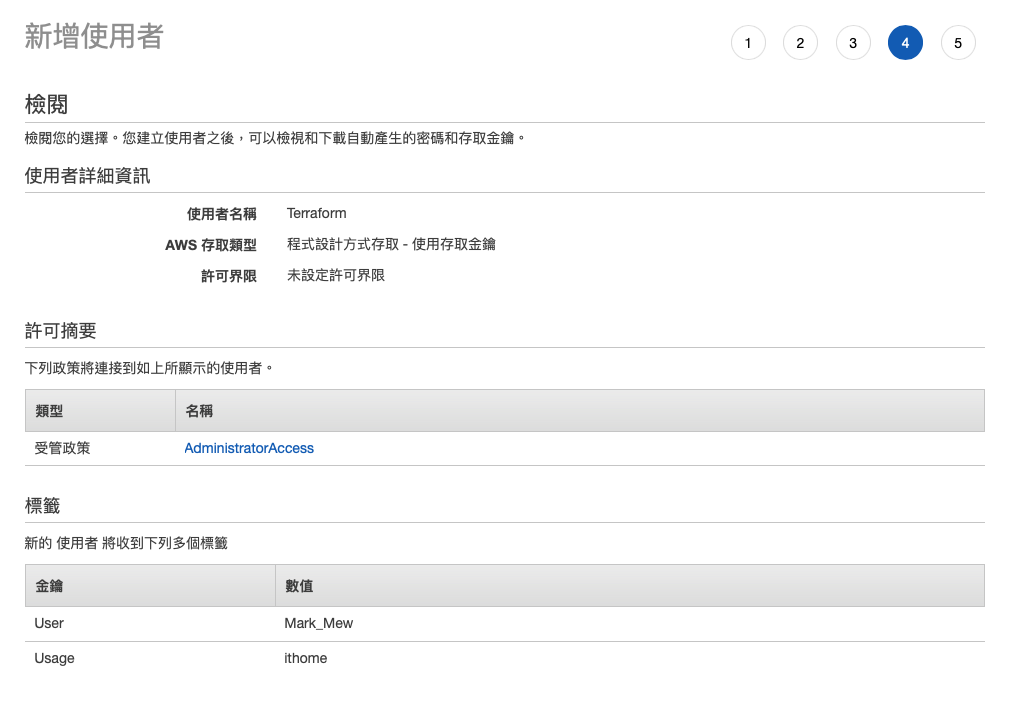
這裡的操作上會使用 AdministratorAccess
但是僅限於本機使用
如果在 EC2 或是其他部分的操作
建議給予適當的權限即可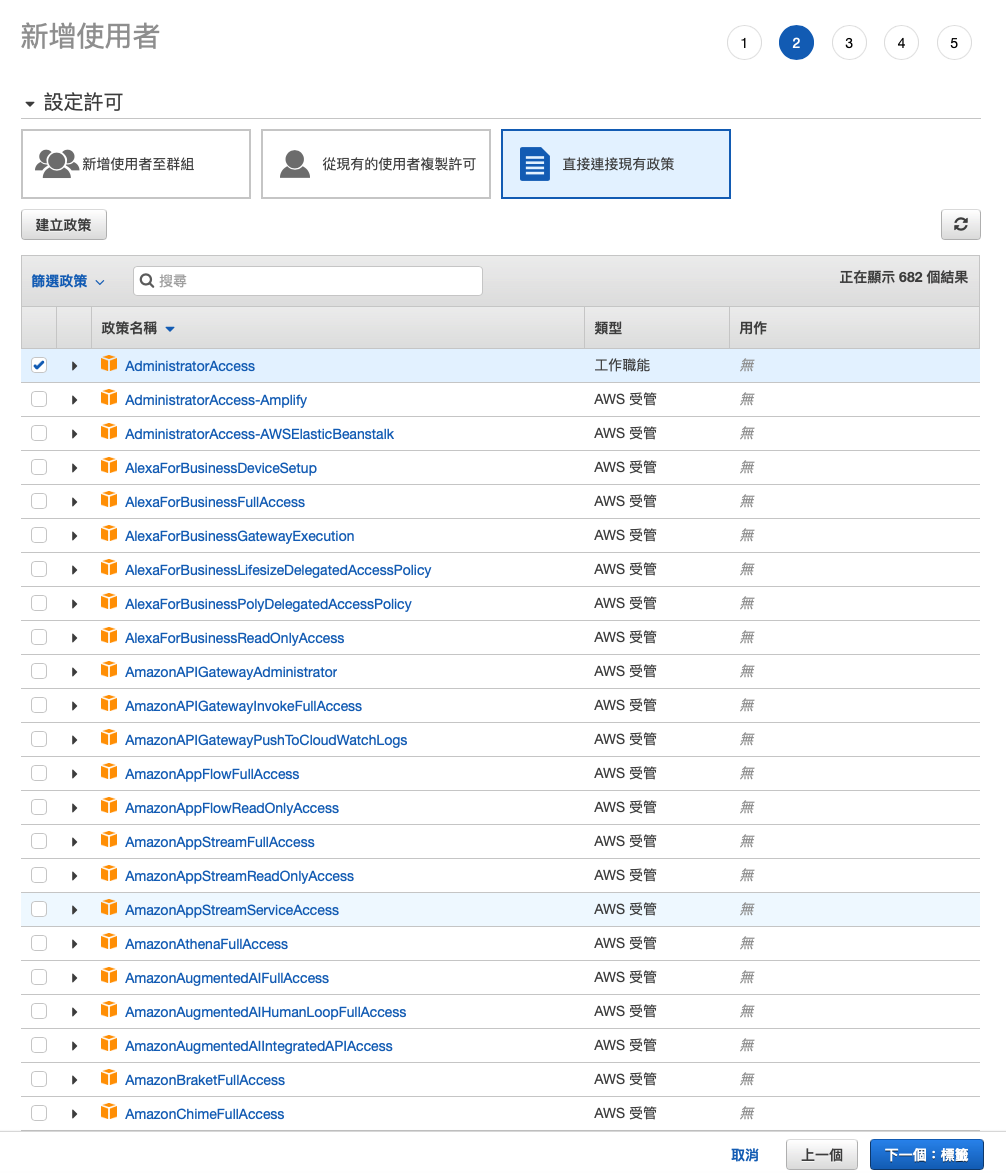
此處的標籤無特別用處
方便自己辨識即可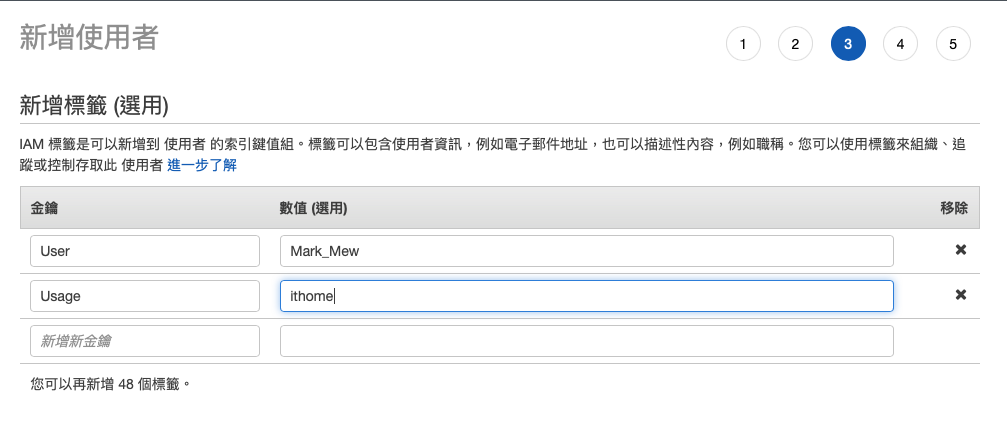
建立完後會給予一組金鑰
私密存取金鑰僅會在此頁面顯示
怕忘記的記得下載 CSV 儲存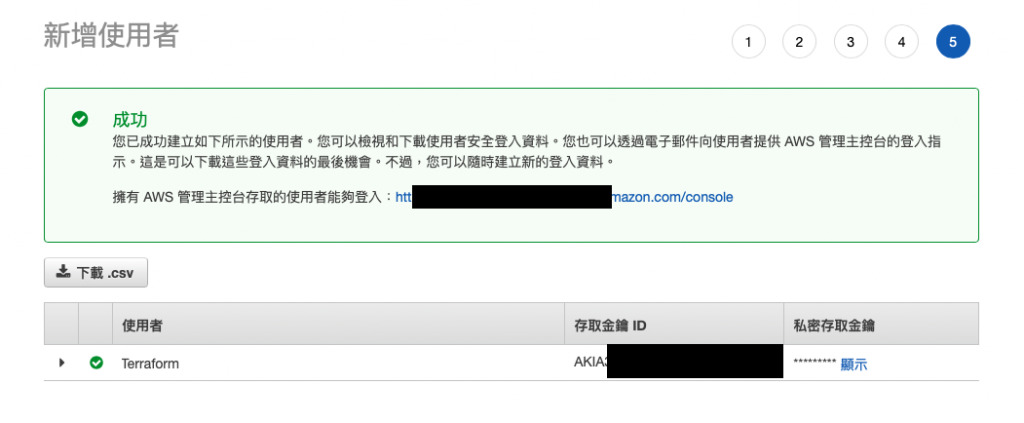
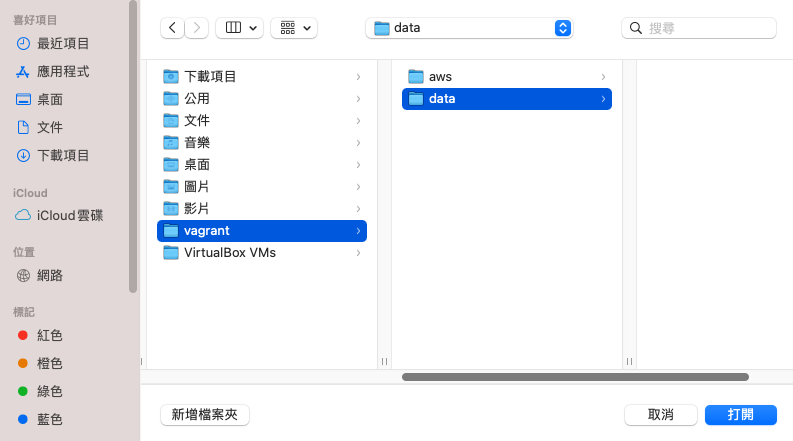
回到昨天建立的虛擬機械
vagrant ssh 進入虛擬機械後
輸入以下指令
aws configure
分別輸入完剛剛拿到 Access Key ID 和 Secret Access Key
以及 Default Region Name 和 Default output format後就完成了
預設區域會 aws 未來預計建立機械的區域
如果沒有特別考量建議可以使用離台灣較近的 ap-northeast-1(東京)或 ap-southeast-1(新加坡)
而 output format 則會影響到下 aws-cli 結果的顯示
如果有需要調整或是修改
檔案位在 ~/.aws 底下
分別是 credentials 和 config
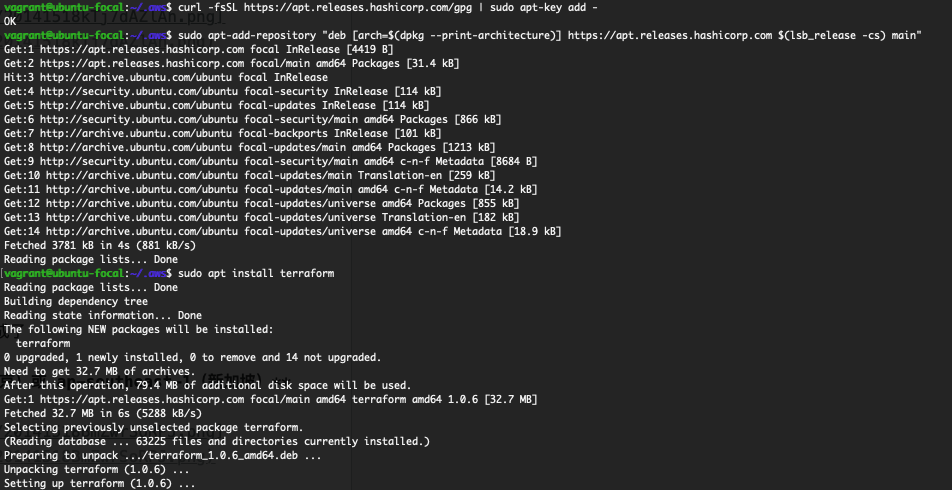
在 ubuntu 底下安裝 terraform 需要手動添加 repository
curl -fsSL https://apt.releases.hashicorp.com/gpg | sudo apt-key add -
sudo apt-add-repository "deb [arch=$(dpkg --print-architecture)] https://apt.releases.hashicorp.com $(lsb_release -cs) main"
sudo apt install terraform
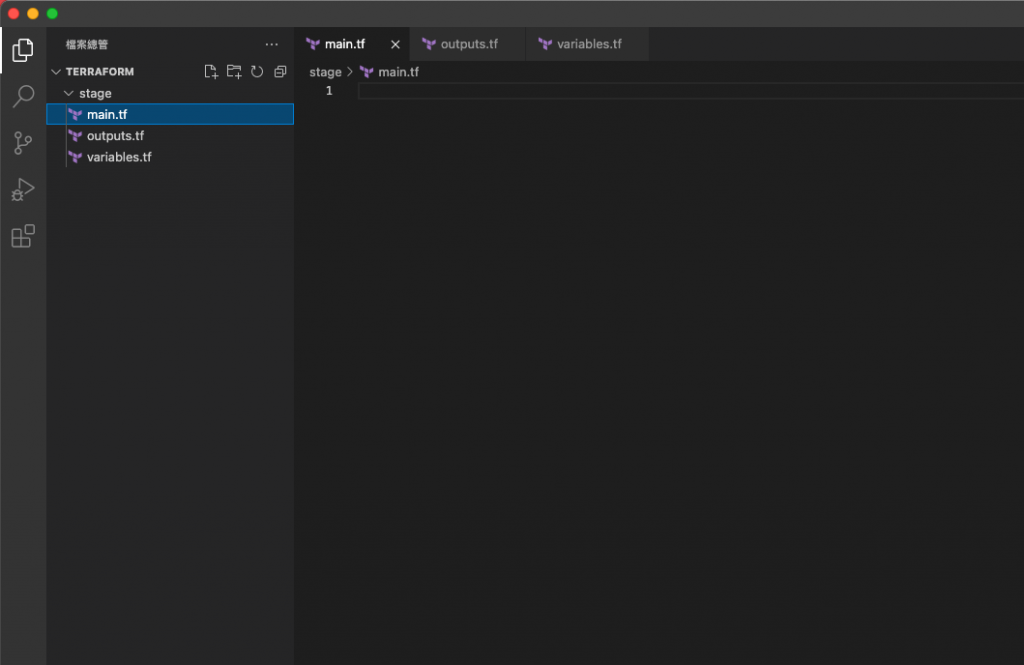
在 terraform 的基礎配置上
官方說明建議的標準配置就是這三個檔案
由於這段程式碼未來會進 git 做版控
因此不建議在此直接填入上方拿到的 Access Key ID 和 Secret Access Key
provider "aws" {
    region                  = "ap-northeast-1"
    shared_credentials_file = "~/.aws/credentials"
    profile                 = "default"
}

terraform {
    required_providers {
        aws = {
            source  = "hashicorp/aws"
            version = "~>3.0"
        }
    }
}
在 terraform 官方的教學文件
有說明 credential 的配置
雖然可以直接把 Access Key ID 和 Secret Access Key 放上
但這是不建議的方式
比較推薦的方式還是像上方這樣
透過資料夾的方式去指定 credentials 的位置
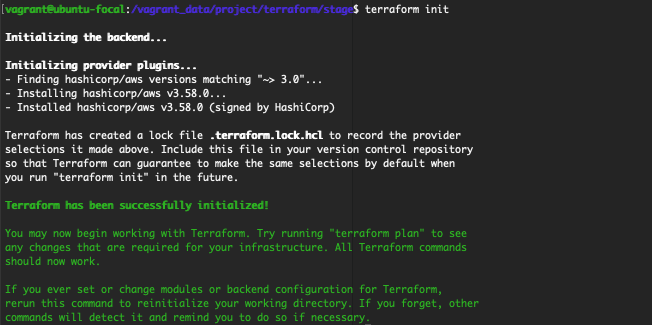
cd /vagrant_data/project/terraform/stage
terraform init
到此,其實開發環境配置就完成了
如果需要關閉虛擬機械的指令
記得要先 exit 後再下 vagrant halt


 iThome鐵人賽