本系列文已出版成書「NestJS 基礎必學實務指南:使用強大且易擴展的 Node.js 框架打造網頁應用程式」,感謝 iT 邦幫忙與博碩文化的協助。如果對 NestJS 有興趣、覺得這個系列文對你有幫助的話,歡迎前往購書,你的支持是我最大的寫作動力!
在 Nest 的世界裡,Controller 負責路由的配置並處理來自客戶端的請求,而每一個 Controller 都可以依照需求來設計不同 Http Method 的資源,就好像外場服務生負責帶位、協助客人點餐一樣,並根據客戶的需求做出相對應的回應: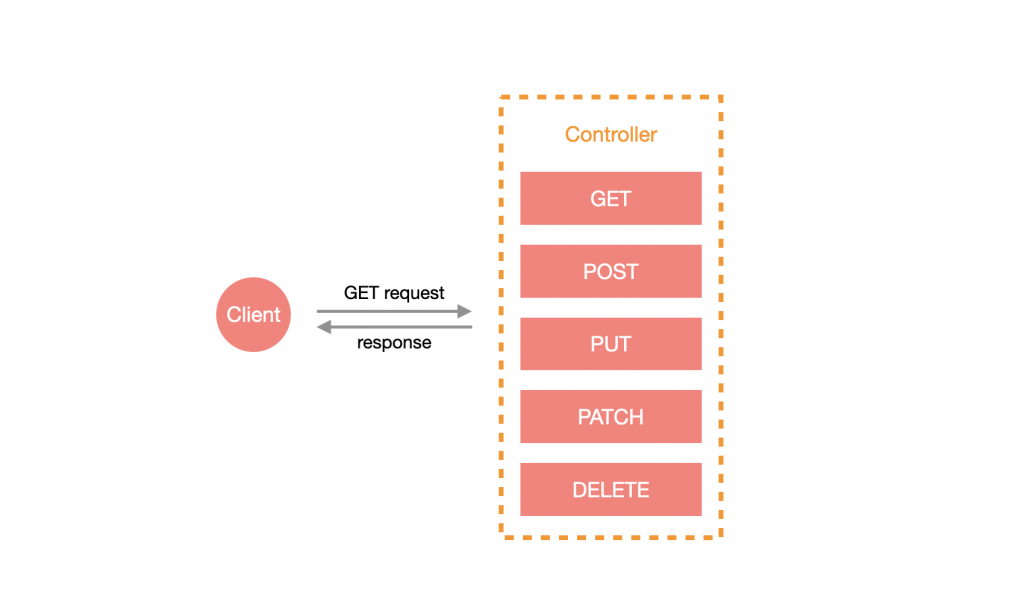
總體來說,Controller 就是一個處理客戶端請求,並將相同性質的資源整合在一起的元件。
所有的 Controller 都必須使用 @Controller 裝飾器來定義。可以用 NestCLI 快速生成 Controller:
$ nest generate controller <CONTROLLER_NAME>
注意:
<CONTROLLER_NAME>可以含有路徑,如:features/todo,這樣就會在src資料夾下建立該路徑並含有 Controller。
這邊我建立了一個名為 todo 的 Controller:
$ nest generate controller todo
在 src 底下會看見一個名為 todo 的資料夾,裡面有 todo.controller.ts 以及 todo.controller.spec.ts: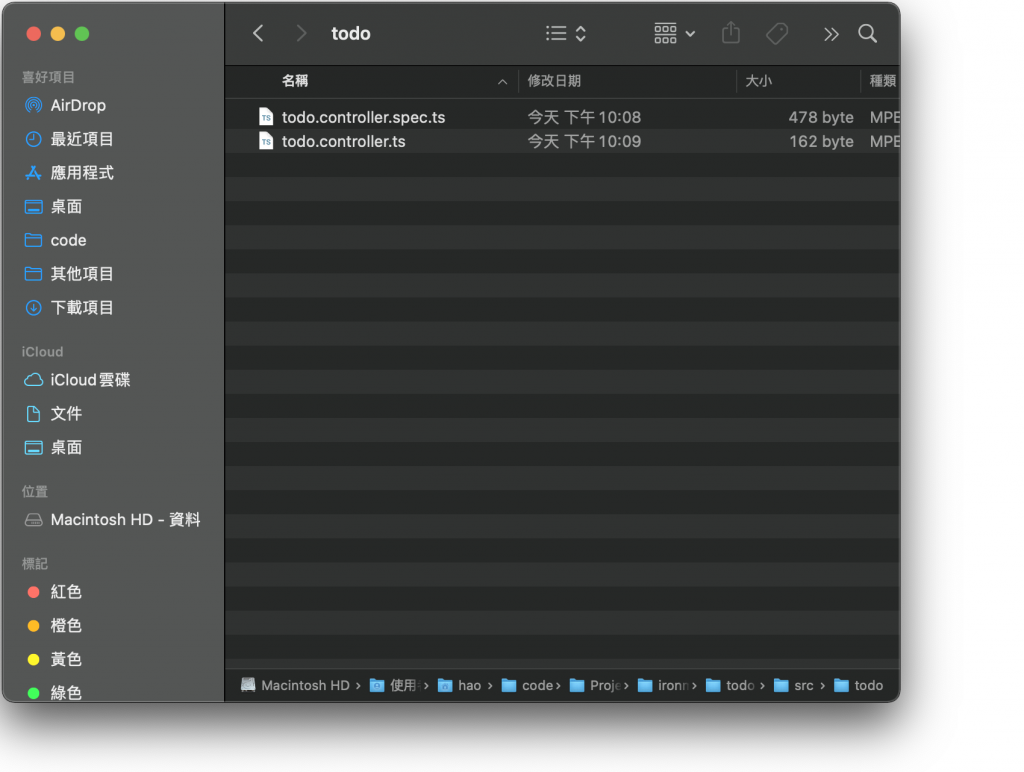
由於只有建立 Controller,所以會自動將其歸納於根模組下,也就是說 AppModule 會多引入 TodoController:
import { Module } from '@nestjs/common';
import { AppController } from './app.controller';
import { AppService } from './app.service';
import { TodoController } from './todo/todo.controller';

@Module({
  imports: [],
  controllers: [AppController, TodoController],
  providers: [AppService],
})
export class AppModule {}
在建置完 Controller 基本骨架後,會發現 todo.controller.ts的 @Controller 多了一個字串 todo,這是路由的 前綴 (prefix):
import { Controller } from '@nestjs/common';

@Controller('todo')
export class TodoController {}
注意:透過 NestCLI 建立的 Controller 前綴預設使用該 Controller 的名稱,通常會習慣把名稱取單數,而前綴改為複數。
添加路由前綴的好處是可以使相同路由的資源都歸納在同一個 Controller 裡面,其中包含了前綴底下的所有子路由: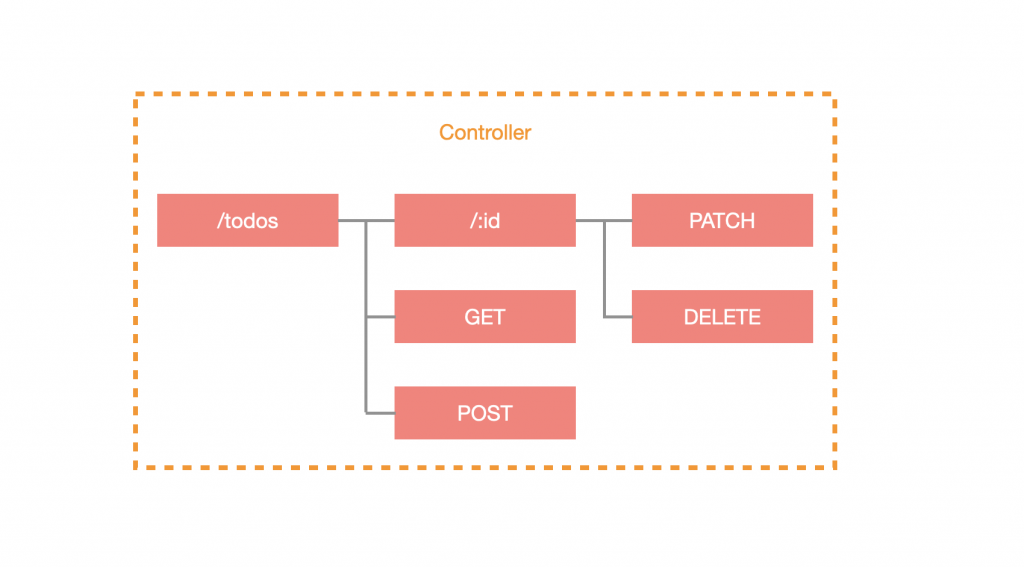
可以透過添加裝飾器在 class 的方法上,來指定不同 Http Method 所呼叫的方法,Nest 會根據 Controller 與指定的 Http Method 裝飾器來建立路由表。以下方程式碼為例,使用的為 GET:
import { Controller, Get } from '@nestjs/common';

@Controller('todos')
export class TodoController {
  @Get()
  getAll() {
    return [];
  }
}
使用瀏覽器進入 http://localhost:3000/todos 來查看結果:
Nest 的 Http Method 裝飾器名稱即對應標準 Http Method,這裡做了些歸納:
@Get:表示接收對應路由且為 GET 請求時觸發。@Post:表示接收對應路由且為 POST 請求時觸發。@Put:表示接收對應路由且為 PUT 請求時觸發。@Patch:表示接收對應路由且為 PATCH 請求時觸發。@Delete:表示接收對應路由且為 DELETE 請求時觸發。@Options:表示接收對應路由且為 OPTIONS 請求時觸發。@Head:表示接收對應路由且為 HEAD 請求時觸發。@All:表示接收對應路由且為以上任何方式的請求時觸發。在設計路由時,很有可能會有子路由的需求,比如說:/todos 底下還有一個取得範例的資源,定義為 GET /todos/examples,但不可能每次有子路由都建立一個新的 Controller,這時候就可以透過 Http Method 裝飾器指定子路由,會基於 Controller 設置的前綴來建立,以下方程式碼為例,取得資源的路由為 GET /todos/examples:
import { Controller, Get } from '@nestjs/common';

@Controller('todos')
export class TodoController {
  @Get('/examples')
  getExample() {
    return [
      {
        id: 1,
        title: 'Example 1',
        description: ''
      }
    ];
  }
}
使用瀏覽器進入 http://localhost:3000/todos/examples 查看結果:
注意:該用法使用上需要謹慎,基本上除了
?以外,都是被允許的字元。
有時候設計路由時,可能會提供些許的容錯空間,比如說:原本是 GET /todos/examples,但不管是 /todos/exammmmmmmmples 還是 /todos/exam_ples 都可以得到 /todos/examples 的結果,主要是在指定路由時,使用了 *。下方為範例程式碼:
import { Controller, Get } from '@nestjs/common';

@Controller('todos')
export class TodoController {
  @Get('exam*ples')
  get() {
    return [
      {
        id: 1,
        title: 'Example 1',
        description: ''
      }
    ];
  }
}
使用瀏覽器進入 http://localhost:3000/todos/exammmmmmmmples 查看結果: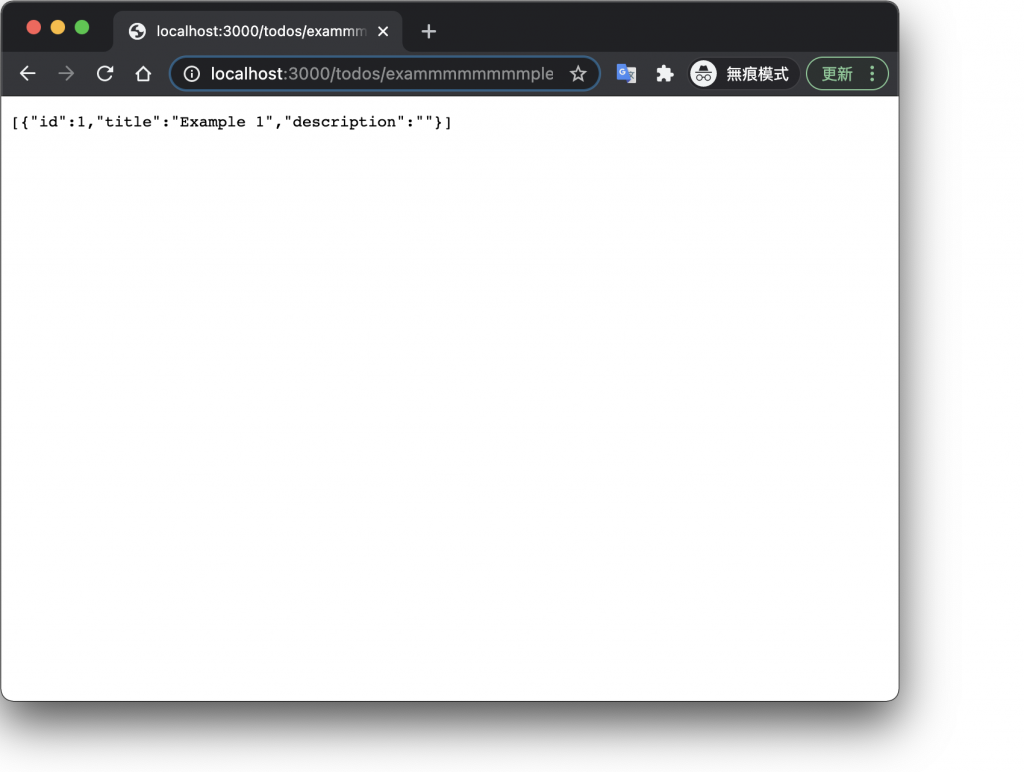
路由參數的設計十分簡單,會在 Http Method 裝飾器上做定義,字串格式為 :<PARAMETER_NAME>,接著要在該方法中添加帶有 @Param 裝飾器的參數,這樣就可以順利取得路由參數。這裡我們新增一個路由參數為 id 的路由,程式碼如下:
import { Controller, Get, Param } from '@nestjs/common';

@Controller('todos')
export class TodoController {
  @Get(':id')
  get(@Param() params: { id: string }) {
    const { id } = params;
    return {
      id,
      title: `Title ${id}`,
      description: ''
    };
  }
}
這裡還有另一種方式可以取得特定路由參數,就是在 @Param 帶入指定參數名稱:
import { Controller, Get, Param } from '@nestjs/common';

@Controller('todos')
export class TodoController {
  @Get(':id')
  get(@Param('id') id: string) {
    return {
      id,
      title: `Title ${id}`,
      description: ''
    };
  }
}
使用瀏覽器進入 http://localhost:3000/todos/1 查看結果:
查詢參數與路由參數取得的方式很相似,但不需要在 Http Method 裝飾器中做任何設置,只需要在方法中添加帶有 @Query 的參數即可。這裡我們做一個簡單的範例:
import { Controller, Get, Query } from '@nestjs/common';

@Controller('todos')
export class TodoController {
  @Get()
  getList(@Query() query: { limit: number, skip: number }) {
    const { limit = 30, skip = 0 } = query;
    const list = [
      {
        id: 1,
        title: 'Title 1',
        description: ''
      },
      {
        id: 2,
        title: 'Title 2',
        description: ''
      }
    ];

    return list.slice(skip, limit);
  }

}
也可以取得特定查詢參數,就是在 @Query 帶入指定參數名稱:
import { Controller, Get, Query } from '@nestjs/common';

@Controller('todos')
export class TodoController {
  @Get()
  getList(
    @Query('limit') limit: number = 30,
    @Query('skip') skip: number = 0
  ) {
    const list = [
      {
        id: 1,
        title: 'Title 1',
        description: ''
      },
      {
        id: 2,
        title: 'Title 2',
        description: ''
      }
    ];

    return list.slice(skip, limit);
  }
}
使用瀏覽器進入 http://localhost:3000/todos?limit=1 查看結果: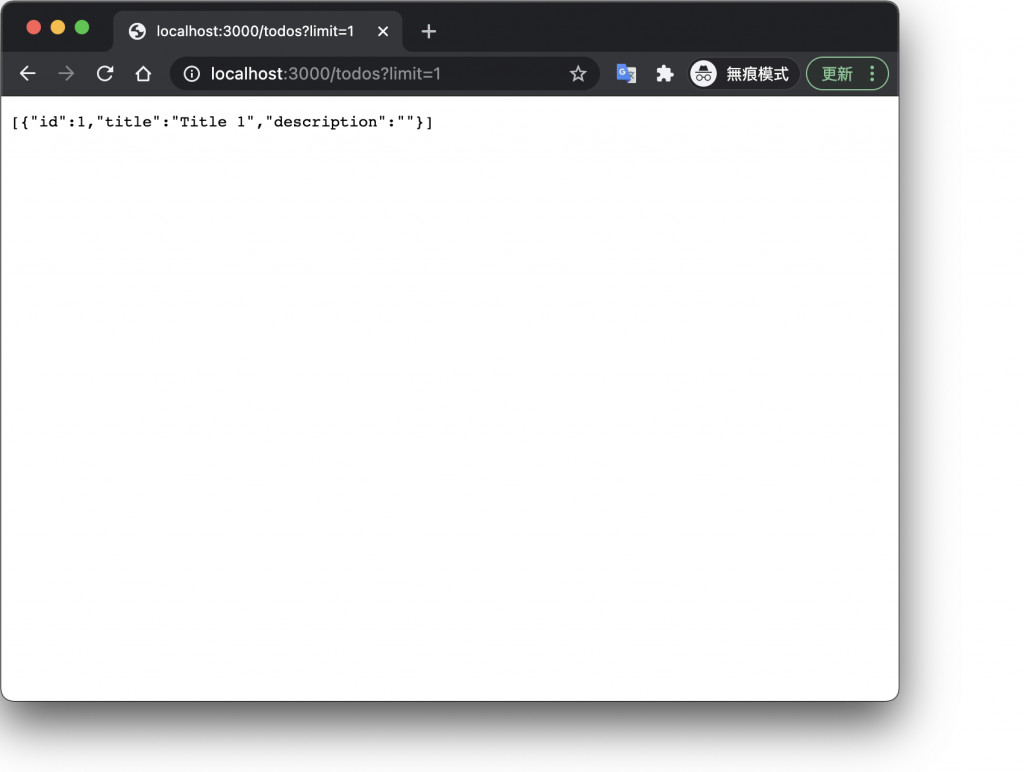
預設情況下,除了 POST 會回傳 201 外,大多數的 Http Method 都是回傳 200,不過應該要以實際情況來回傳適當的狀態碼。Nest 提供了狀態碼的 enum,並用裝飾器來設置回傳的狀態碼,十分貼心!下方為範例程式碼:
import { Controller, Patch, HttpCode, HttpStatus } from '@nestjs/common';

@Controller('todos')
export class TodoController {
  @Patch()
  @HttpCode(HttpStatus.NO_CONTENT)
  get() {
    return [];
  }
}
這裡用 Postman 來查看結果: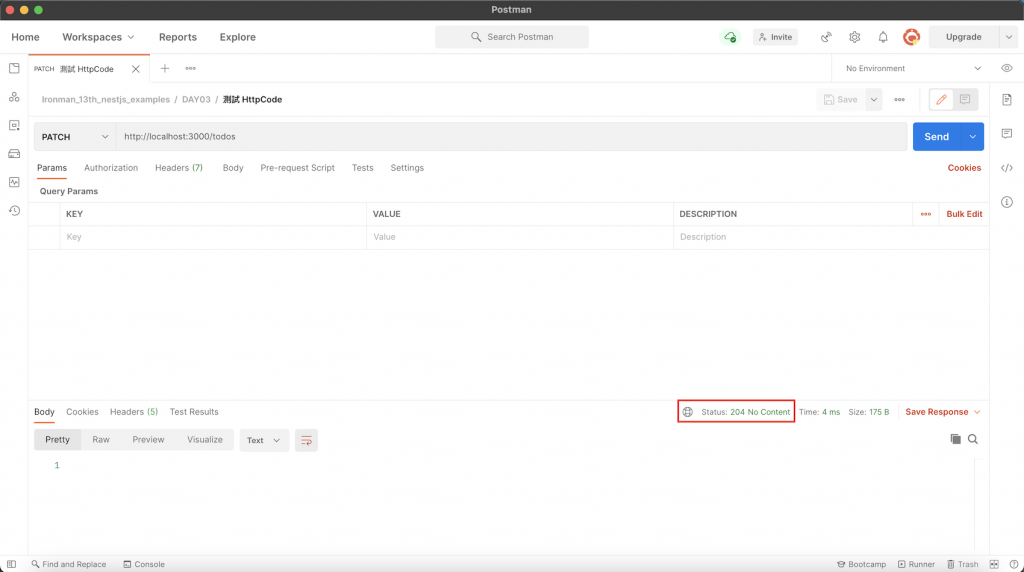
今天的內容稍微多了些,這邊幫大家懶人包一下:
@Param 取得路由參數、透過 @Query 取得查詢參數。@HttpCode 與 HttpStatus 來配置該資源回傳的狀態碼。Controller 的功能非常多,如果都放在同一篇的話篇幅會過長,所以剩下的部分會在下一篇繼續說明。