Hi,Сәлам,我是Charlie!
在Day05當中我們完成了Django的基本架構跟資料庫,今天我們要來做註冊跟登入囉。今天的註冊跟登入是基本程序,Day07中是前端的基本註冊跟登入,而在Day08當中我們會完成JWT -- 令牌的部分。
================================◉‿◉=================================
首先在users裡面建立urls.py,並在裡面新增url patterns:
from django.conf.urls import url
from . import views

urlpatterns = [
	url(r'^$',views.users)
]
並到專案主資料夾的urls import url跟include,把users的url傳入:
from django.conf.urls.static import static
from django.conf.urls import url,include

urlpatterns = [
    path('admin/', admin.site.urls),
    url('user',include('users.urls'))
]
然後到settings裡面加上:
APPEND_SPLASH = False
接著到users的views.py,新增一個視圖,並且返回一個JsonRespnose:
from django.shortcuts import render
from django.http import JsonResponse

def users(request):
	return JsonResponse({"status":200,"message":"Hello World"})
在這裡我們要使用postman來測試API,首先到官網下載postman:
https://www.postman.com/downloads/
在安裝完postman之後,新增一個request,在url的地方打入:
http://localhost:8000/user
Send完之後,看到Json回應就是成功了: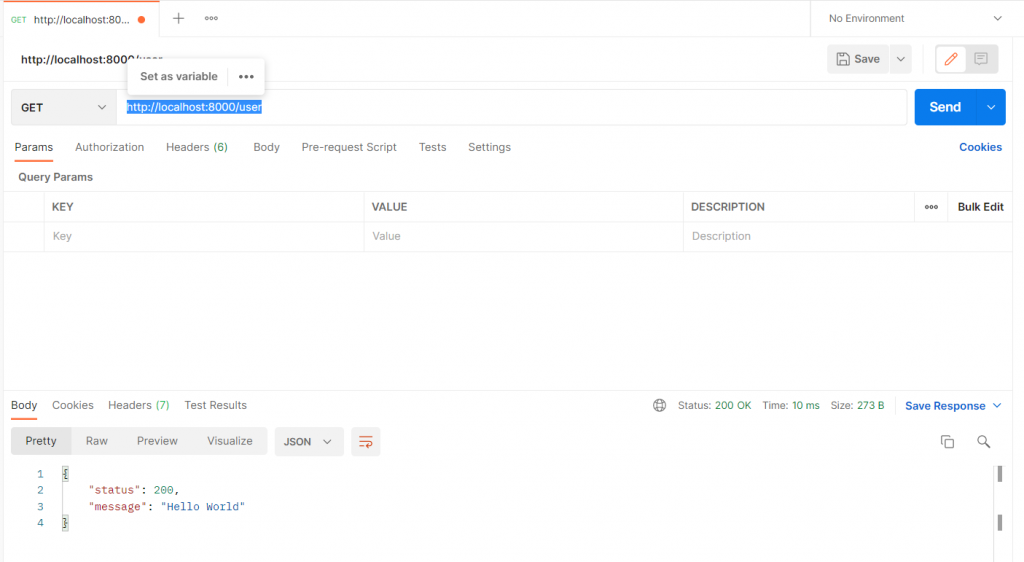
但這樣子的話會發現,每次都要寫status = 200,status_code非常的分散,所以我們從tools裡面新增一個R.py,建立status常量跟Result class:
from django.http import JsonResponse

# status code: 200 OK
STATUS_OK = 200

# status code 201 : created
CREATED = 201

# status code 401 : Unauthorized
UNAUTHORIZED = 401

# status code: 400 Bad Request
BAD_REQUEST = 400

# status code: 405 method not allowed
METHOD_NOT_ALLOWED = 405

# status code: 500 Internal Server Error
INTERNAL_SERVER_ERROR = 500

class R:
	@staticmethod
	def ok(data = None):
		if data is None:
			return JsonResponse({"code":STATUS_OK})
		return JsonResponse({"code":STATUS_OK,"data":data})

	@staticmethod
	def created(data = None):
		if data is None:
			return JsonResponse({"code":CREATED})
		return JsonResponse({"code":CREATED,"data":data})

	@staticmethod
	def unauthorized(data = None):
		if data is None:
			return JsonResponse({"code":UNAUTHORIZED})
		return JsonResponse({"code":UNAUTHORIZED,"data":data})

	@staticmethod
	def badRequest(data = None):
		if data is None:
			return JsonResponse({"code":BAD_REQUEST})
		return JsonResponse({"code":BAD_REQUEST,"data":data})

	@staticmethod
	def methodNotAllowed(data = None):
		if data is None:
			return JsonResponse({"code":METHOD_NOT_ALLOWED})
		return JsonResponse({"code":METHOD_NOT_ALLOWED,"data":data})

	@staticmethod
	def internalServerError(data = None):
		if data is None:
			return JsonResponse({"code":INTERNAL_SERVER_ERROR})
		return JsonResponse({"code":INTERNAL_SERVER_ERROR,"data":data})


if __name__ == "__main__":
	print(R.internalServerError("server is busy"))
接著我們將views裡面的Hello World改寫:
def users(request):
	return R.ok("Hello World")
就可以看到正常的Json Response了: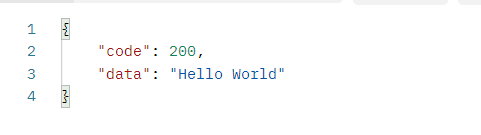
再來是註冊的部分,註冊是使用POST,並且需要GET Json的資料,所以這邊要先判斷方法是否為POST,如果是的話就解析內容。
而我們需要model來解析JSON跟取得資料,所以先建立一個User Model:
import json

class UserModel:
	def __init__(self,username = "",password = "",password1 = "",phone = "",email = "",address = ""):
		self.username = username
		self.password = password
		self.password1 = password1
		self.phone = phone
		self.email = email
		self.address = address

	def fromJson(self,data):
		jsondata = json.loads(data)
		self.username = jsondata["username"] if "username" in jsondata else None
		self.password = jsondata["password"] if "password" in jsondata else None
		self.password1 = jsondata["password1"] if "password1" in jsondata else None
		self.phone = jsondata["phone"] if "phone" in jsondata else None
		self.email = jsondata["email"] if "email" in jsondata else None
		self.address = jsondata["address"] if "address" in jsondata else None

	def __str__(self):
		return "UserModel[username=%s,password=%s,password1=%s,phone=%s,email=%s,address=%s" % (self.username,self.password,self.password1,self.phone,self.email,self.address)
接著到users的地方建立新的程式碼,印出UserModel試試看:
def users(request):
	if request.method == "POST":
		res = request.body
		user = UserModel()
		user.fromJson(res)
		print(user)
		return R.ok("Hello World")
	else:
		return R.methodNotAllowed("Method Not Allowed")
接著到postman, 方法選擇POST,另外加上body: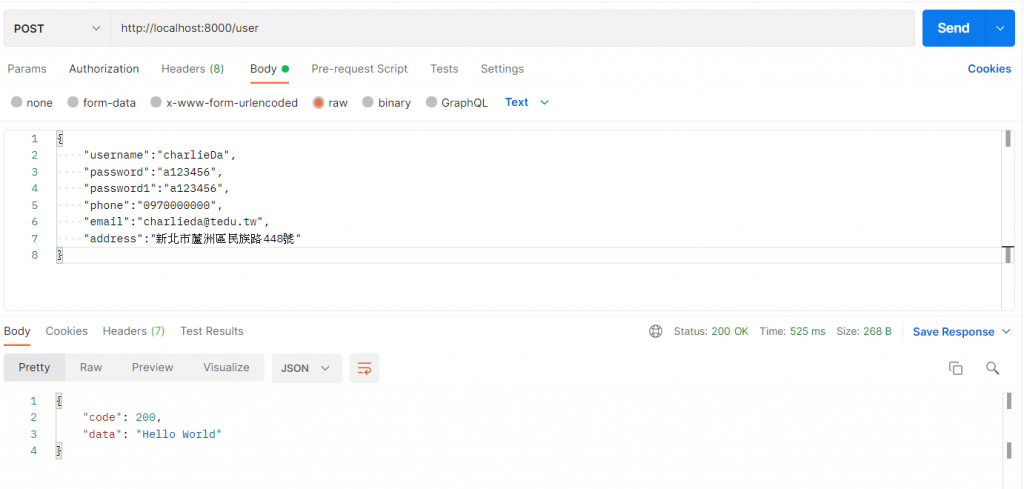
send之後就可以看到Hello World。
接著我們要開始做register的驗證,這裡要使用re模組:
import re
接著使用正則表達式:
if not re.match("^[A-Za-z0-9]*$",user.username):
	return R.badRequest("username contains invalid character")
if not re.match('^(\w|\.|\_|\-)+[@](\w|\_|\-|\.)+[.]\w{2,3}$',user.email):
	return R.badRequest("email is not correct")
第一個的是除了大小寫字母跟數字以外的都不匹配,第二個則是匹配email的格式。
接下來是密碼,密碼不可小於6位數,phone則是不可小於10位並且只能有數字:
if not re.match("^[0-9]*$",user.phone) or len(user.phone) != 10:
	return R.badRequest("phone is not correct")
if len(user.password < 6):
	return R.badRequest("password length is not correct")
return R.created("user created")
還有password跟password1必須一致:
if user.password != user.password1:
	return R.badRequest("password verify failed")
這些都做完之後,代表驗證正確,要開始註冊了。
首先是密碼,密碼必須加鹽,這裡我們使用hashlib的md5來加密:
import hashlib

md5 = hashlib.md5()
passwordString = user.password + user.username
md5.update(passwordString.encode())
pwd = md5.hexdigest()

接著我們create User Model:

u = User.objects.create(
		name = user.username,
		password = pwd,
		phone = user.phone,
		address = user.address
	)
u.save()
測試: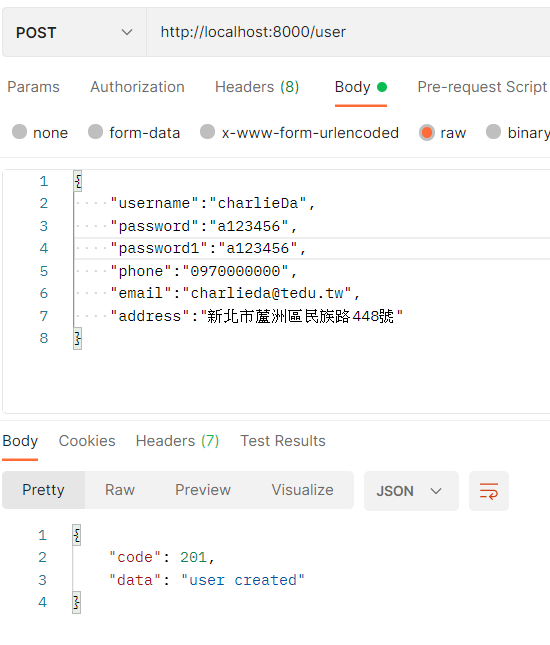

再來是登入,登入的話先另外起一個app:
$ python manage.py startapp login
並在INSTALLED_APPS裡面加入login,還有在urls裡面加入login:
# keyboardmarket\urls.py

url('login',include('login.urls'))

# login\urls.py

from django.conf.urls import url
from . import views

urlpatterns = [
	url(r'^$',views.login)
]
接著先在login中判斷傳回的json data,判斷是否有這個用戶:
if request.method == "POST":
	res = request.body
	user = UserModel()
	user.fromJson(res)
	fuser = User.objects.filter(name = user.username)
	if len(fuser) == 0:
		return R.badRequest("User does not exist")
else:
	return R.methodNotAllowed("method not allowed")
接著要判斷密碼是否相同,這裡也是使用hashlib比對:
password = fuser[0].password
md5 = hashlib.md5()
passwordString = user.password + user.username
md5.update(passwordString.encode())
pwd = md5.hexdigest()
if pwd != password:
	return R.badRequest("password incorrect")
return R.ok("Authorize success")
接著用POSTMAN打試試看: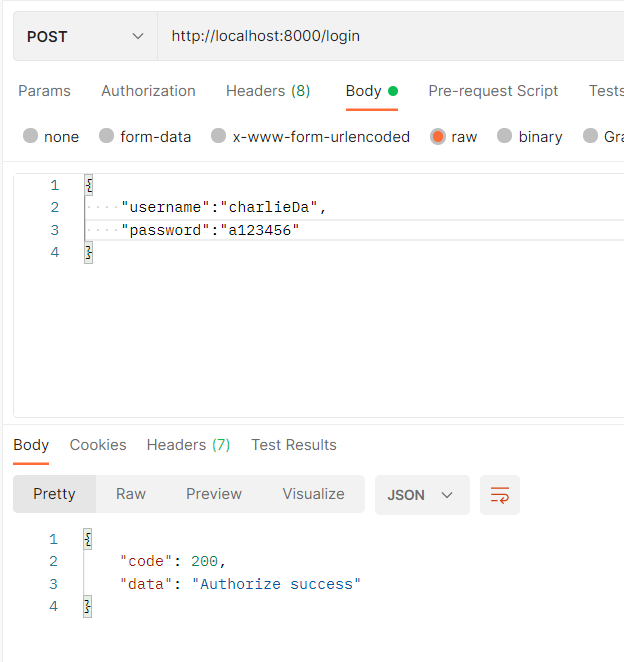
================================◉‿◉=================================
Day06結束了! 在這邊我們先完成了註冊跟登入的基本程序,在Day07當中會完成前端的註冊跟登入,然後在Day08時,我們會真正完成登入跟註冊:利用JWT令牌判別。See ya next day!