請先安裝Postman
今天完成整個CRUD,簡單介紹操作Postman。
接續昨天文章
routes.rb及articles_controller.rb。articles_controller.rb。
class Api::V1::ArticlesController < ApplicationController
  before_action :find_article, only: [:show, :update, :destroy]
end
routes.rb
Rails.application.routes.draw do
  namespace :api do
    namespace :v1 do
      resources :articles
    end
  end
end
articles_controller.rb剩下功能補足。一樣直接把最後的code秀出,真的就是一般的CRUD。
class Api::V1::ArticlesController < ApplicationController
  before_action :find_article, only: [:show, :update, :destroy]

  #GET
  def index
    @articles = Article.all
    render json:@articles, status: 200
  end

  #GET
  def show
    begin @article
      render json: @article, status: 200
    rescue
      render json: {error: "article not found!"}
    end
  end

  #POST
  def create
    @article = Article.new(article_params)
      if @article.save
        render json: @article, status: 200
      else
        render json: {erroe: "create failed"}
      end
  end

  #PATCH
  def update
    if @article.update(article_params)
      render json: @article, status: 200
    else
      render json: {erroe: "update failed"}
    end
  end

  #DELETE
  def destroy
    @article.destroy
  end

  private
  def find_article
    @article = Article.find(params[:id])
  end

  def article_params
    parmas.requir(:article).permit([
      :title,
      :author,
      :description
    ])
  end
end
甚至比一般CRUD要寫的還更少??!!
為何沒有new與edit?
其實CRUD就是答案,在沒有GUI(圖形介面)的狀況下new與edit也失去意義,只要能正確增、查、改、刪就好。
Artcile加上一些簡單驗證。至少不允許空白。app/modles/article.rb
class Article < ApplicationRecord
  validates :title, presence: true
  validates :author, presence: true
  validates :description, presence: true
end
postman操作。可以進設定改Themes,白的看久會瞎,黑的看久會累。
GETPostman用途很多,這邊只簡單介紹測試CRUD部分是否正常。rails s後開啟postman後請點選藍色框中的+。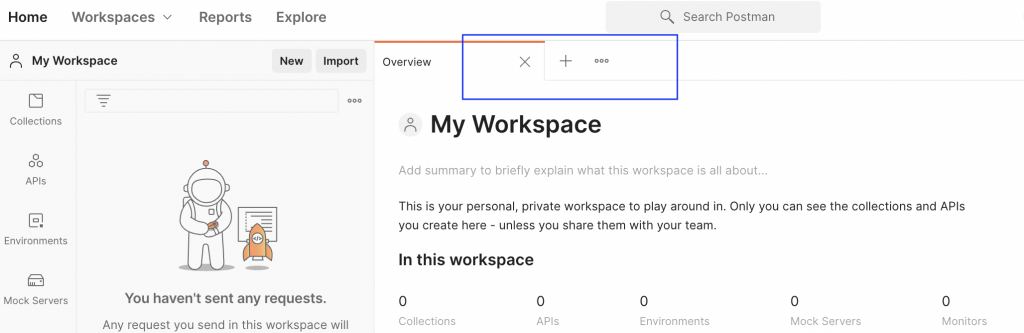
GET:於藍色框貼上API首頁網址,示範中的是http://localhost:3000//api/v1/articles。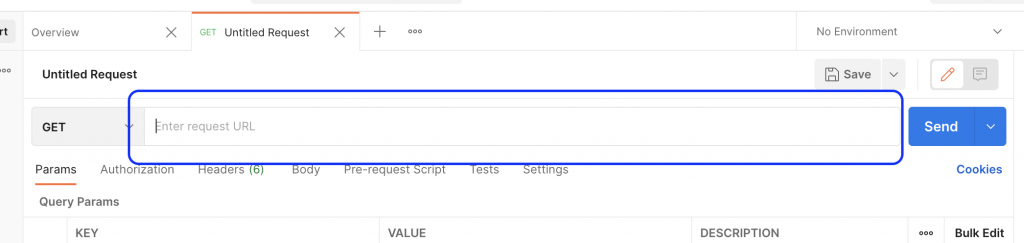
點選Send後,正確會看到類似下面的畫面。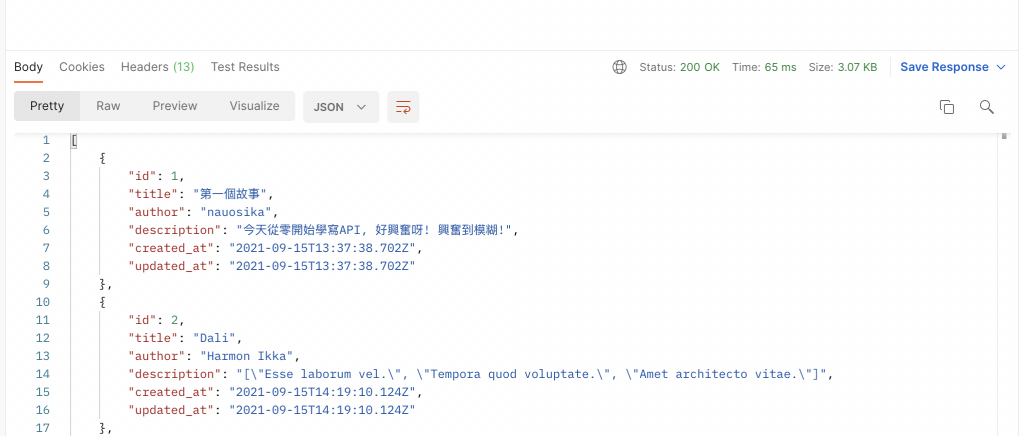
也可以把網址改成http://localhost:3000//api/v1/articles/2,確認show是否也正常。
POST可以點一次+開啟一個新個工作畫面,或直接將GET改選為POST。
建立Head與Body。
藍色框框為預設隱藏的Head,也可點開看看。
紅色框框點選後即可輸入資料,KEY請輸入Content-Type,VALUE請輸入application/json,軟體預設打頭幾個字後,會跳出選項選擇。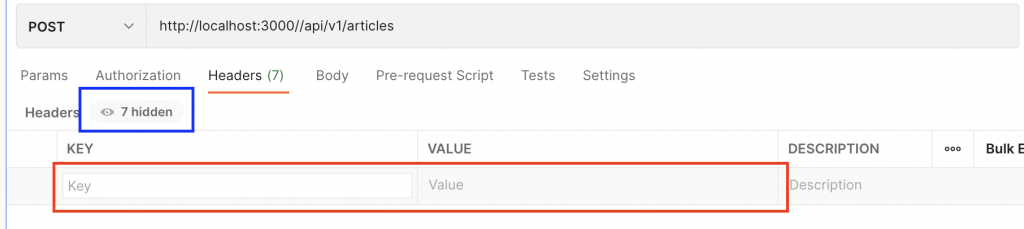
若不清楚這一步的意思,簡單說明為,Header為讓API知道我們傳出的資訊內容是哪種類型(media type),需要輸入KEY與VALUE,由這兩個知道我們要傳送的內容為json資料。
接著輸入Body。請點選如藍色框的raw,紅色框會自動跳出,我們要輸入JSON就不用改選其他了。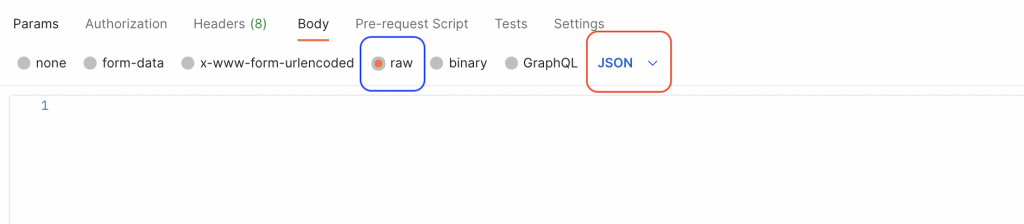
目前Postman預設如果發現語法錯誤,會出現紅色底線也會跳出建議更改的選項。
輸入好內容後,就可以點Send送出了。
可以一行處理,有錯誤如上面所敘,Postman會提醒。
{ "article" : {"title" : "練習使用Postman", "author" : "nauosika", "description" : "其實,JSON的格式,一開始有點難掌握...." }}
如果畫面中原本的Response區出現類似以下畫面,代表已成功完成新增,也可回遊覽器確認。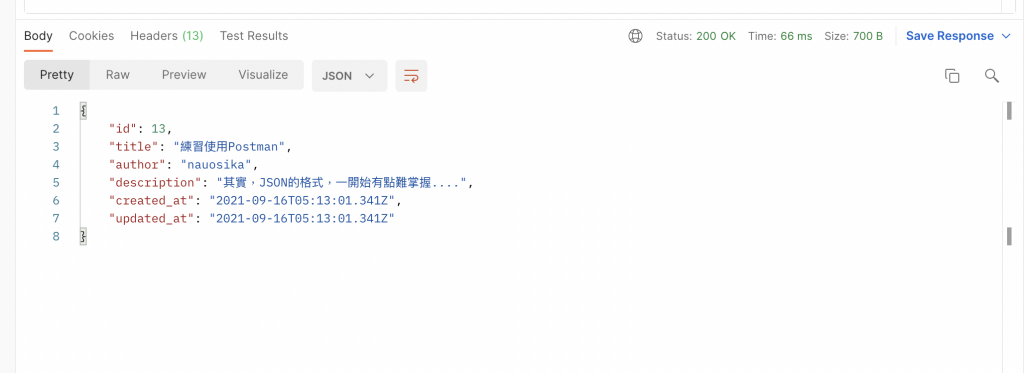
PATCH輸入show的網址,這邊便以http://localhost:3000//api/v1/articles/1來做測試,與POST相同,將Header完成(內容相同),Body部分將原本的articles/1內容稍做修改,Send後可以順利可以看到Response的回饋。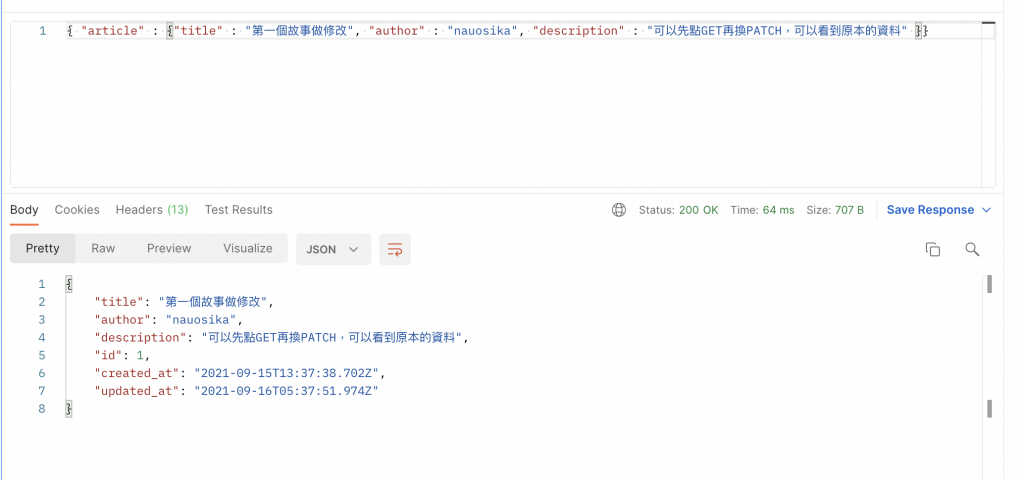
回自己瀏覽器會發現"id":1的內容也有確實改變。
DELETE選+選DELETE輸入網址,我以articles/10做測試。
不用設定Header與Body,確定這筆資料不要了就按Send吧。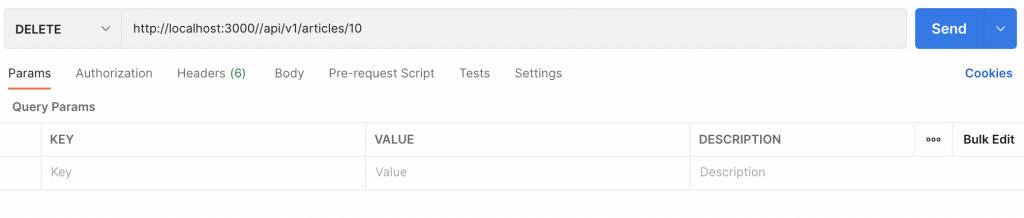
由於沒設定要回傳什麼,但是可以發現status由200變204,內容也說明確實完成請求。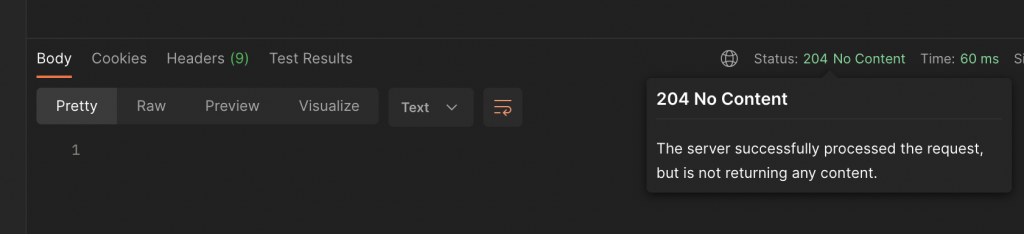
有需求也可以對controller改寫。
def destroy
    @article.destroy
    render json: {message: "DELETE Done!"}
  end
這樣刪除後,Postman就會有回傳內容了。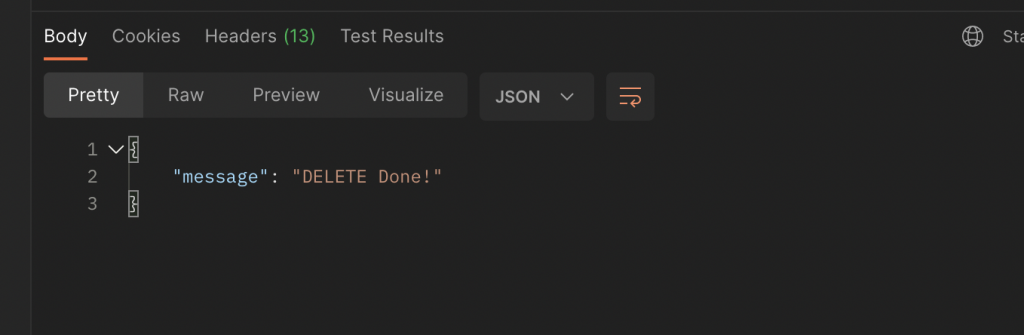
OK!
一個簡單的web api已經製作完成了,明天就是建立驗證機制了。
今天的leetcode.20. Valid Parentheses
題目連結:https://leetcode.com/problems/valid-parentheses/
題目重點:查表法,或是開新陣列,將元素放進去比對都行。
# @param {String} s
# @return {Boolean}
def is_valid(s)

end

puts is_valid("()")  #=> true
puts is_valid("()[]{}")  #=> true
puts is_valid("([)]")  #=> false
puts is_valid("{[]}")  #=> true
用新陣列解。
用三個例子就看得出規律了。
遇到(、[、{就把它丟進空陣列。
when '(', '[', `}`
  new_array.push
遇到)、]、}就把有已經有東西的空陣列pop最後一個值出來。
when ')'
  false if new_array.pop != '('
"{[]}"這個例子也不用擔心因為{[已經都丟進去了。
def is_valid(s)
  return true if s.empty? #這個是submit後發現有""這個例子。
  arr = []
  s.each_char do |char|
    case char
    when "(", "[", "{"
      arr << char
    when ")"
      return false if arr.pop != "("
    when "]"
      return false if arr.pop != "["
    when "}"
      return false if arr.pop != "{"
    end
  end
  arr.empty?
end
查表法不說明了。
def is_valid(s)
  arr = []
  hash = { '{' => '}', '[' => ']', '(' => ')' }
  s.each_char do |char|
    if hash.has_key?(char)
      arr << char
    else
      return false if arr.pop != hash.key(char)
    end
  end
  arr.empty?
end