Q: 還有什麼特別的可以寫嗎?
A: 可能... 再回去Loading吧(๑¯∀¯๑)
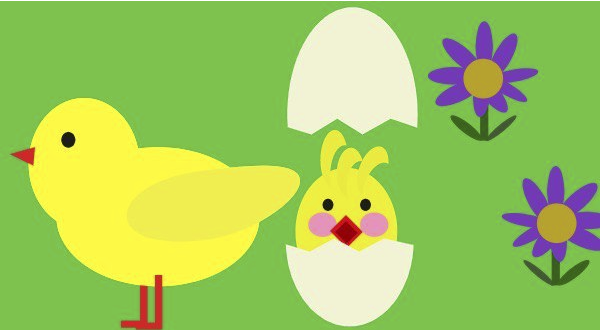
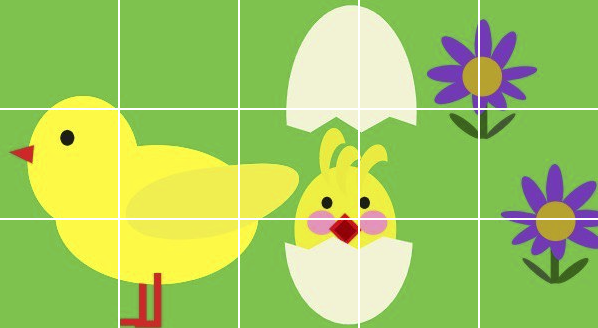
本篇要來做整張圖分隔淡出的效果!換的方式想 ... 就是上面好幾格白的,讓它們漸漸變透明就好了吧?直接看看如何實現囉!
.container定義容器大小,並在子層放上15個.item。
<style>
  .container {
    width: 600px;
    height: 330px;
    display: flex;
    flex-wrap: wrap;
    background: url('/files/bg.jpg');
    background-color: LightSkyBlue;
  }
</style>
<div class="container">
  <div class="item"></div>
  <div class="item"></div>
  <div class="item"></div>
  <div class="item"></div>
  <div class="item"></div>
  <div class="item"></div>
  <div class="item"></div>
  <div class="item"></div>
  <div class="item"></div>
  <div class="item"></div>
  <div class="item"></div>
  <div class="item"></div>
  <div class="item"></div>
  <div class="item"></div>
  <div class="item"></div>
</div>
接著將每一個子元件設定寬高及border。
<style>
  .item {
    width: calc(20% - 2px);
    padding: 9% 0;
    border: 1px solid white;
  }
</style>
animation了!不同的元素給予不同的animation-delay,希望可以讓元素有交錯的方式淡入。為了如下方影片示意,both的設定是很重要的!
<style>
  .item {
    animation: fadeIn 1s both;
  }
  .item:nth-child(3),
  .item:nth-child(6),
  .item:nth-child(15) {
    animation-delay: .2s;
  }
  .item:nth-child(1),
  .item:nth-child(5),
  .item:nth-child(12) {
    animation-delay: .2s;
  }
  .item:nth-child(7),
  .item:nth-child(9),
  .item:nth-child(11) {
    animation-delay: .4s;
  }
  .item:nth-child(4),
  .item:nth-child(10),
  .item:nth-child(13) {
    animation-delay: .6s;
  }
  .item:nth-child(2),
  .item:nth-child(8),
  .item:nth-child(14) {
    animation-delay: .8s;
  }
  @keyframes fadeIn {
    0% {
      background-color: white;
    }
    100% {
      background-color: transparent;
    }
  }
</style>

animation-fill-modeanimation-fill-mode在第19篇時有用到forwards,動畫演繹結束後,元素的樣式會停留在動畫的最後一個樣子。本篇設定的both除了跟forwards一樣在動畫演繹結束後,元素的樣式會停留在動畫的最後一個樣子以外,在動畫演繹之前,元素的樣式會停留在動畫的0%,所以本篇如果沒有設定animation-fill-mode: both的話會是怎麼樣呢?

由於animation-delay的設定,動畫在演繹之前,會保留原本的樣式,在delay的時間結束時才開始演繹動畫,看起來就跟上面的示意影片不一樣了~
animation-fill-mode前...這個效果是之前在做零件的形象網站時做的,大概才入門前端後的第二個月。當時光是切版就耗費小編很多腦細胞,還要寫animation實在是燒腦。但由於時間很趕,所以沒有特別花時間研究其他屬性,所以小編當時用了其他方法寫了一樣的效果。那時候為了每張圖的動畫要長不一樣... 小編寫了很多@keyframes阿,現在想來真真是不科學。(長嘆
下方展示一下當時的寫法(跟本次成品在時間上有點小差異,但兩者都是當時想達到的效果),試想想當時有8張圖,每張的動畫效果都要長不一樣,每次修改又死了好幾K的腦細胞。所以在認識animation-fill-mode後,改寫原本的寫法,將程式碼的行數大幅減少,應該算是有進步吧?
<style>
  .item:nth-child(3),
  .item:nth-child(6),
  .item:nth-child(15) {
    animation-name: style1;
  }
  .item:nth-child(1),
  .item:nth-child(5),
  .item:nth-child(12) {
    animation-name: style2;
  }
  .item:nth-child(7),
  .item:nth-child(9),
  .item:nth-child(11) {
    animation-name: style3;
  }
  .item:nth-child(4),
  .item:nth-child(10),
  .item:nth-child(13) {
    animation-name: style4;
  }
  .item:nth-child(2),
  .item:nth-child(8),
  .item:nth-child(14) {
    animation-name: style5;
  }
  @keyframes style1 {
    0% {
      background-color: white;
    }
    20%, 100% {
      background-color: transparent;
    }
  }
  @keyframes style2 {
    0%, 20% {
      background-color: white;
    }
    40%, 100% {
      background-color: transparent;
    }
  }
  @keyframes style3 {
    0%, 40% {
      background-color: white;
    }
    60%, 100% {
      background-color: transparent;
    }
  }
  @keyframes style4 {
    0%, 60% {
      background-color: white;
    }
    80%, 100% {
      background-color: transparent;
    }
  }
  @keyframes style5 {
    0%, 80% {
      background-color: white;
    }
    100% {
      background-color: transparent;
    }
  }
</style>
如果有寫錯的地方,歡迎點評! 會及時改進~
如果有更好的寫法,歡迎指教! 希望各位不吝賜教~
如果想看更多效果,歡迎敲碗! 提供示意圖小編寫寫看~
如果內容疑似侵權,拜託告知! 內容皆為小編理解後原創~
如果對你有點幫助,拿去用吧!


 iThome鐵人賽