iT邦幫忙

2021 iThome 鐵人賽

DAY 26
0
IT管理

無限手套 AWS 版:掌控一切的 5 + 1 雲端必學主題系列 第 26

Day 26 權限寶石:IAM User 建立與使用(下)

  • 分享至 

  • xImage
  •  

https://ithelp.ithome.com.tw/upload/images/20210929/20100951afkBYYXe9Z.jpg

今天我們要來介紹多種 IAM User 的創建,那我們開始吧!

透過 Admin 帳號創造 IAM User

首先登入 Admin 帳號,Admin 帳號的創建與登入方法可參考〖實作示範〗IAM User 建立與使用 part 1 的介紹。

Admin 帳號可以創造多個 IAM User。首先搜尋 IAM 並點擊,如下圖:
https://ithelp.ithome.com.tw/upload/images/20210913/20100951pQ8Psel3Ek.png

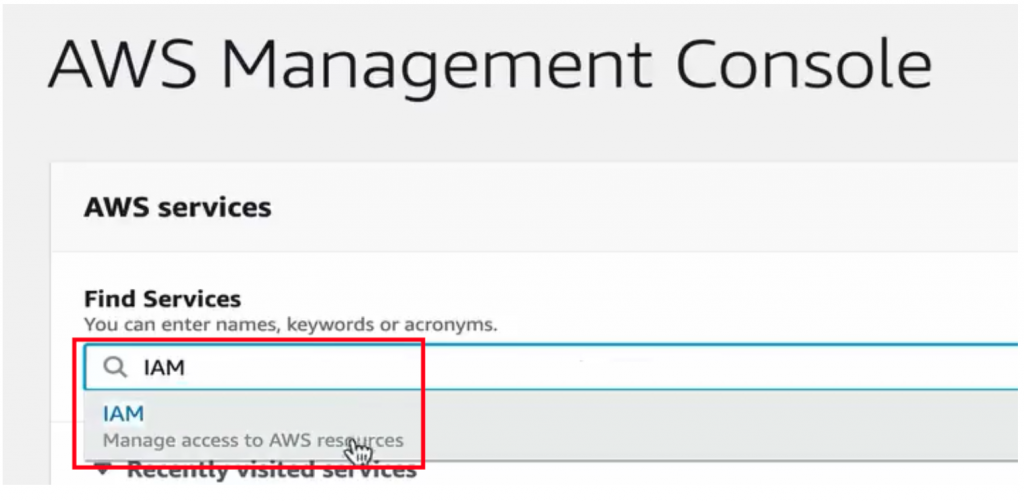
點擊左側 Users,並按下 Add user,如下圖:
https://ithelp.ithome.com.tw/upload/images/20210913/201009511R26T9TiU1.png

創立專職做 EC2 Develop 的 User

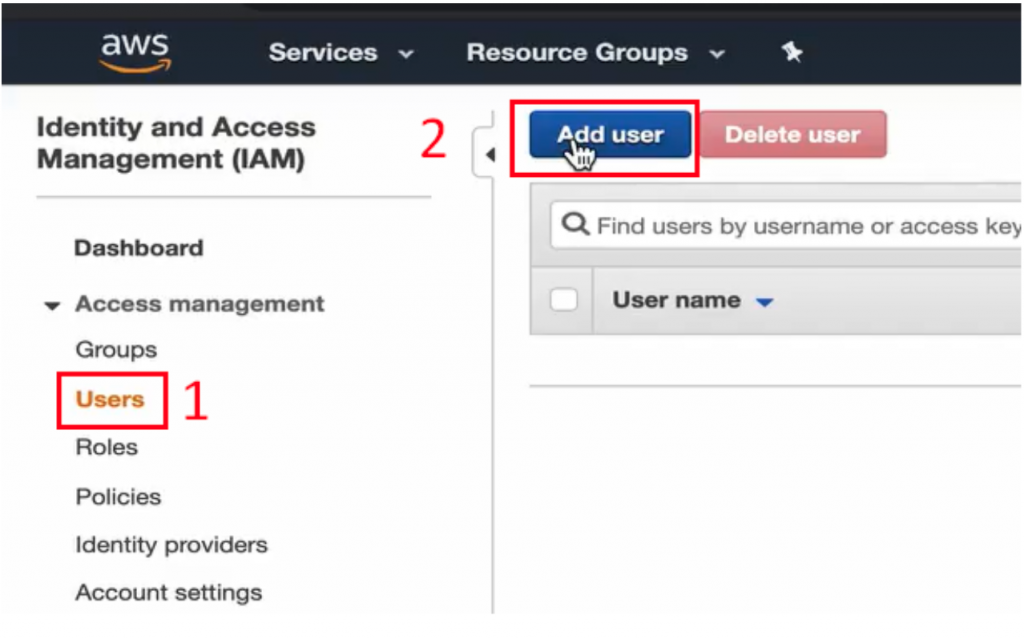
進到頁面後,我要創造一個專職做 EC2 Develop 的 User。

第一步,可以給他一個名稱,我叫他 ec2dev,Access type 兩者打勾,Console password 選擇 Custom password 直接創立,Require password reset 取消掉,詳細可參考〖實作示範〗IAM User 建立與使用 part 1的介紹。

本段設定如下圖:
https://ithelp.ithome.com.tw/upload/images/20210913/20100951DCDnYs3ILS.png

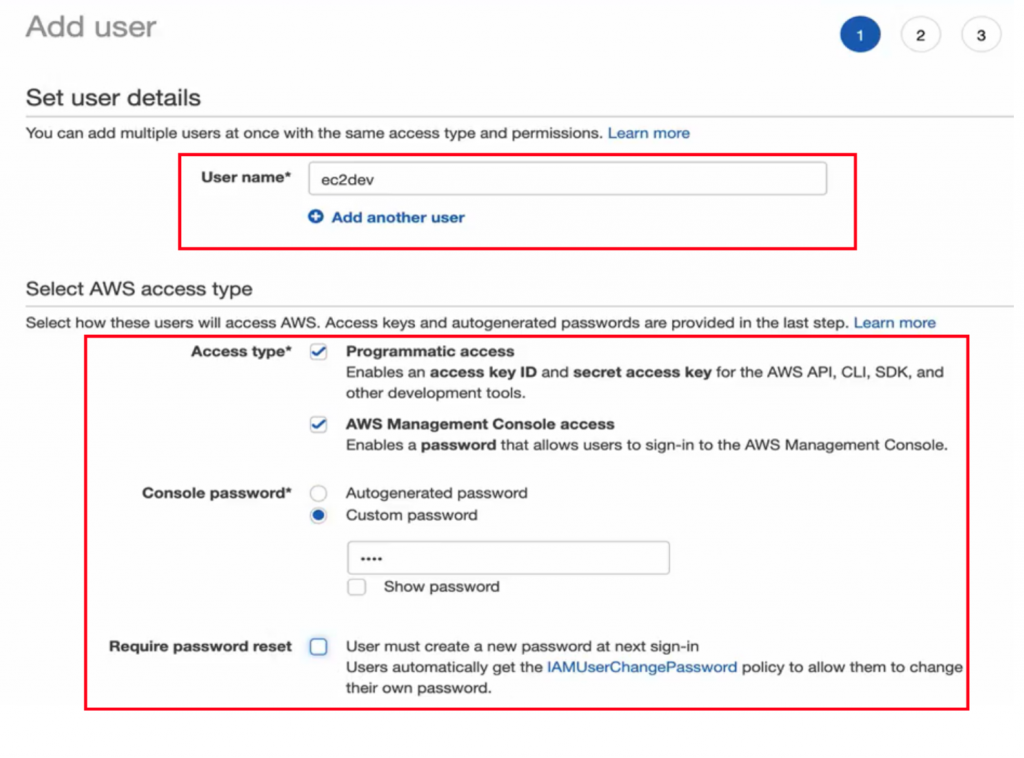
第二步,由於這個 User 是要專職做 EC2,因此一樣選擇第三個 Attach existing policies directly ,並搜尋 ec2full,選擇 AmazonEC2FullAccess,如下圖。
https://ithelp.ithome.com.tw/upload/images/20210913/20100951iDCpEzObYc.png

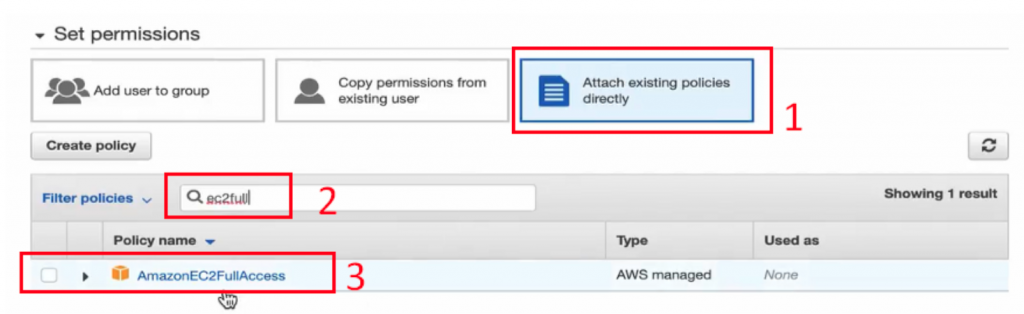
第三步 Tag 預設即可,第四、五步確認過後即可。
完成之後,就能看到新建立的 ec2dev,如下圖:
https://ithelp.ithome.com.tw/upload/images/20210913/201009511r0xUUWs3h.png

確認是否成功創立

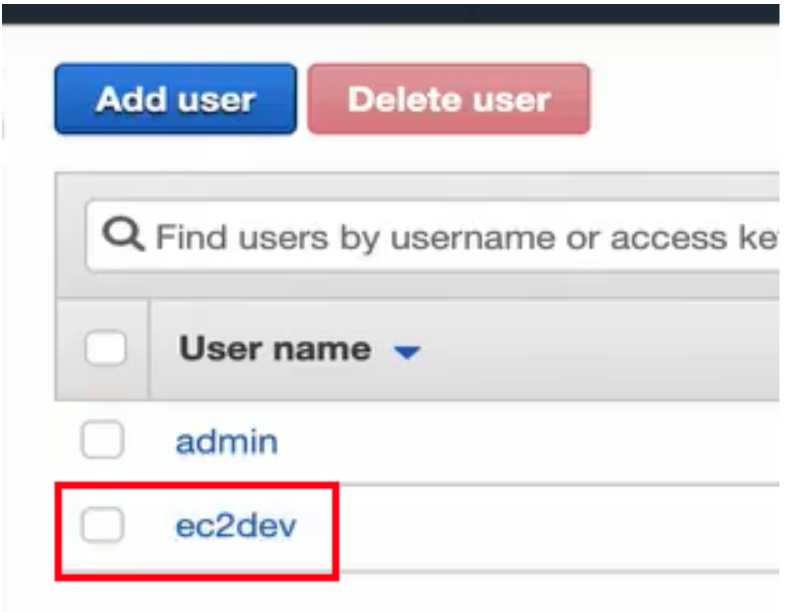
首先登出 Admin User,右上角 Steve 中點選 Sign out,如下圖:
https://ithelp.ithome.com.tw/upload/images/20210913/20100951cACfTgFMsD.png

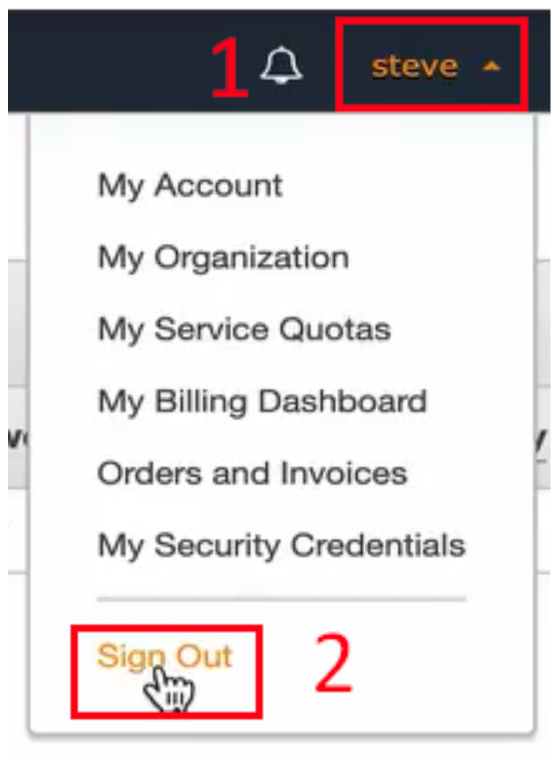
完成登出後,一樣從 AWS 介面 Sign in,如下圖:
https://ithelp.ithome.com.tw/upload/images/20210913/201009518toFEwUKEV.png

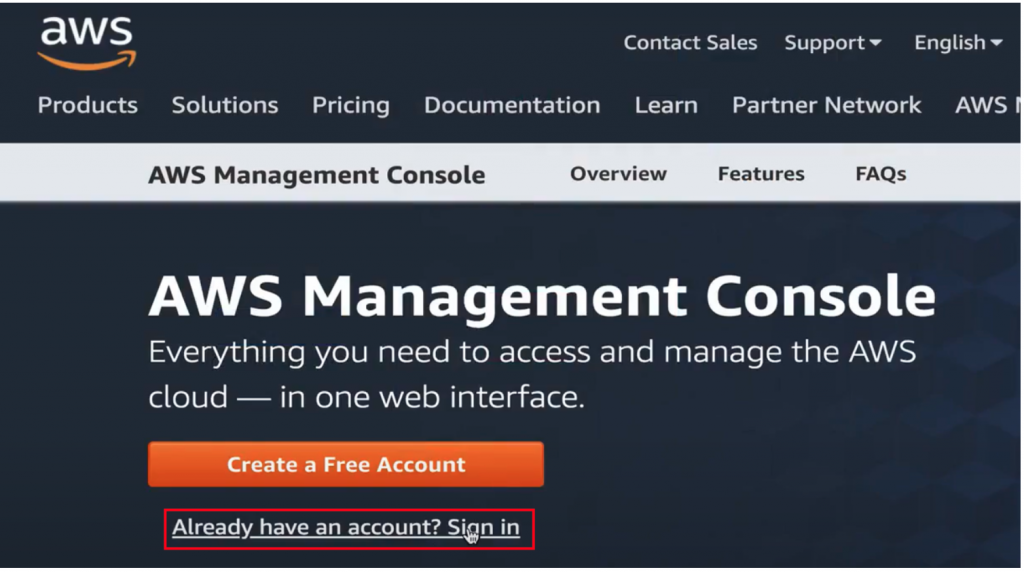
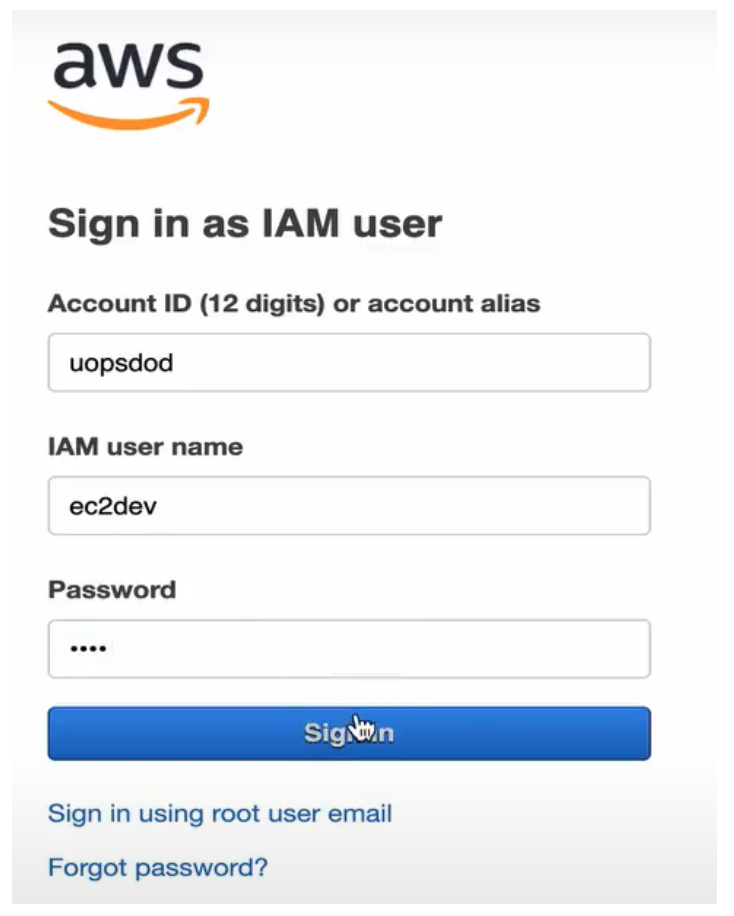
接著繼續輸入 Alias、IAM user name 與 Password,好了之後按下 Sign in,如下圖:
https://ithelp.ithome.com.tw/upload/images/20210913/201009518Iq33DMJ2T.png

https://ithelp.ithome.com.tw/upload/images/20210913/20100951F4xfvN0ote.png

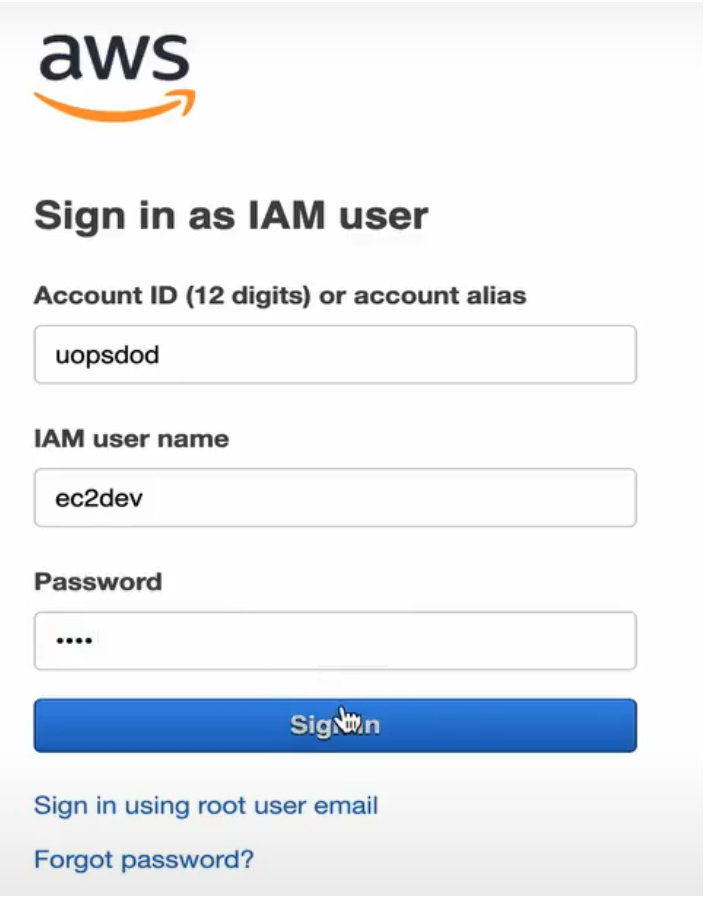
進入 Console 頁面後,搜尋 EC2 並點擊,來看看現在的 User 是否能看到 EC2 上面的功能,如下圖:
https://ithelp.ithome.com.tw/upload/images/20210913/20100951gVvVCs8w4h.png

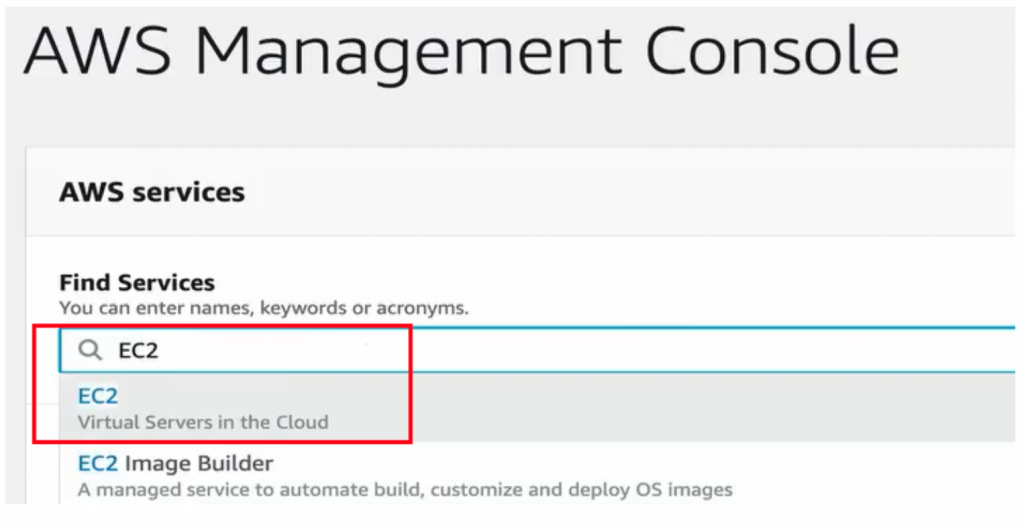
點左側列表 Instances 就能看到沒有任何權限不足的警告,代表成功建立好了 Policy 給 EC2 User 來使用,如下圖:
https://ithelp.ithome.com.tw/upload/images/20210913/20100951CnP6egMjod.png

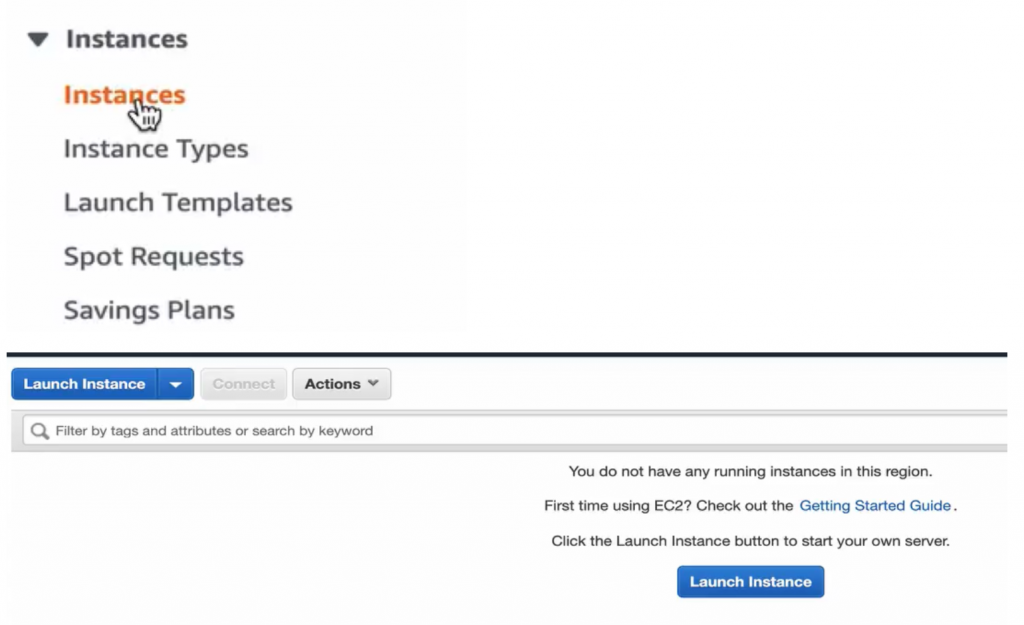
這邊找個對照組確認一下。按 Services 搜尋 S3 並點擊,就會看到 S3 buckets 介面呈現 Error,這就是因為 ec2dev 這個 User 沒有去瀏覽 S3 服務的權限,如下圖:
https://ithelp.ithome.com.tw/upload/images/20210913/201009515I27Hqhoci.png

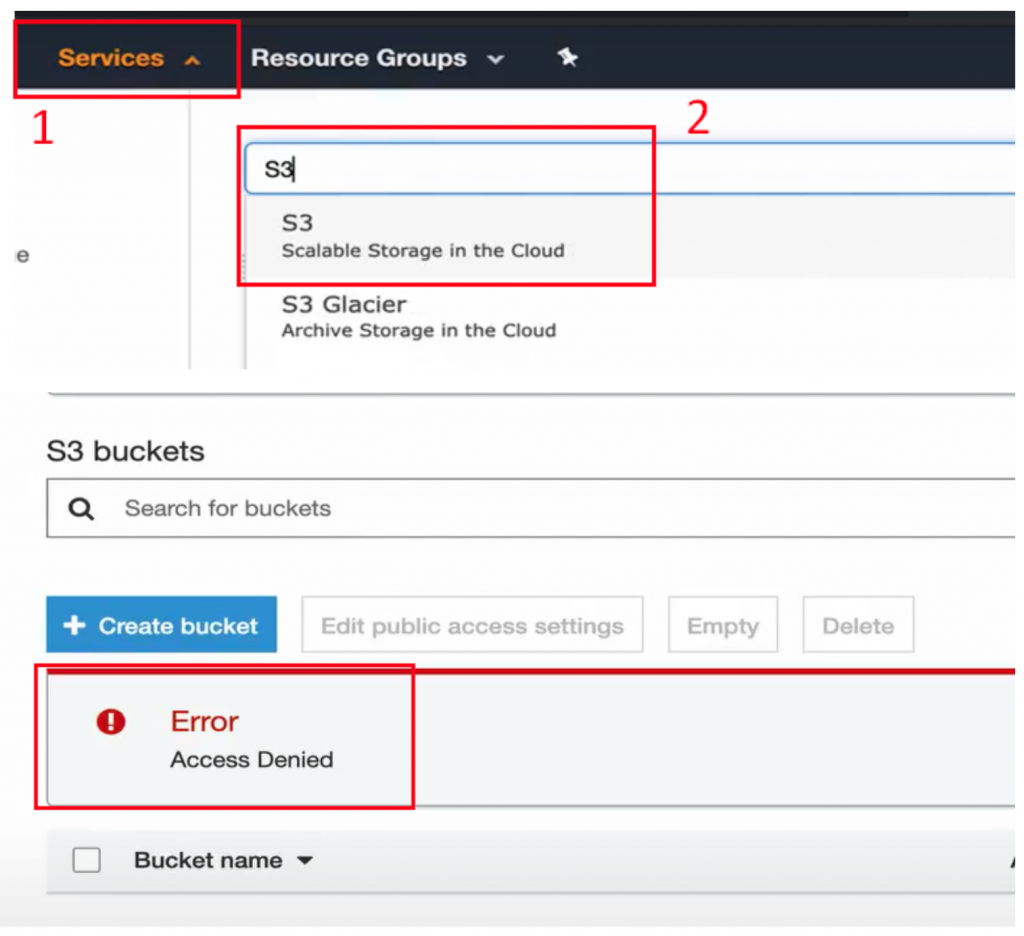
再找一個更明顯的對照組,按 Services 搜尋 IAM 並點擊,如下圖:
https://ithelp.ithome.com.tw/upload/images/20210913/20100951WZxFPTs9gm.png

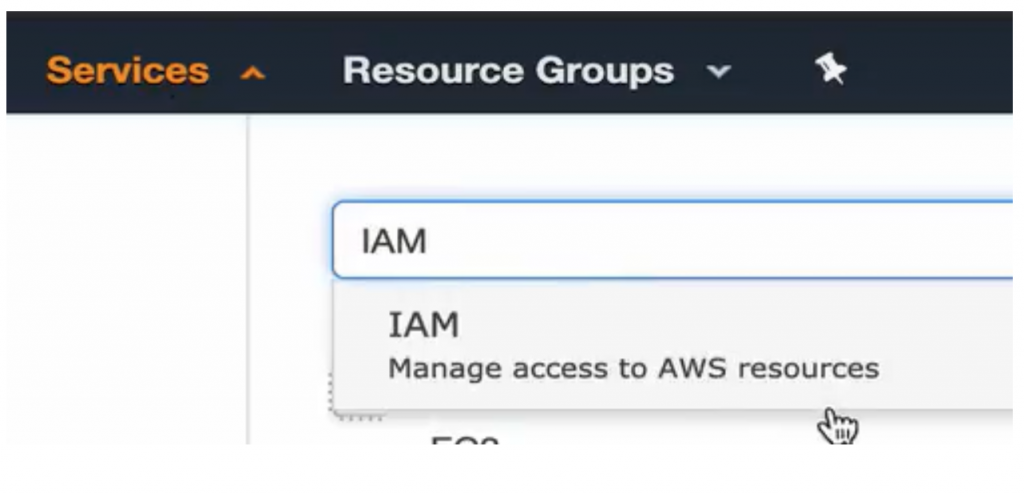
進去之後,可以看到多了一堆叉叉與警示符號,這個畫面跟 Admin 登入時完全不同,原因也很明顯,這是因為 ec2dev 這個 User,只有去看 EC2 服務的權限,對於其他的服務自然看不到任何東西。IAM 介面如下圖:
https://ithelp.ithome.com.tw/upload/images/20210913/20100951CGyIH7MnkS.png

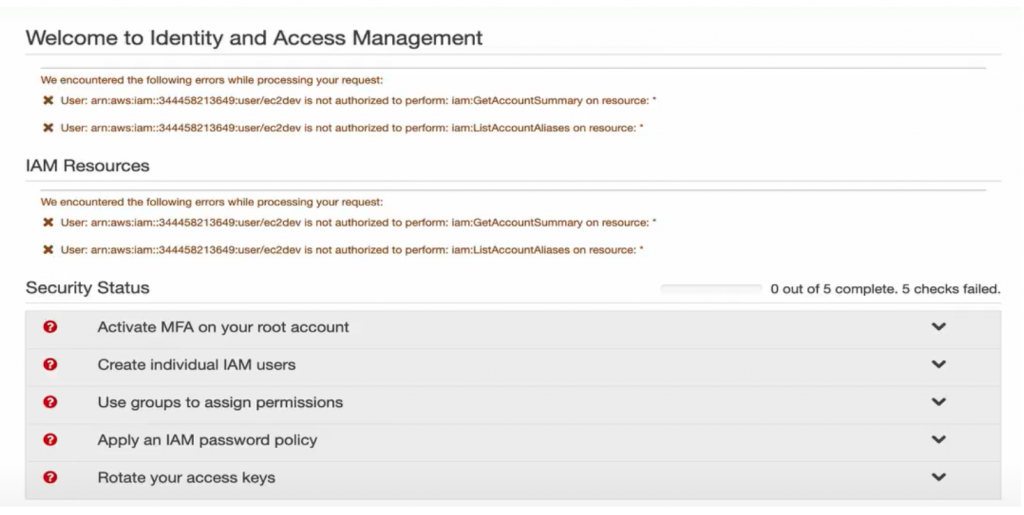
最後點右上角 Sign out 來登出 ec2dev,如下圖:
https://ithelp.ithome.com.tw/upload/images/20210913/20100951poo411Dk5z.png

小結

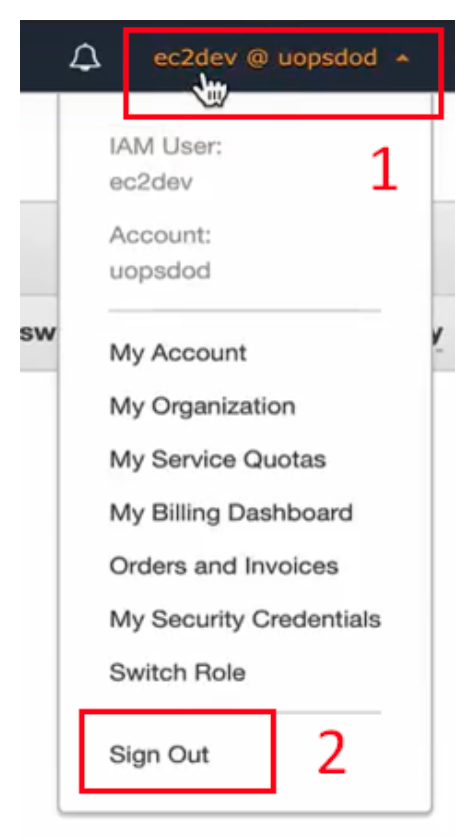
這次我們建立了 New User,並給予特定 EC2 服務權限,限縮此使用者只可使用 EC2 相關資源,而不能使用 S3 或是 IAM 等其他資源。展示了 AWS IAM 可以協助我們,針對不同的使用者角色,來給予不同的 Policy 權限,讓我們有效管理公司內部的雲端環境。

What's Next?

那麼明天,我們將接著看到「權限寶石:【Lab】IAM Group 建立與使用」!


上一篇
Day 25 權限寶石:IAM User 建立與使用(上)
下一篇
Day 27 權限寶石:IAM Group 建立與使用
系列文
無限手套 AWS 版:掌控一切的 5 + 1 雲端必學主題30
圖片
  直播研討會
圖片
{{ item.channelVendor }} {{ item.webinarstarted }} |
{{ formatDate(item.duration) }}
直播中

尚未有邦友留言

立即登入留言