上一篇把環境都建立完成後,今天要來做客製化,但在這之前,先來說明一下為什麼要客製化,以及為什麼會把客製化放在前面。
由於這一次的挑戰是以設計師角度去做,因此即便Bootstrap已經有許多元件可以直接套用,但還是會有很多細節上的東東需要新增或修改。例如網頁的主要色、文字大小、間距等等,這樣才能設計出一個具有獨特性的網頁,而且不會讓人家第一眼就覺得這網頁很「bootstrapable」XD!!!
那為什麼要把客製化放在前面就弄好呢?很簡單!當你要畫畫前,也會先把畫作的顏料、尺寸等東西先準備好吧?這樣在畫的時候才不會那麼麻煩~
打開
_variables.scss
_variables.scss
*裡面有千萬種設定可以更改,但因為設計稿一開始也有因應Bootstrap去進行了小小修改,因此主要就是去修改一些小地方就可以了!這時候,上上篇的文章裡所列出的數據就很有用啦!
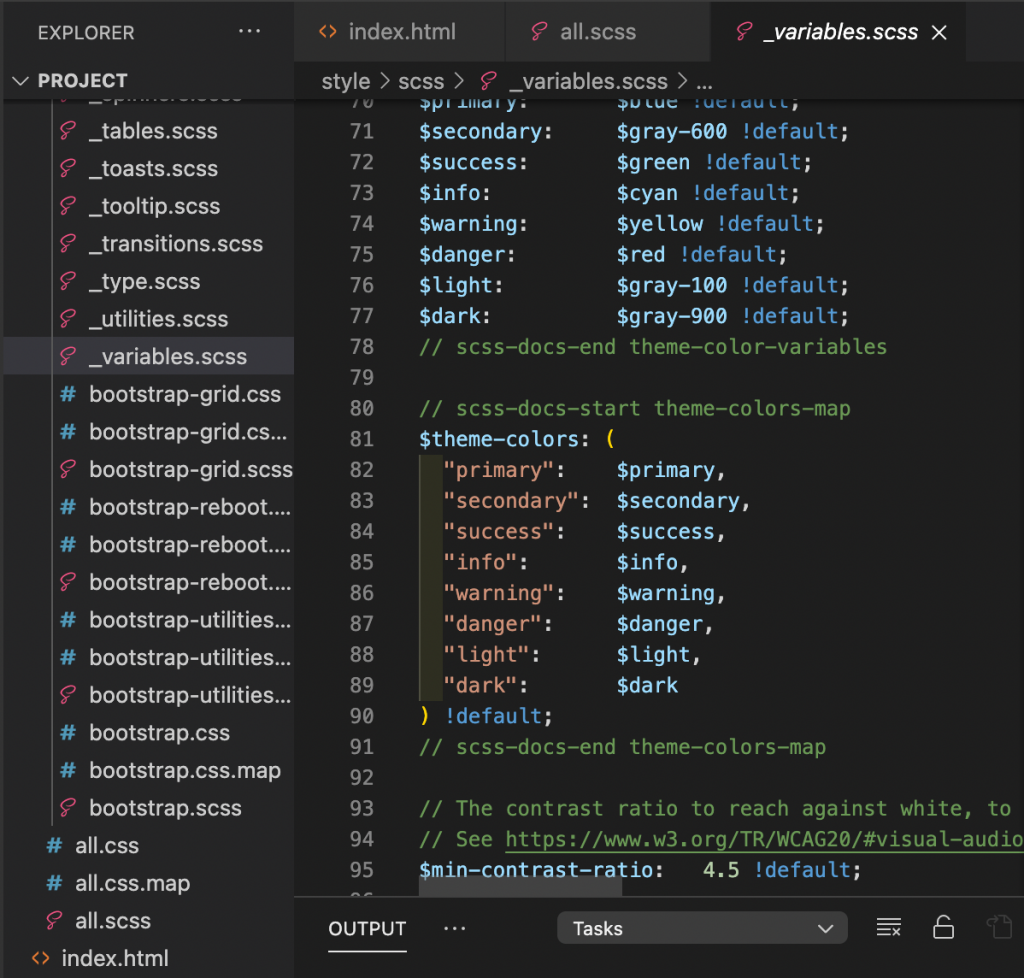
修改theme-colors
在_variables.scss裡的第81行是$theme-colors,這裡是指Bootstrap裡的主題顏色,我們可以把primary-color、body-color等等的顏色換成設計稿上的主題顏色,另外也可以新增新的顏色及命名喔!
(左圖為修改前、右圖為修改後)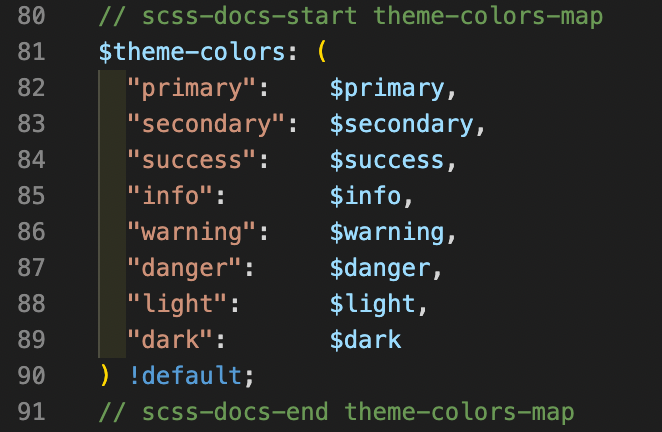


$theme-colors: (
  "primary":    #9B3C05,
  "secondary":  #FDFCFC,
  "success":    $success,
  "info":       $info,
  "warning":    $warning,
  "danger":     $danger,
  "light":      $light,
  "dark":       #707070,
  "primary-light": #EFDFD6

) !default;
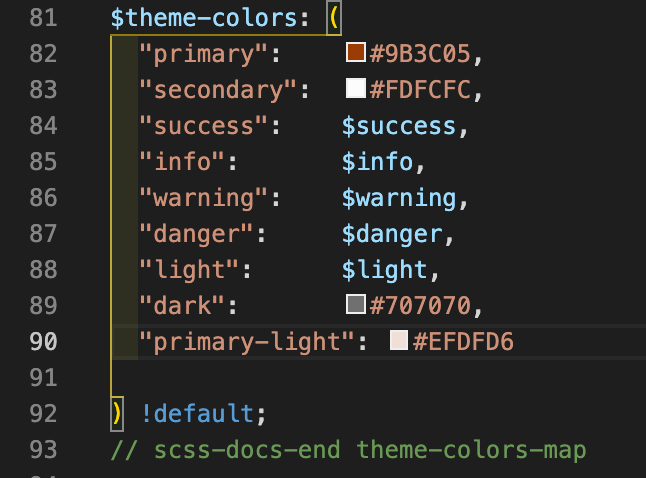
修改漸層顏色 - Gradient
linear-gradient(143deg,#9B3C05,#4E1E03)
*其實主要是用在一些無法直接下style去改變背景色的地方,例如卡片的背景色,其他東西有其他漸層顏色就可以直接去style寫下該漸層的顏色喔!
$gradient: linear-gradient(143deg,#9B3C05,#4E1E03) ;//linear-gradient(180deg, rgba($white, .15), rgba($white, 0)) !default;
修改間距 - spacers
(左圖為修改前、右圖為修改後)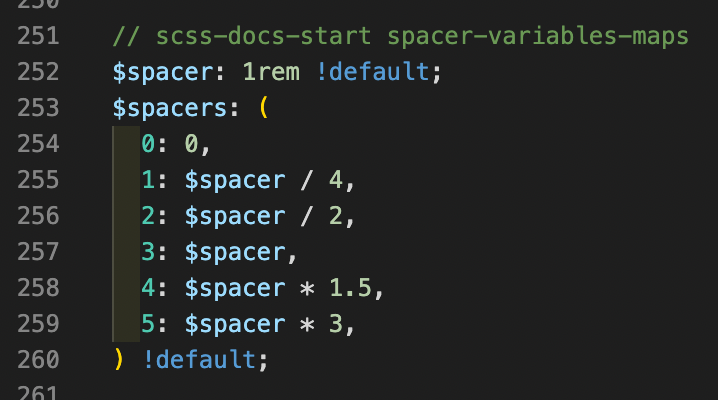
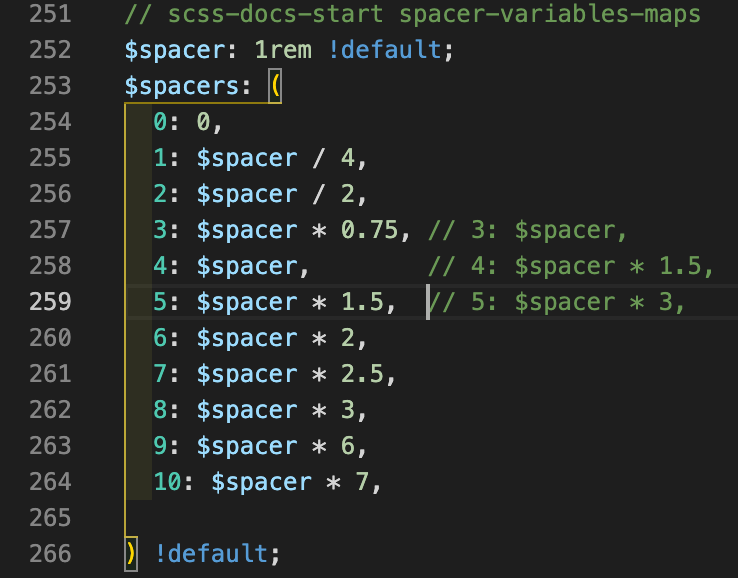
$spacers: (
  0: 0,
  1: $spacer / 4,
  2: $spacer / 2,
  3: $spacer * 0.75, // 3: $spacer,
  4: $spacer,        // 4: $spacer * 1.5,
  5: $spacer * 1.5,  // 5: $spacer * 3,
  6: $spacer * 2,
  7: $spacer * 2.5,
  8: $spacer * 3,
  9: $spacer * 6,
  10: $spacer * 7,

) !default;
修改navbar、btn、input、placeholder etc.
由於原本的btn和navbar預設上有不符合設計稿上的設定,所以統一修改成設計稿的樣式。
Input的Padding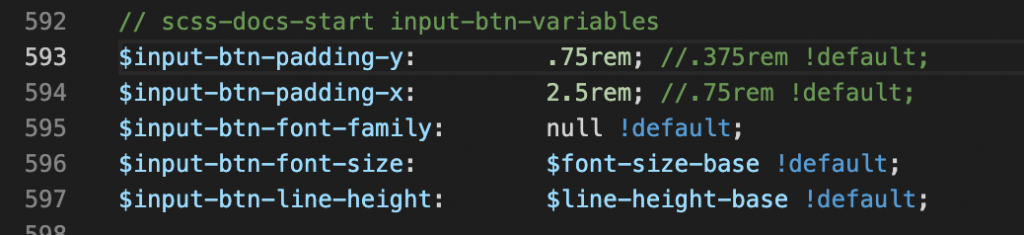
$input-btn-padding-y:         .75rem; //.375rem !default;
$input-btn-padding-x:         2.5rem; //.75rem !default;
按鈕和Input的圓角樣式
$btn-border-radius: none; //$border-radius !default;

```scss
$input-border-radius: none; //$border-radius !default;
```
連結顏色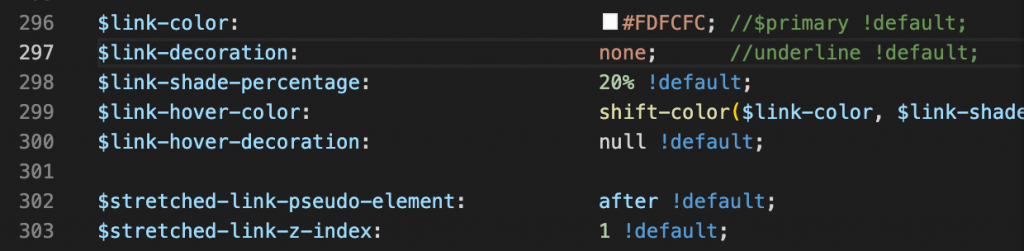
$link-color:            #FDFCFC;//$primary !default;
$link-decoration:       none;    //underline !default;
Placeholder樣式
$input-placeholder-color: #BFBAB7; //$gray-600 !default;
Navbar樣式
$navbar-dark-color:                 #FDFCFC; //rgba($white, .55) !default;
$navbar-dark-hover-color:           #FF5E00; //rgba($white, .75) !default;
$navbar-dark-toggler-border-color:  none; //rgba($white, .1) !default;
修改標題裝飾的highlight - mark
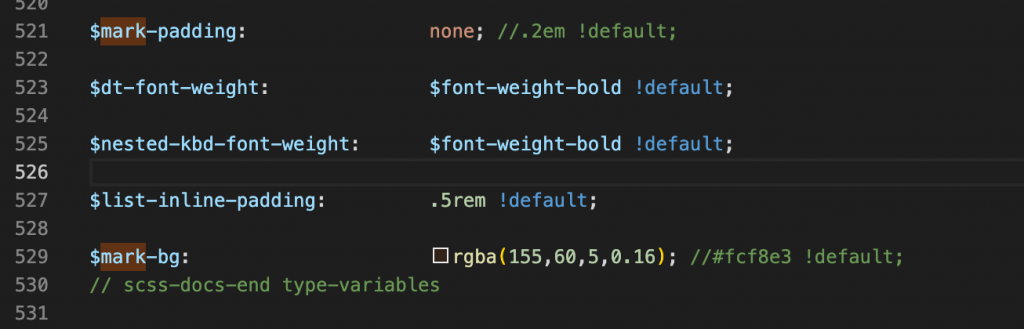
$mark-padding:                none;                //.2em !default;
$mark-bg:                     rgba(155,60,5,0.16); //#fcf8e3 !default;
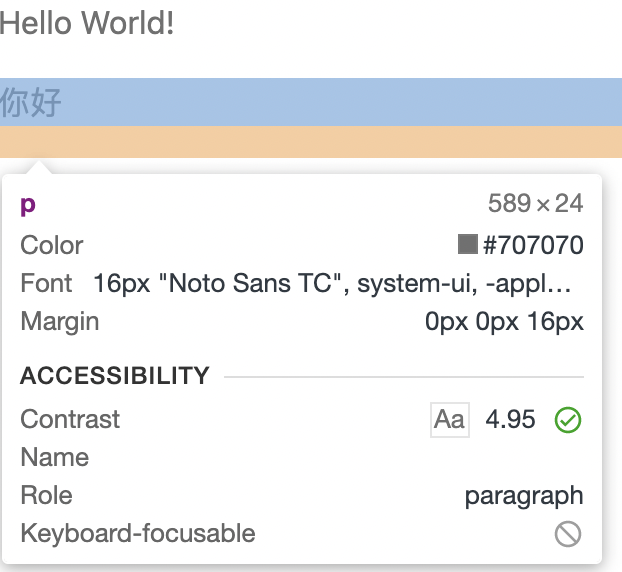
font
設計稿上的字體是思源黑體,英文名稱是Noto Sans TC,因此我們可以去font-family更改設定。
*下圖為預設字體,預設為「system-ui」
*下圖為更改後的字體,設定更改為「Noto Sans TC」
$font-family-sans-serif: "Noto Sans TC", system-ui, -apple-system, "Segoe UI", Roboto, "Helvetica Neue", Arial, "Noto Sans", "Liberation Sans", sans-serif, "Apple Color Emoji", "Segoe UI Emoji", "Segoe UI Symbol", "Noto Color Emoji" !default;
最後檢查有沒有修改成功
Hello World 或是 你好 或是 任何字
在學會Boostrap前很多東西都是用手刻,但學會Bootstrap後發現好多東西都變得很方便,而且也可以客製化成自己想要的模樣,真的蠻好用的!不過在這前提下,還是覺得要熟悉基本html、css、scss再來試用會更好唷!以上客製化就完成了!
那明天就要來進行切版!


 iThome鐵人賽