Vue 元件概念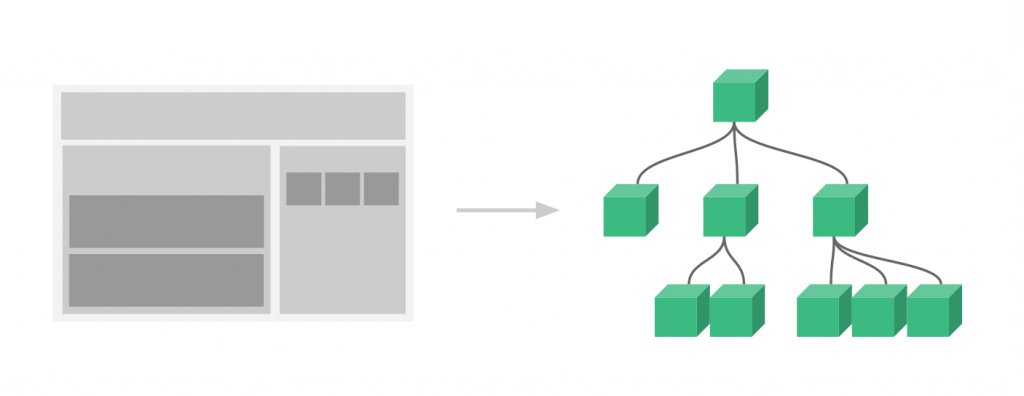
Component元件,作為SPA的靈魂功能,可以將程式碼以及模組封裝起來,增加程式碼的可複用性,能避免單一檔案過大,例如程式碼過多超過兩百行,就可考慮切分出來,多人開發時也能較好維護,增加閱讀性,減少未來維護的成本。每個元件實體與Data、作用域都是獨立的,不應該有子元件去影響到根元件的的資料,下一篇會有更詳細的說明。
<div id="app">
    <h4>{{ text }}</h4>
    <con-tainer></con-tainer>
</div>
const app = Vue.createApp({
  data() {
    return {
      text: "外部元件"
    };
  }
});
const app = Vue.createApp({
  data() {
    return {
      text: "外部元件"
    };
  }
});
app.component("ConTainer", {
  data() {
    return {
      text: "內部元件/全域註冊"
    };
  },
  template: `<div>
    <h4>{{ text }}</h4>
  </div>`
});
app.mount("#app");
createApp之後。app.component('ConTainer',{})裡面的'ConTainer'為元件名稱。template。<container></container>,寫在#app裡。補充:當元件命名使用駝峰命名,瀏覽器在解析HTML,不會區分大小寫,寫在HTML需要使用小寫與連字號標籤<con-tainer></con-tainer>。
<div id="app">
    <h4>{{ text }}</h4>
    <con-tainer></con-tainer>
    <area2></area2>
</div>
const area2 = {
  data() {
    return {
      text: "根元件的子元件/區域註冊"
    };
  },
  template: `<div>
    <h4>{{ text }}</h4>
  </div>`
}
const app = Vue.createApp({
  data() {
    return {
      text: "外部元件"
    };
  },
  components:{
    area2
  }
});
app.component("ConTainer", {
  data() {
    return {
      text: "內部元件/全域註冊"
    };
  },
  template: `<div>
    <h4>{{ text }}</h4>
  </div>`
});
app.mount("#app");
area2物件,結構跟全域元件一樣。component要多加一個s,並且寫上物件名稱。HTML寫上components裡面的。把元件獨立成一隻檔案(獨立元件),Vue CLI常用的方式,利用ESModule的方式匯入進來使用。
建立一支component.js的JavaScript檔案,檔案內容為:
//匯出
export default {
    data() {
        return {
          text: "外部匯入的元件!",
        };
      },
      template: `<div>
        <h4>{{ text }}</h4>
      </div>`
}
<div id="app">
        <h4>{{ text }}</h4>
        <con-tainer></con-tainer>
        <area2></area2>
        <external></external>
 </div>
<script type="module">
import external from './component.js';
const area2 = {
  data() {
    return {
      text: "根元件的子元件/區域註冊"
    };
  },
  template: `<div>
    <h4>{{ text }}</h4>
  </div>`
}
const app = Vue.createApp({
  data() {
    return {
      text: "外部元件"
    };
  },
  components:{
    area2,
    external
  }
});
app.component("ConTainer", {
  data() {
    return {
      text: "內部元件/全域註冊"
    };
  },
  template: `<div>
    <h4>{{ text }}</h4>
  </div>`
});
app.mount("#app");
</script>
</body>
</html>
import external from './component.js';
<script>要加上type="module"。樣板就是指HTML,有以下幾種方式可以建立:
template可以看上面的範例。
x-template隨著專案的成長,HTML結構越來越多時,都只使用template屬性掛載在HTML上,會顯得不好閱讀,可以使用x-template
將HTML結構封裝在<script>裡面:
<div id="app">
    <h4>{{ text }}</h4>
    <con-tainer></con-tainer>
    <area2></area2>
    <external></external>
    <demo></demo>
</div>
<script type="text/x-template" id="xtemplate">
    <div>
        x-template 範例
    </div>
</script>
<script type="module">
import external from './component.js';
const area2 = {
  data() {
    return {
      text: "根元件的子元件/區域註冊"
    };
  },
  template: `<div>
    <h4>{{ text }}</h4>
  </div>`
}
const app = Vue.createApp({
  data() {
    return {
      text: "外部元件"
    };
  },
  components:{
    area2,
    external
  }
});
app.component("ConTainer", {
  data() {
    return {
      text: "內部元件/全域註冊"
    };
  },
  template: `<div>
    <h4>{{ text }}</h4>
  </div>`
});
app.component("demo", {
  template: '#xtemplate'
});
app.mount("#app");
</script>
<script type="text/x-template" id="xtemplate">裡面撰寫HTML結構。demo的template:'#xtemplate'對應上面的id="xtemplate"。建立Vue CLI之後每個.Vue檔都是一個元件,單一檔案就包含HTML,JS,CSS。
以上如有錯誤,歡迎指教 


 iThome鐵人賽