今天終於將實作做完了,
前幾天我們都在調整系統底層的設定,
為的就是在 UI 上面可以直接連接,
今天我們終於可以繼續在 UI 上,
直接設定專案,
並把整條部署流水線建起來。
登入 Octopus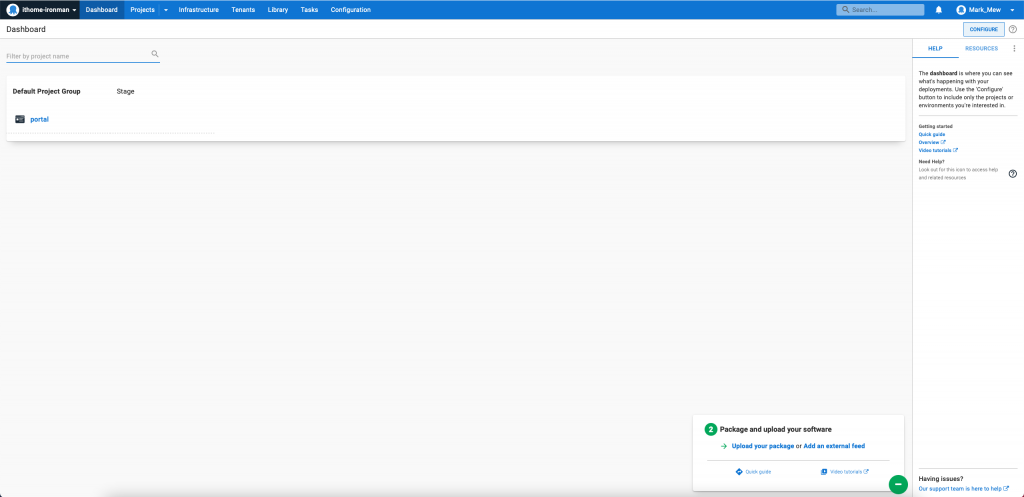
點選上方 Library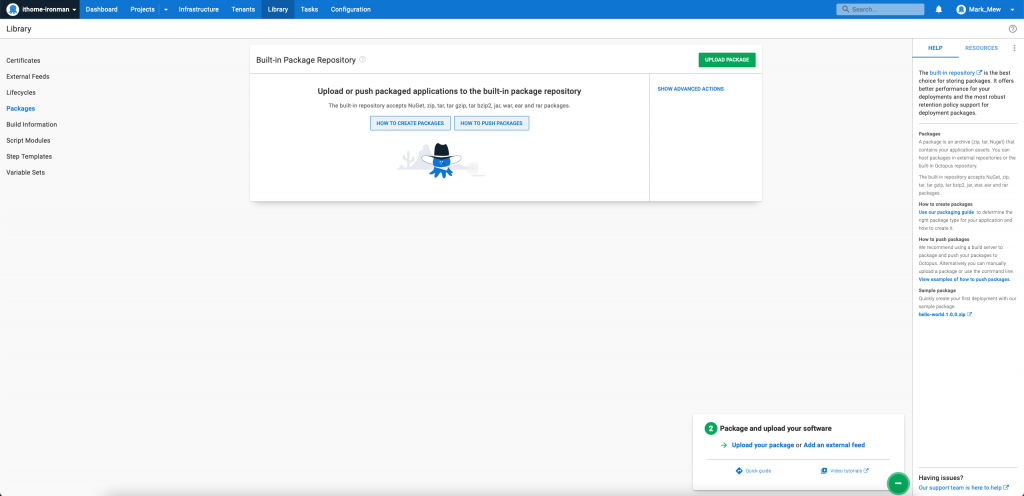
點選左側的 External Feeds
按下 ADD Feed,添加 Repostiroy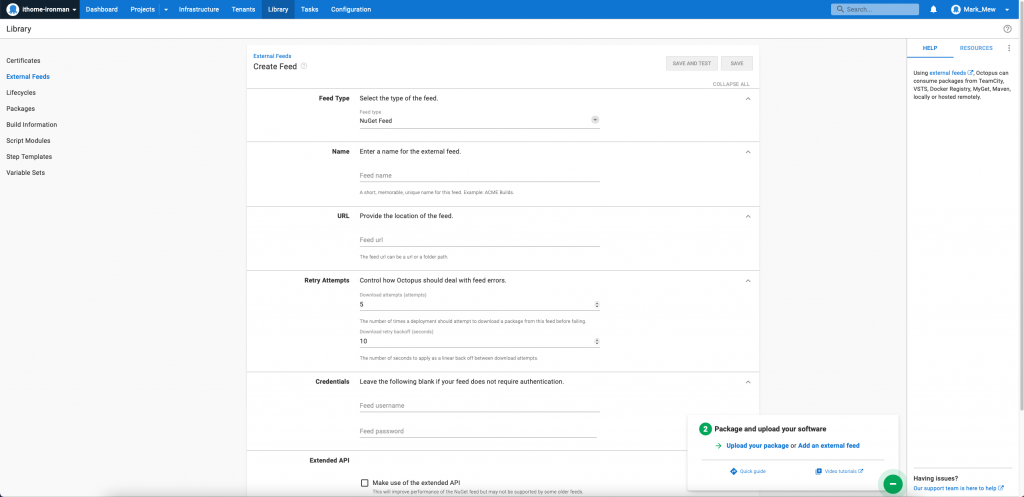
填寫所需資料,並按下 SAVE AND TEST
TOKEN 和 SECRETS 一樣使用 Jenkins 那組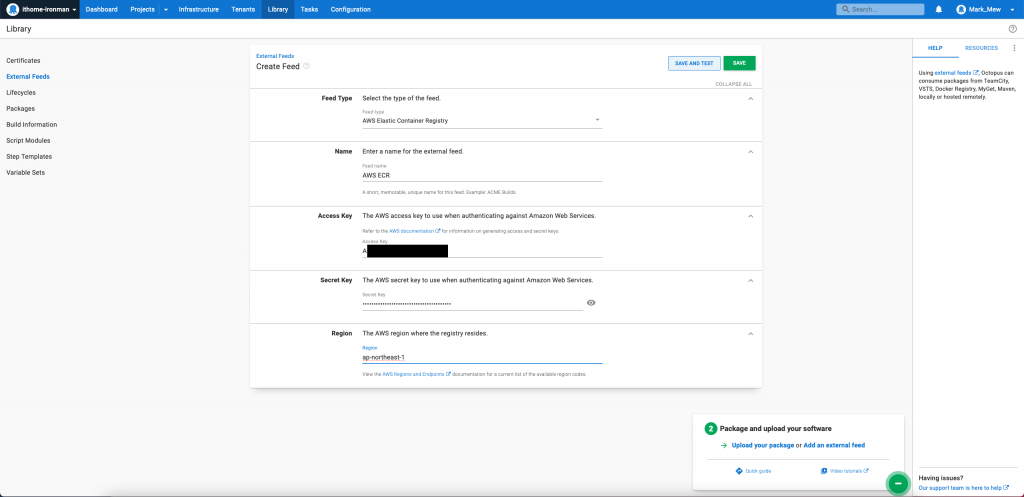
輸入 repostiory 的名稱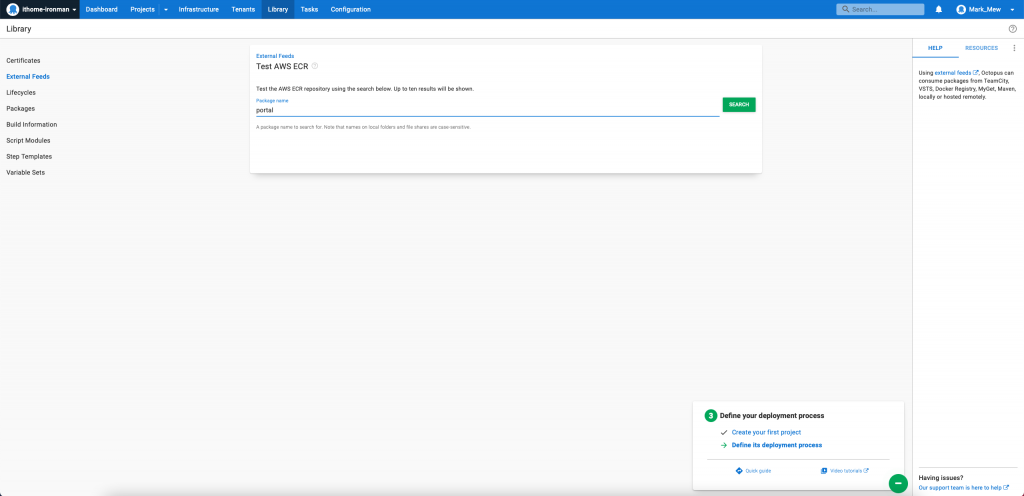
如果有找到,表示設定成功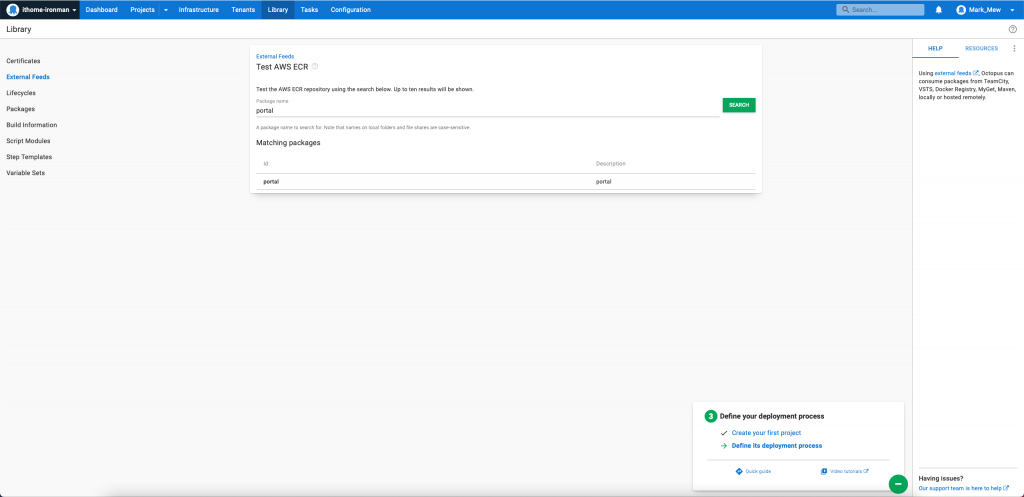
這步驟是為了把所有系統需要的參數做管理
並且可以根據不同環境 assign 不同變數
如果專案中有細項需要修改
則可以將共用的放在 Library Sets 中
並在專案內部設定自己需要的參數
進入專案頁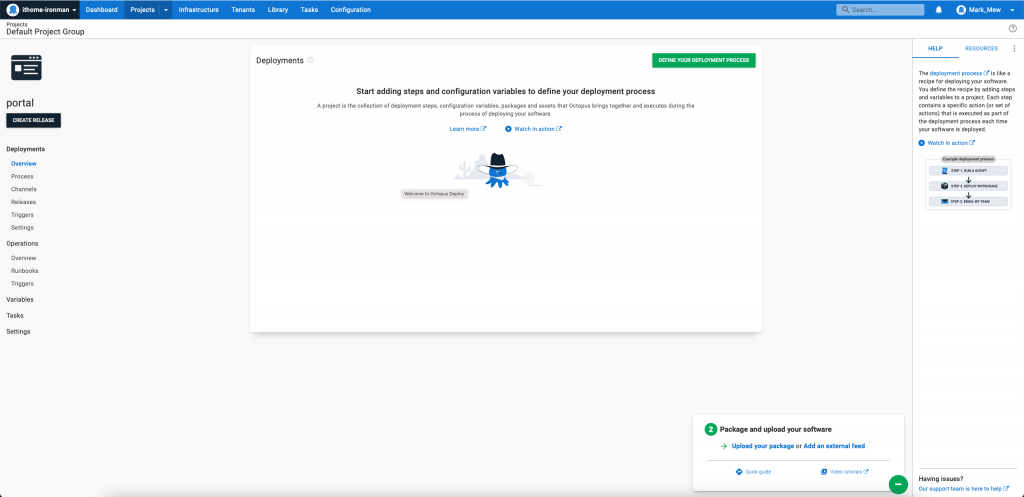
點按左側 Variable
選擇 Library Sets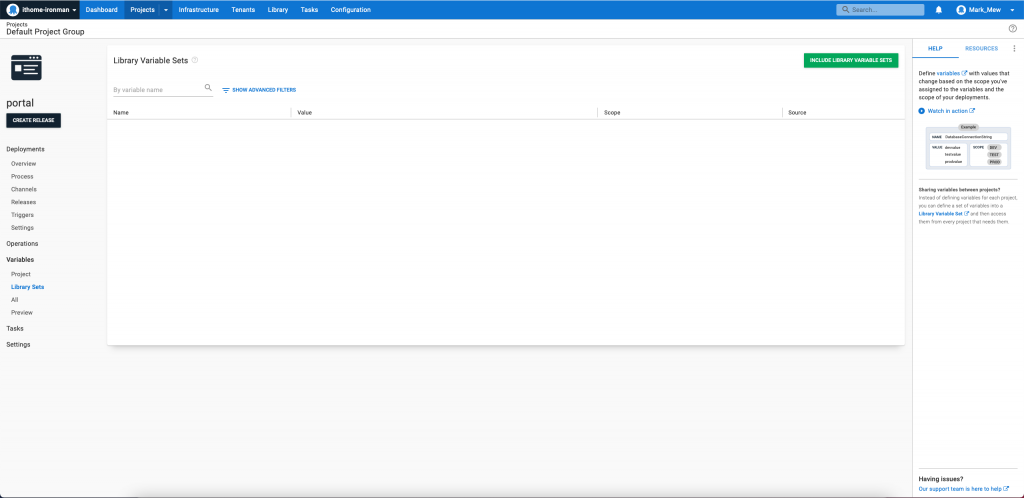
點按 INCLUDE LIBRARY VARIABLE SETS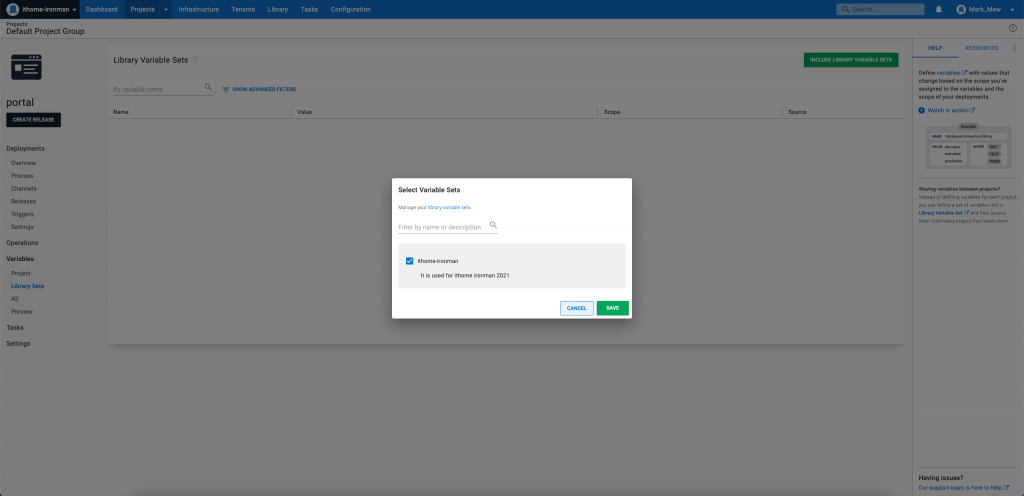
添加完成
進入專案頁
點按左側的 Process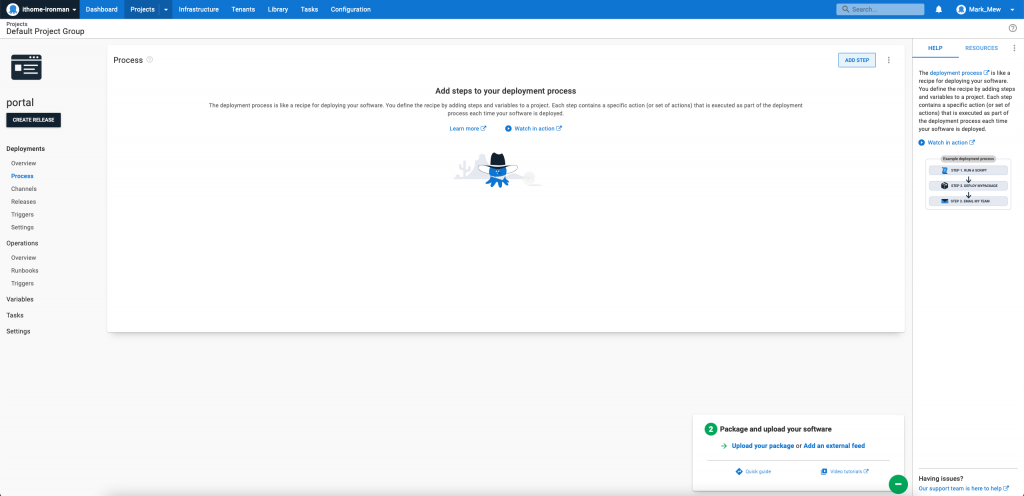
點按 ADD STEP,並選擇 Kubernetes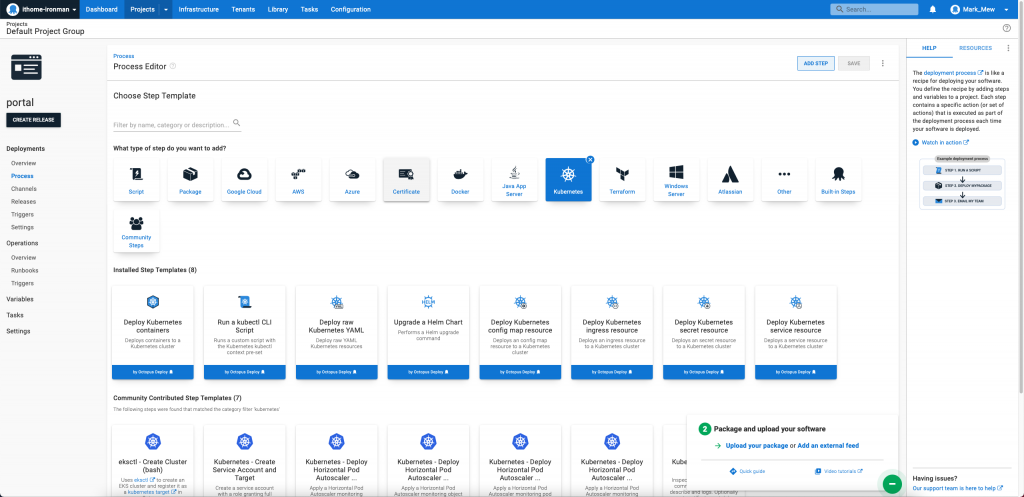
選擇 Deploy Kubernetes RAW YAML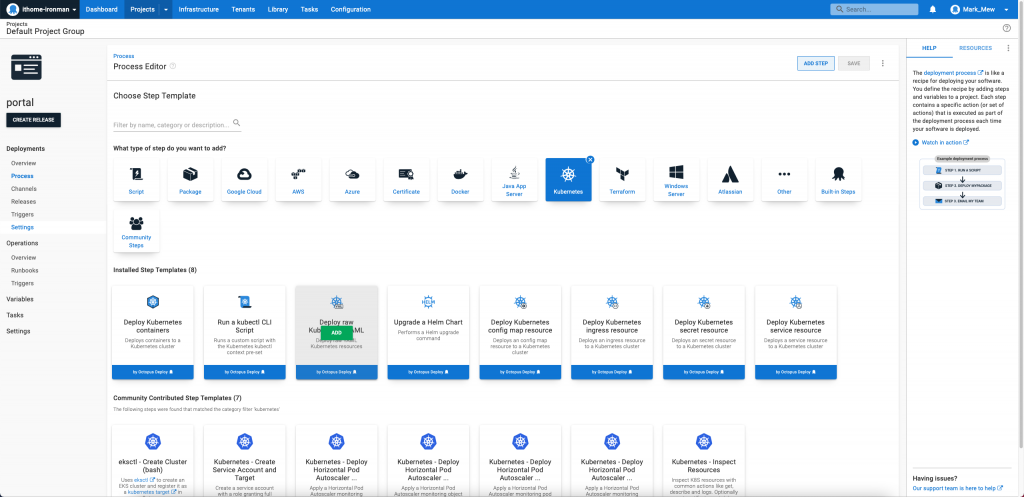
On Behalf Of 選擇昨天建立的 jenkins-stage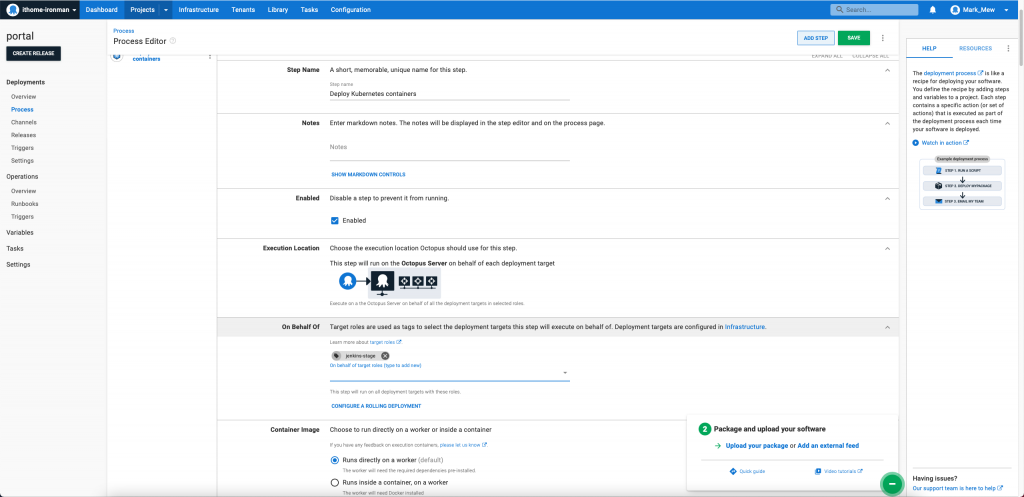
按下 ADD SOURCE CODE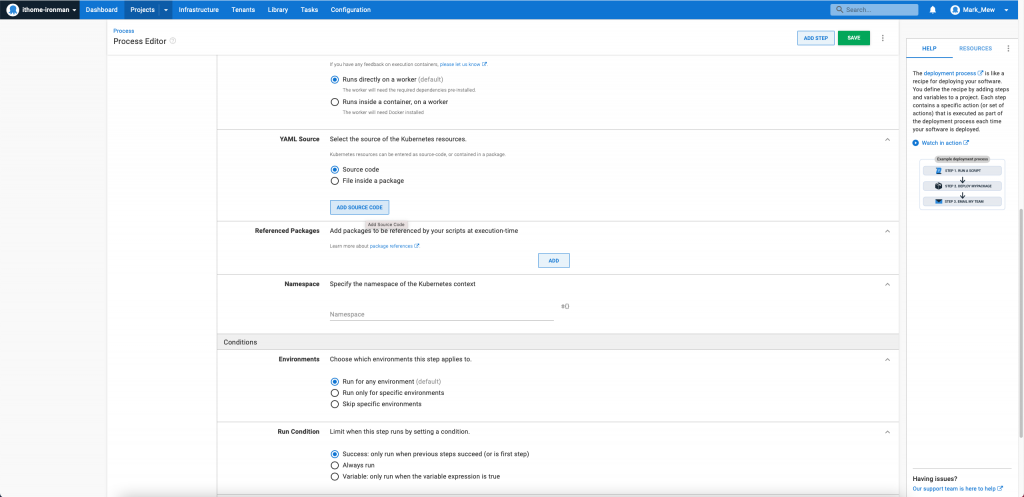
將之前部署流程的 deploy.yaml 貼上
填寫 ECR 資訊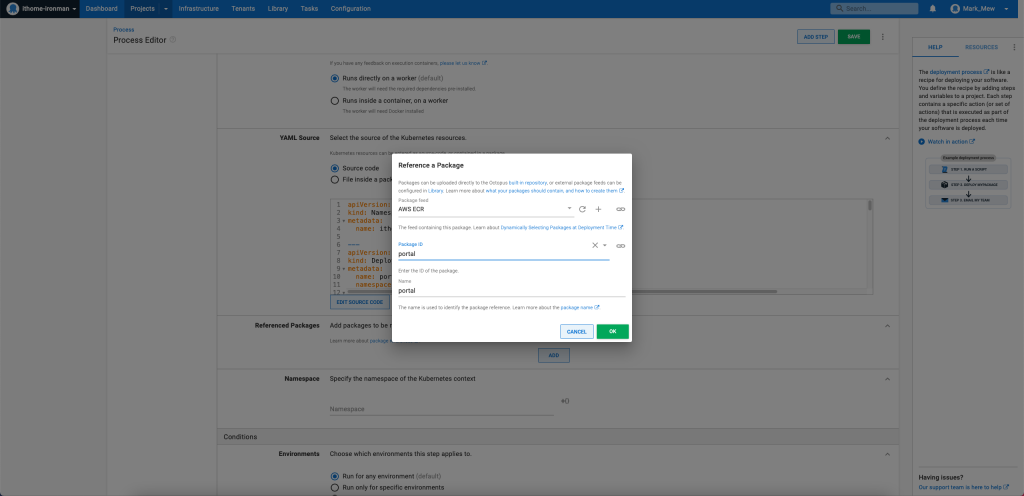
填寫 namespace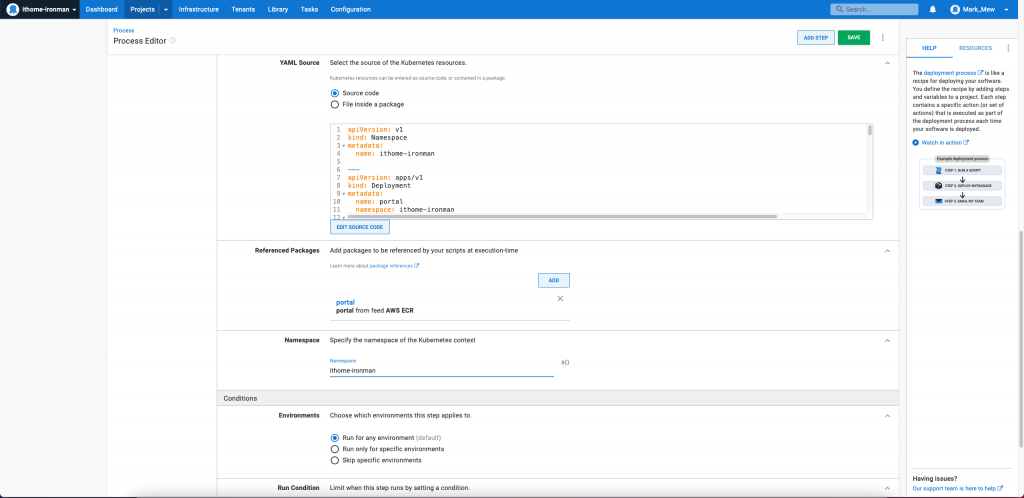
當然也可以選擇
Deploy Kubernetes Container
不過經過測試
目前似乎 ingress 的部分
api version 卡在 v1beta1 和 v1 的部分
所以建議還是先使用
apiVersion: v1
kind: ConfigMap
metadata:
  name: portal-config
  namespace: ithome-ironman
data:
  config.json |
    {
      "RDS_HOST": "#{RDS_HOST}"
      "USERNAME": "#{USERNAME}"
      "PASSWORD": "#{PASSWORD}"
    }
apiVersion: apps/v1
kind: Deployment
metadata:
  name: portal
  namespace: ithome-ironman
spec:
  volumes:
    - name: portal-config-volume
      configMap:
        name: 'portal-config'
  replicas: 1
  selector:
    matchLabels:
      app: portal
  strategy:
    type: RollingUpdate
    rollingUpdate:
      maxSurge: 1
      maxUnavailable: 0
  minReadySeconds: 10
  template:
    metadata:
      name: portal
      labels:
        app: portal
    spec:
      containers:
      - name: portal
        image: [你的 AWS 10 碼 ID].dkr.ecr.ap-northeast-1.amazonaws.com/portal:latest
        ports:
        - name: portal
          containerPort: 31000
        volumeMounts:
          - name: portal-config-volume
            mountPath: /var/www/portal/config.json
            subPath: config.json
        resources:
          limits:
            memory: "512M"
            cpu: "300m"
          requests:
            memory: "200M"
            cpu: "100m"
網頁上方選擇 Library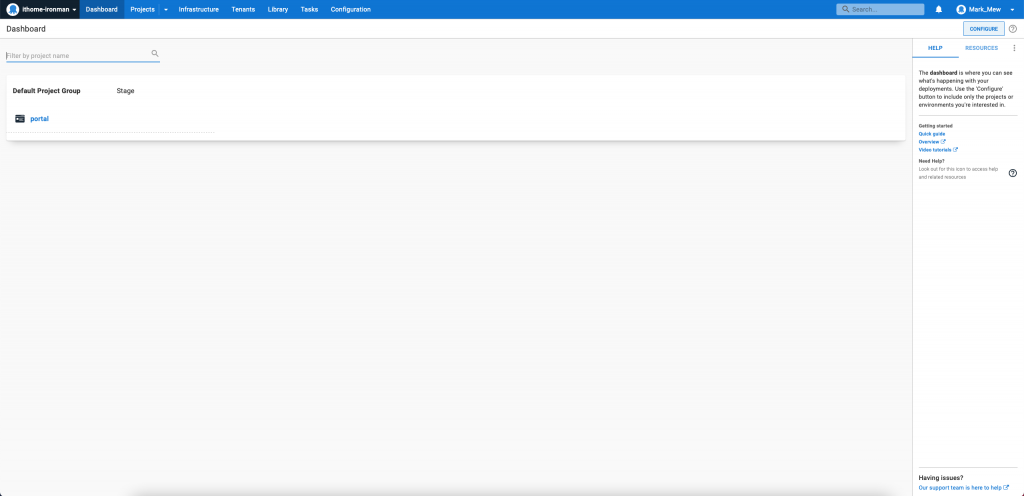
選擇 Lifecycles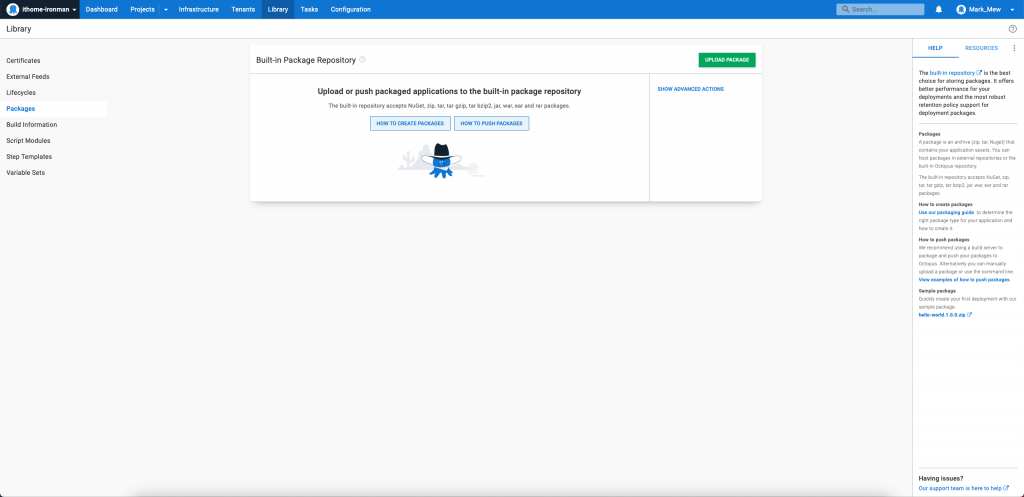
選擇 Default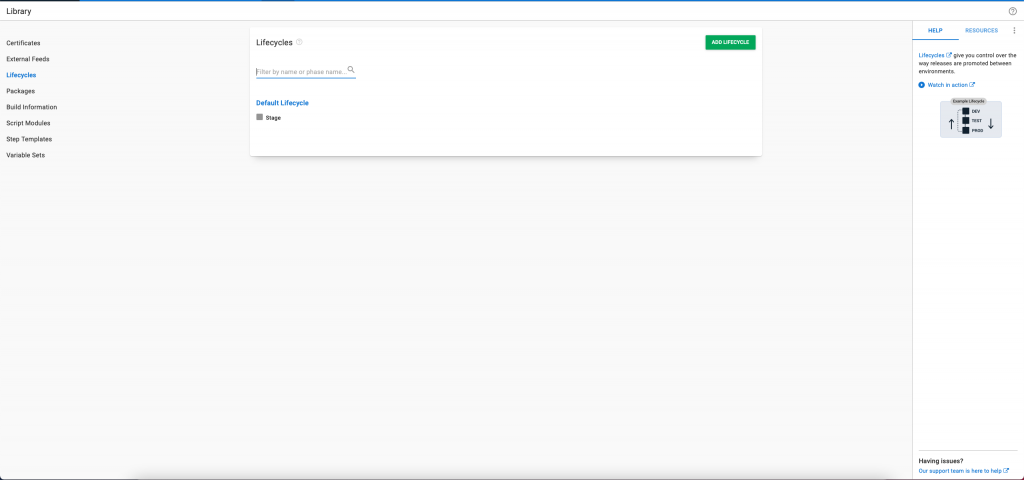
按下 ADD PHASE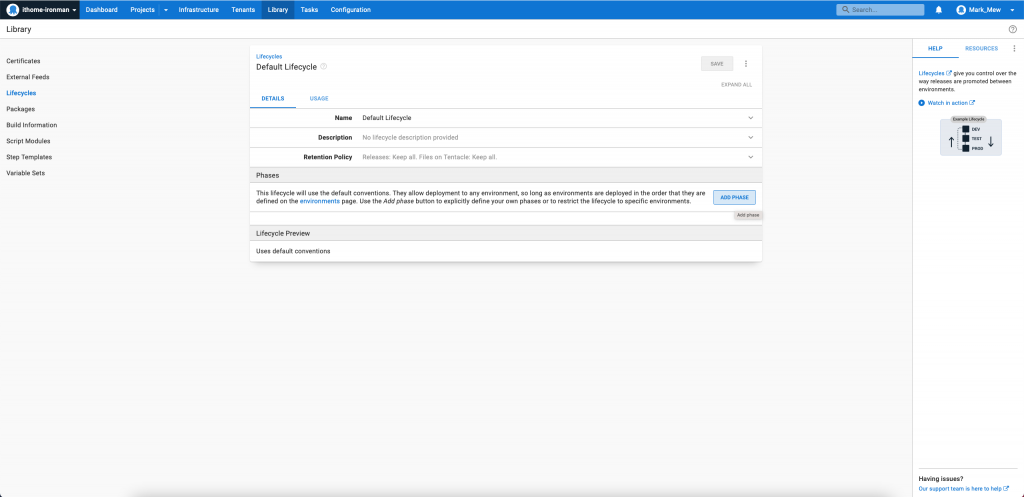
Phase 名稱輸入 Stage,並點按中間的 ADD ENVIRONMET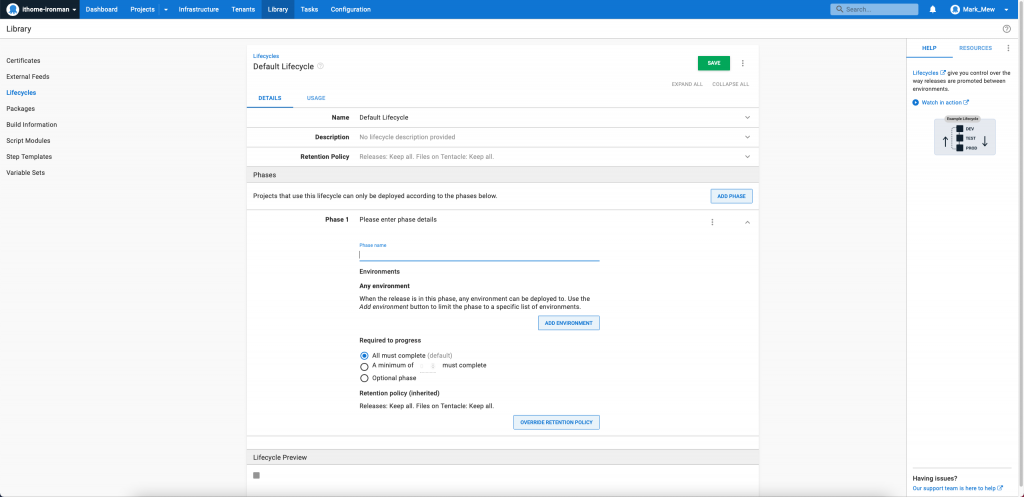
選擇 Stage 和 Automatically Deploy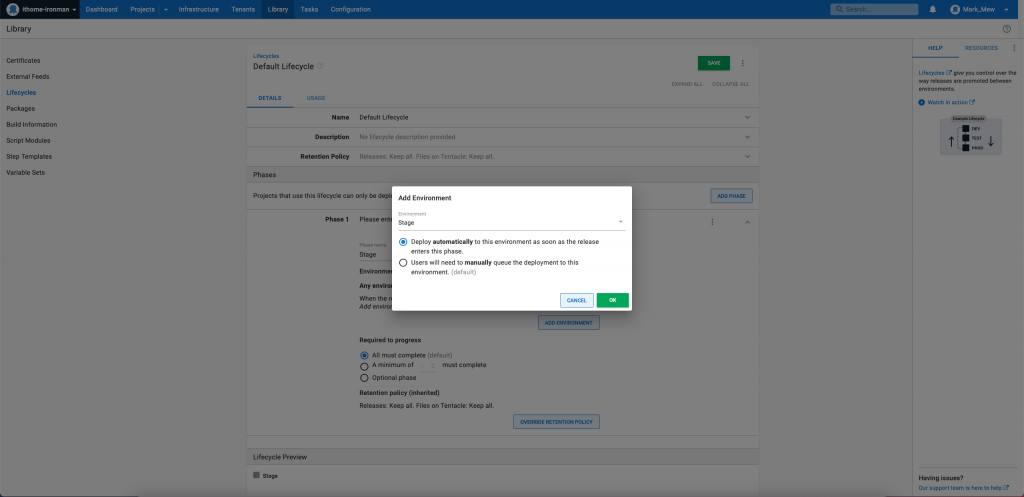
儲存後可看到剛剛新增的結果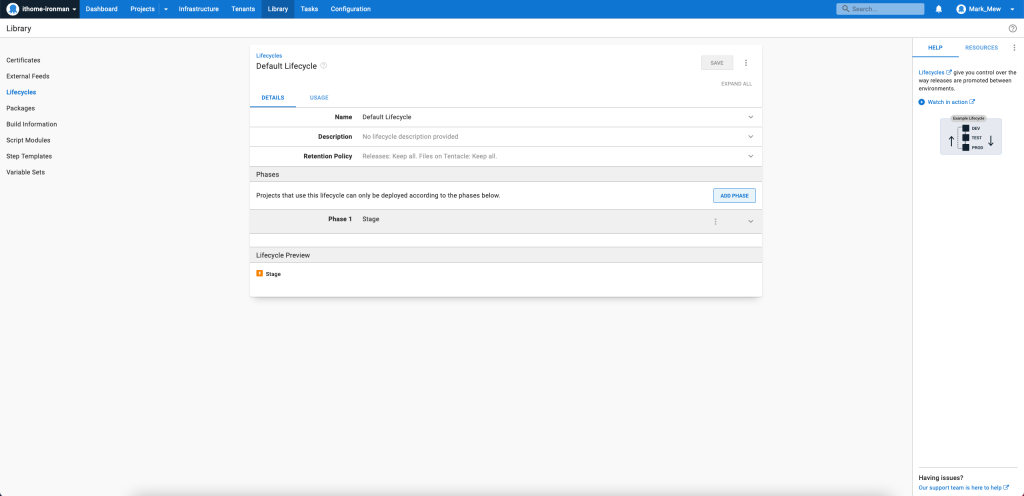
Jenkins 首頁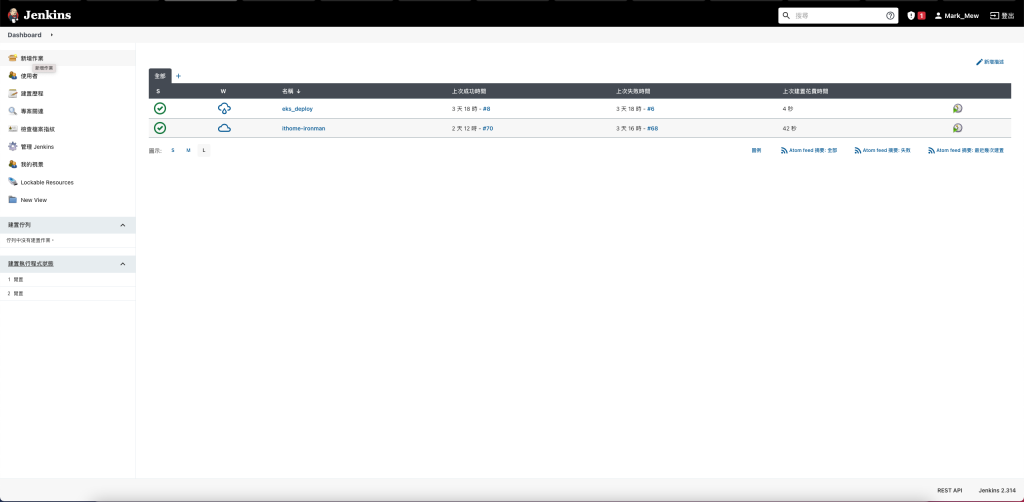
建立 FreeStyle 專案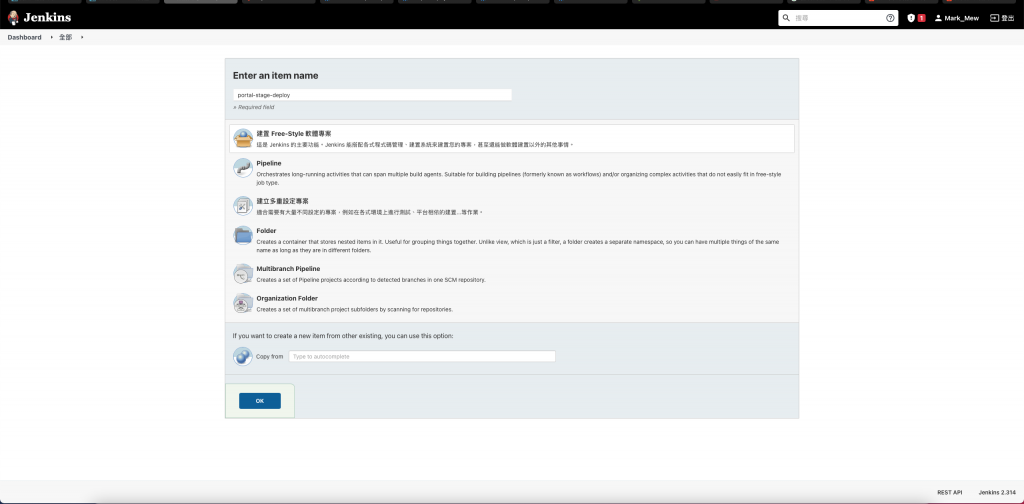
新增一個建置參數
等等會從原本的 pipeline 傳入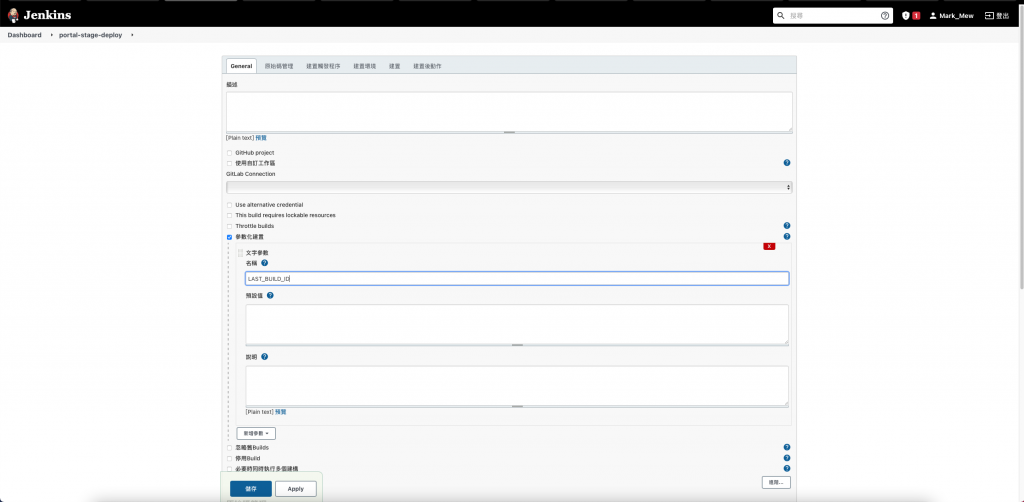
在建置後觸發流程,選擇 Create Release 到 Octopus
填寫相關資訊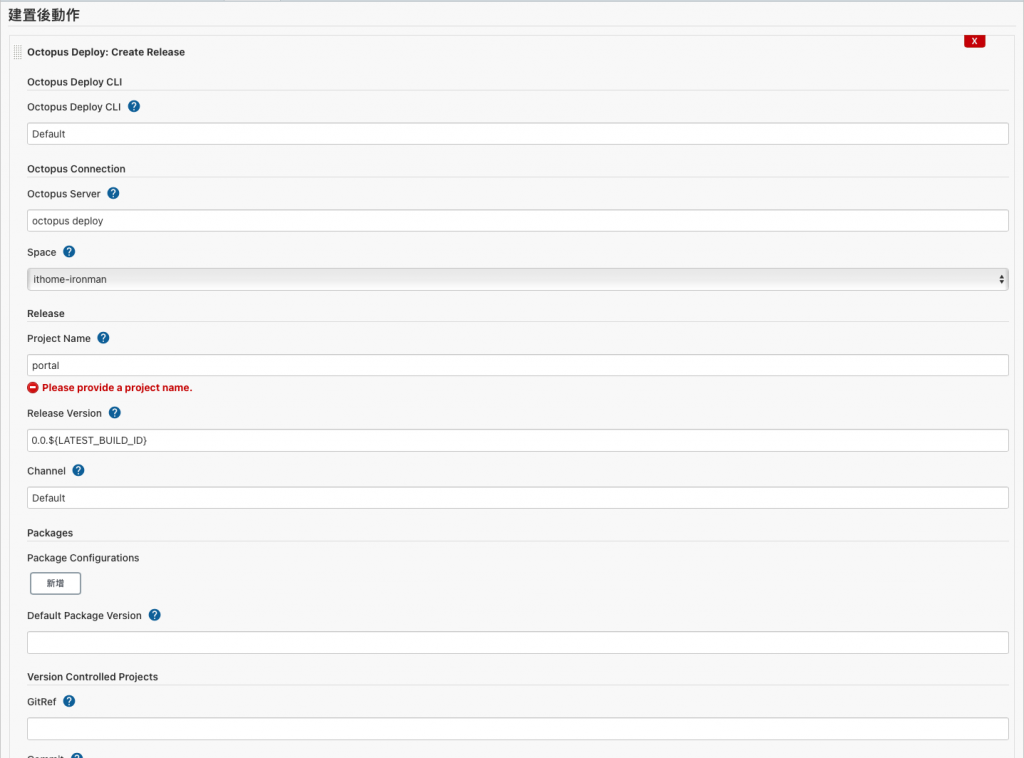
將 Deploy to EKS 和 Deploy 刪除起來
並新增 Trigger Octopus Deploy
    stage('Trigger Octopus Deploy') {
        steps {
            build job: 'portal-stage-deploy', parameters: [[$class: 'StringParameterValue', name: 'LATEST_BUILD_ID', value: "${env.BUILD_ID}"]]
        }
    }
在專案最下方
與 stages 同一層新增 post 區塊
這個的用意是 CI/CD 結束後
清理 Workspace
如果沒有清理 Workspace
會造成 CI 過程中打包的 .tar.gz 檔不會更新
  post {
    always {
      cleanWs(cleanWhenNotBuild: false,
              deleteDirs: true,
              disableDeferredWipeout: true,
              notFailBuild: true,
              pattern: [[pattern: '.gitignore', type: 'INCLUDE'],
                        [pattern: '.pyc', type: 'INCLUDE'],
                        [pattern: '.propsfile', type: 'EXCLUDE']]

      )
    }
  }
git add Jenkinsfile
git commit -m "adjust pipeline with integrating octopus deploy"
今天我們整合完 Octopus Deploy 和 Jenkins
讓我們在 Push Code 之後
可以自動部署到 EKS
Octopus Deploy 的功能真的蠻強大的
除了支援各種部署方式以外
將系統參數打包成 Library Sets 更是好用的一種方式
系統連線的明碼不進版控
而且有介面可以簡單編輯
部署方面也充分模組化
只需要更改 lifecyle
當你需要多個環境時
可以修改 library sets 和 lifecyle
就可以根據不同的環境套用不同的參數
但是在部署流程中 (Process) 又是使用同一套方式