清單和動畫會出現在 app 中的任何地方。在本文章中,我們將瞭解如何運用 Compose 輕鬆建立清單,並增添動畫效果。
此系列文章是以我的業餘專案: Kimoji 作為範例。
這款以純 Jetpack Compose 撰寫的 side project,已經在 Google Play 上架。 歡迎試玩!
立馬下載
限免兌換碼
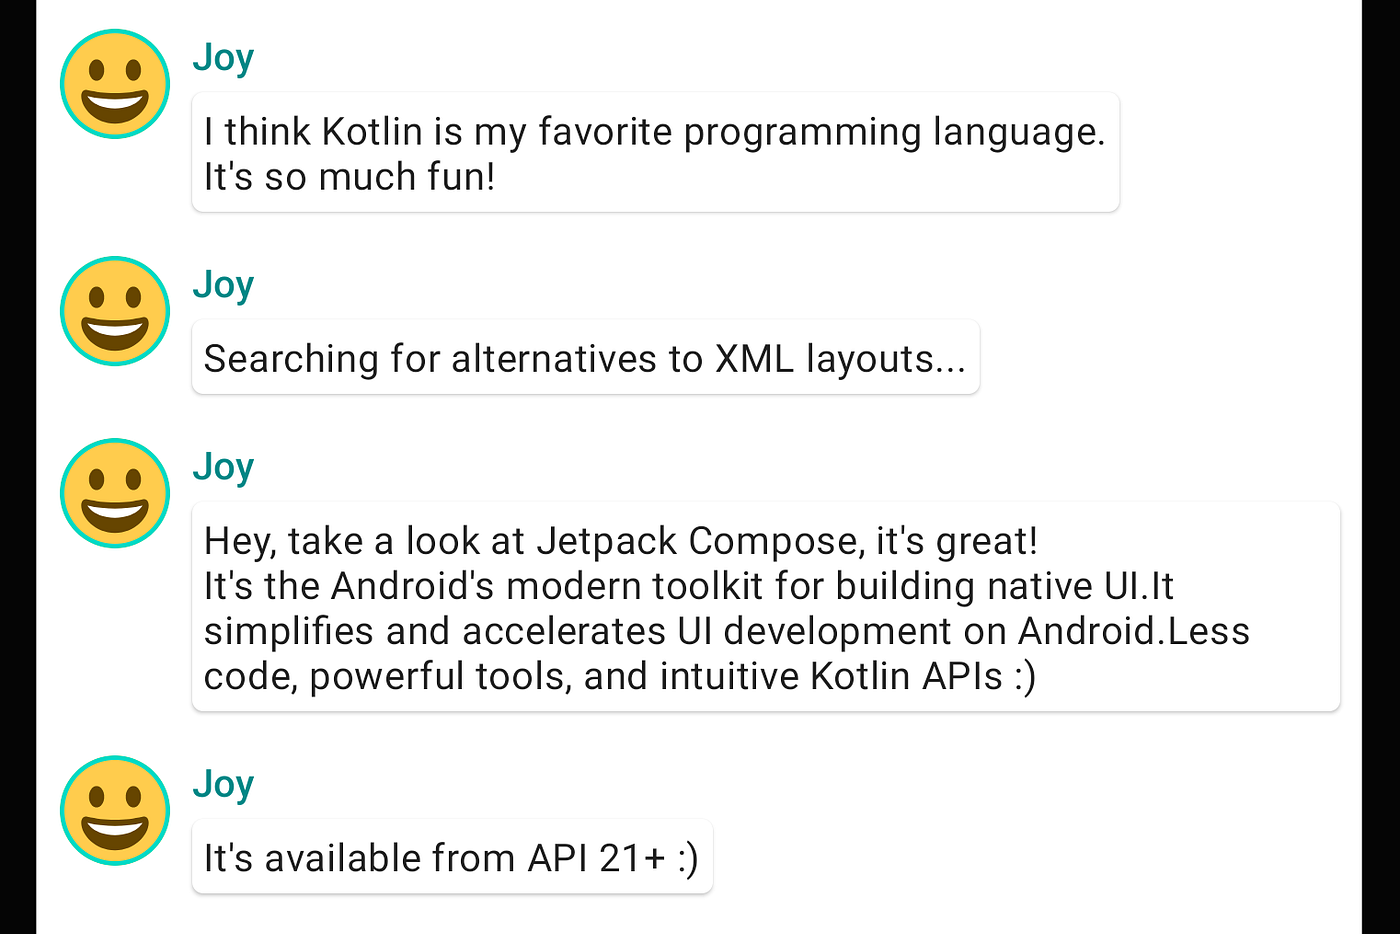
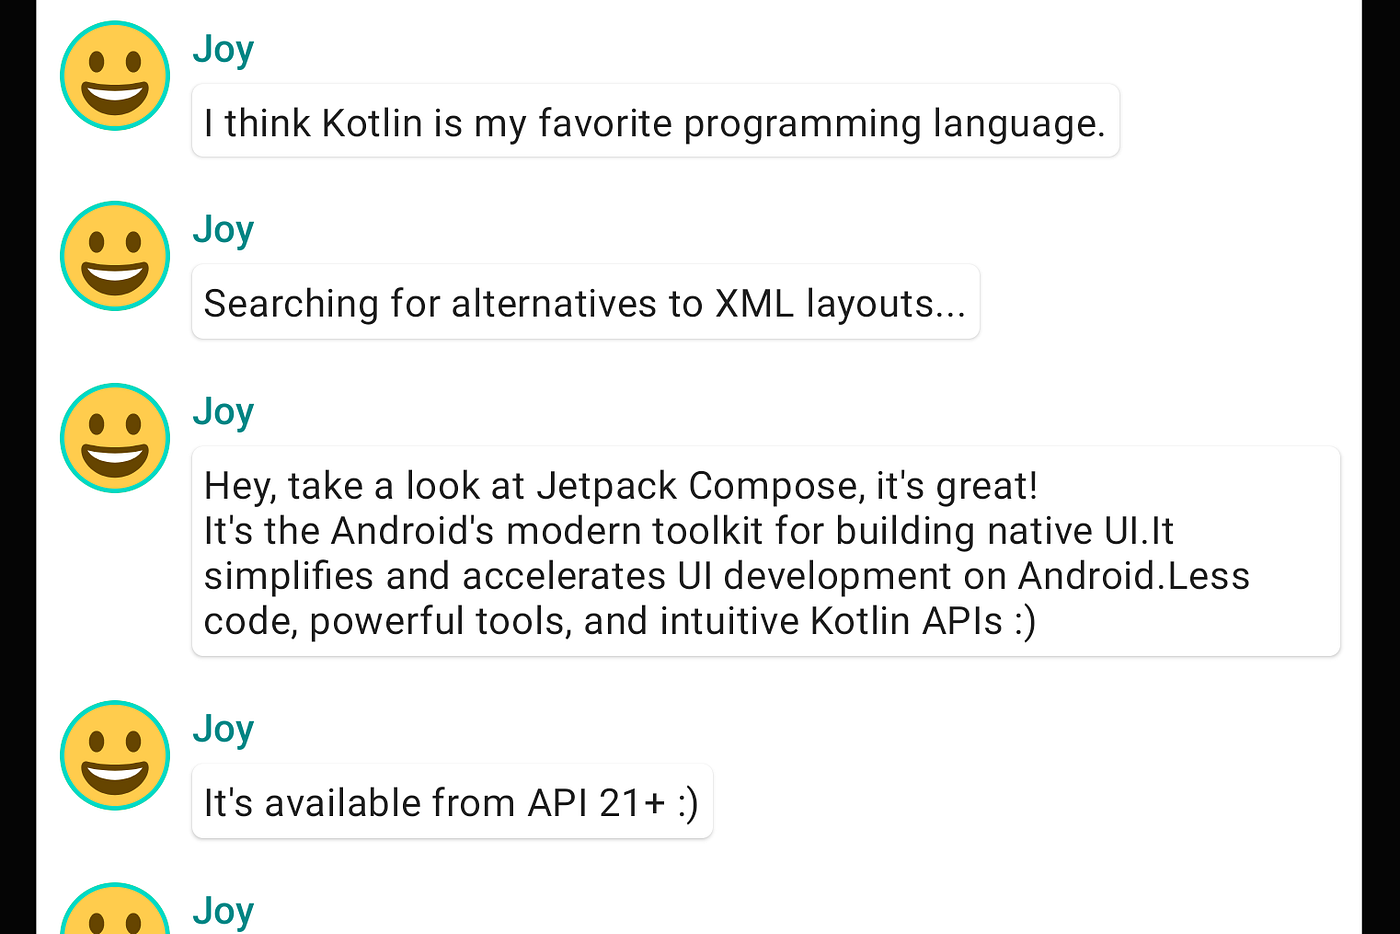
建立日記列表
只顯示一篇日記會感覺有點孤單,因此我們可以新增「日記本」以便包含多篇日記。我們必須建立
Journal函式,以顯示多篇日記。針對這個使用情境,我們用 Compose 的LazyColumn和LazyRow。這些 composable 只會 render 螢幕上可視的元件,因此這些 composable 的設計,對於較長的清單來說,可以得到非常優良的效能。在下面這段程式碼中,我們可以看到
LazyColumn含有一個 childitems。它接受List做為參數,而他的 lambda 會收到一個叫做diary的參數(可以隨意為其命名),也就是Diary的實體。 簡單來說,List中的每個 item 都會呼叫這個 lambda。將這份範例資料匯入我們的專案,即可快速建構日記本。
// ...
import androidx.compose.foundation.lazy.LazyColumn
import androidx.compose.foundation.lazy.items

@Composable
fun Journal(diaries: List<Diary>) {
    LazyColumn {
        items(diaries) { diary ->
            DiaryCard(diary)
        }
    }
}

@Preview
@Composable
fun PreviewJournal() {
    KimojiTheme {
        Journal(JournalData.journalSample)
    }
}

展開日記時顯示動畫效果
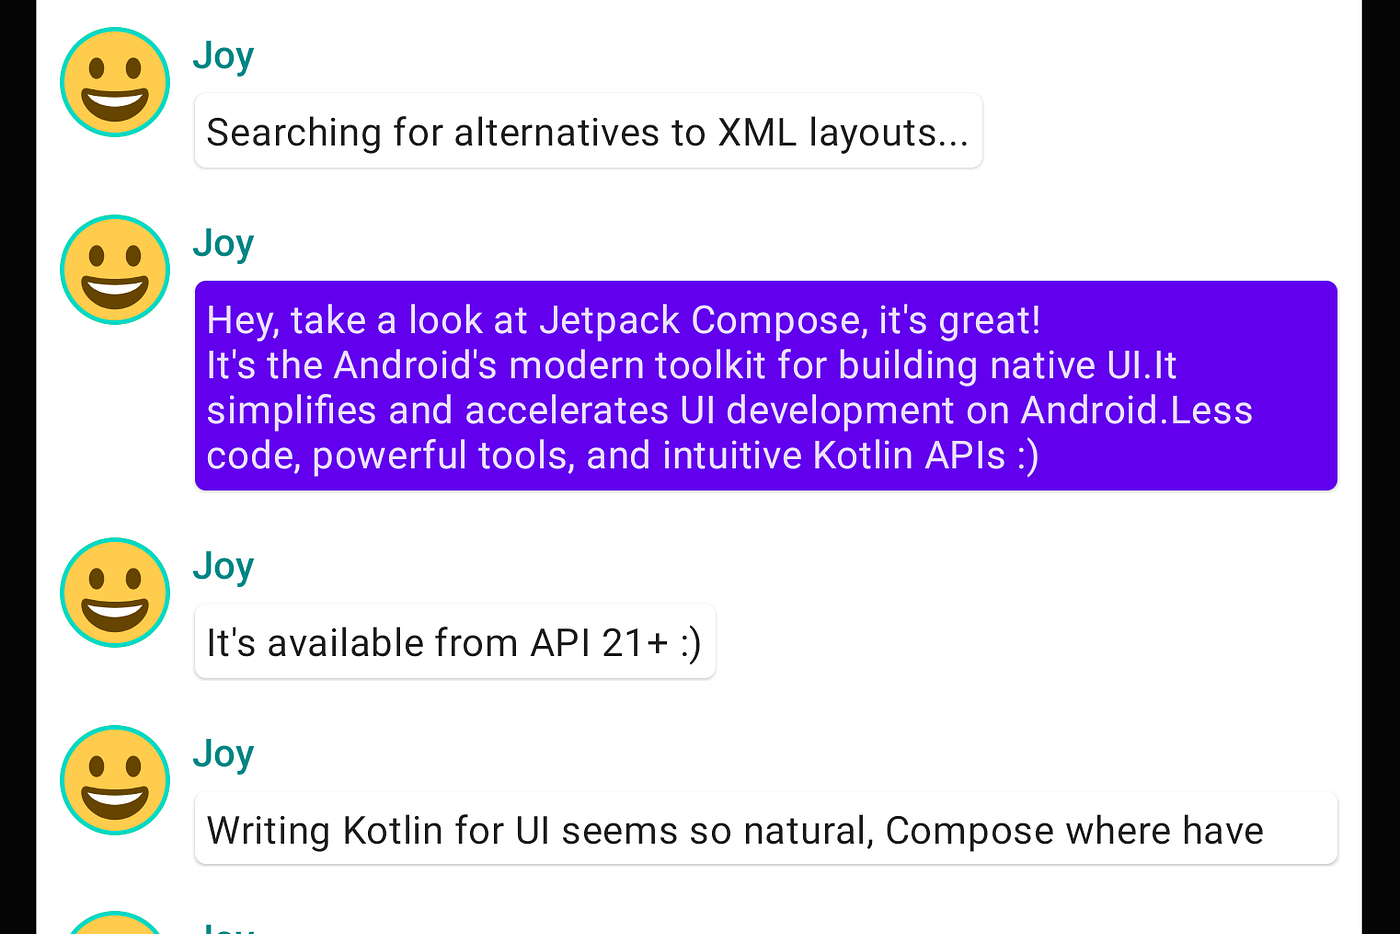
我們的日記現在變得更豐富了。現在是時候製作動畫了!我們將新增展開日記來顯示更多內容的功能,同時為內容大小和背景顏色製作動畫效果。如要儲存此 local UI state,我們必須記住日記是否已展開。我們必須使用
remember和mutableStateOf函式來追蹤這種狀態變化。Composable functions 可以使用
remember將 local state 儲存在記憶體中,並觀察mutableStateOf之 value 的變化。該值更新時,系統會自動重新繪製有讀取這個狀態的 composables (和他們的 children)。這就稱為 recomposition。透過使用 Compose 的狀態 API(例如
remember和mutableStateOf),系統會在狀態發生任何變更時自動更新 UI。注意:我們必須新增下列的 import,才能正確使用
by。按 Alt + Enter 或 Option + Enter 鍵,即可新增這些項目。
import androidx.compose.runtime.getValueimport androidx.compose.runtime.setValue
// ...
import androidx.compose.foundation.clickable
import androidx.compose.runtime.getValue
import androidx.compose.runtime.mutableStateOf
import androidx.compose.runtime.remember
import androidx.compose.runtime.setValue

class MainActivity : ComponentActivity() {
   override fun onCreate(savedInstanceState: Bundle?) {
       super.onCreate(savedInstanceState)
       setContent {
           KimojiTheme {
               Journal(JournalData.journalSample)
           }
       }
   }
}

@Composable
fun DiaryCard(diary: Diary) {
    Row(modifier = Modifier.padding(all = 8.dp)) {
        Image(
            painter = painterResource(R.drawable.joy),
            contentDescription = null,
            modifier = Modifier
                .size(40.dp)
                .clip(CircleShape)
                .border(1.5.dp, MaterialTheme.colors.secondary, CircleShape)
        )
        Spacer(modifier = Modifier.width(8.dp))

        // We keep track if the message is expanded or not in this
        // variable
        var isExpanded by remember { mutableStateOf(false) }

        // We toggle the isExpanded variable when we click on this Column
        Column(modifier = Modifier.clickable { isExpanded = !isExpanded }) {
            Text(
                text = diary.emotion,
                color = MaterialTheme.colors.secondaryVariant,
                style = MaterialTheme.typography.subtitle2
            )

            Spacer(modifier = Modifier.height(4.dp))

            Surface(
                shape = MaterialTheme.shapes.medium,
                elevation = 1.dp
            ) {
                Text(
                    text = diary.notes,
                    modifier = Modifier.padding(all = 4.dp),
                    // If the message is expanded, we display all its content
                    // otherwise we only display the first line
                    maxLines = if (isExpanded) Int.MAX_VALUE else 1,
                    style = MaterialTheme.typography.body2
                )
            }
        }
    }
}

現在,當按一下日記時,即可根據
isExpanded變更筆記內容的背景。我們將使用clickablemodifier 來處理 composable 中的點擊事件。這次我們不需要再切換Surface的背景顏色,而是以動畫方式逐步將背景顏色從MaterialTheme.colors.surface變更為MaterialTheme.colors.primary(反之亦然)。為了做到這點,我們將使用animateColorAsState函式。最後,使用animateContentSizemodifier,流暢地為筆記大小製作動畫:
// ...
import androidx.compose.animation.animateColorAsState
import androidx.compose.animation.animateContentSize

@Composable
fun DiaryCard(diary: Diary) {
    Row(modifier = Modifier.padding(all = 8.dp)) {
        Image(
            painter = painterResource(R.drawable.joy),
            contentDescription = null,
            modifier = Modifier
                .size(40.dp)
                .clip(CircleShape)
                .border(1.5.dp, MaterialTheme.colors.secondary, CircleShape)
        )
        Spacer(modifier = Modifier.width(8.dp))

        // We keep track if the message is expanded or not in this
        // variable
        var isExpanded by remember { mutableStateOf(false) }
        // surfaceColor will be updated gradually from one color to the other
        val surfaceColor by animateColorAsState(
            if (isExpanded) MaterialTheme.colors.primary else MaterialTheme.colors.surface,
        )

        // We toggle the isExpanded variable when we click on this Column
        Column(modifier = Modifier.clickable { isExpanded = !isExpanded }) {
            Text(
                text = diary.emotion,
                color = MaterialTheme.colors.secondaryVariant,
                style = MaterialTheme.typography.subtitle2
            )

            Spacer(modifier = Modifier.height(4.dp))

            Surface(
                shape = MaterialTheme.shapes.medium,
                elevation = 1.dp,
                // surfaceColor color will be changing gradually from primary to surface
                color = surfaceColor,
                // animateContentSize will change the Surface size gradually
                modifier = Modifier.animateContentSize().padding(1.dp)
            ) {
                Text(
                    text = diary.notes,
                    modifier = Modifier.padding(all = 4.dp),
                    // If the message is expanded, we display all its content
                    // otherwise we only display the first line
                    maxLines = if (isExpanded) Int.MAX_VALUE else 1,
                    style = MaterialTheme.typography.body2
                )
            }
        }
    }
}

在前 4 篇文章中,我們已經完成 Compose 的基本教學!我們已經建構了一個簡單的日記本畫面,可以有效率地顯示包含 emoji 和文字的日記列表,而且還有展開動畫。我們還套用了 Material Design、深色主題,還有 preview功能,一切只需要不到 100 行程式碼!
我們目前已介紹的內容如下:
在接下來幾天的文章中,如要您想要深入瞭解哪些題目,歡迎在下方留言。
此系列文章是以我的業餘專案:Kimoji 為範例。
Kimoji 是一款心情日記 App,讓你用可愛的 emoji 來撰寫你的心情日記。現在就來試試這款設計精美的微日記吧!
立馬下載
限免兌換碼
Reference: https://developer.android.com/jetpack/compose/tutorial
