mongoose 套件yarn add mongoose
新增 server/models 資料夾,並建立 postModel.js 檔案
mongoose
type)、是否為必須(required)、有沒有預設值(default)…等等,官方文件還有許多可以設定的內容,有需要可以去看看~mongoose.model() 把剛剛定義好的 Schema 放進去const mongoose = require('mongoose');
const postSchema = new mongoose.Schema({
title: {
type: String,
required: true,
},
author: {
type: String,
required: true,
},
image: {
type: String,
required: true,
},
content: {
type: String,
required: true,
},
createdAt: {
type: Date,
default: Date.now(),
},
});
const Post = mongoose.model('Post', postSchema);
module.exports = Post;
方式一、下載 MongoDB,使用本地端連接(以下方式使用 Homebrew 的 brew 套件管理工具)
brew tap mongodb/brew
brew update
brew install mongodb-community@6.0
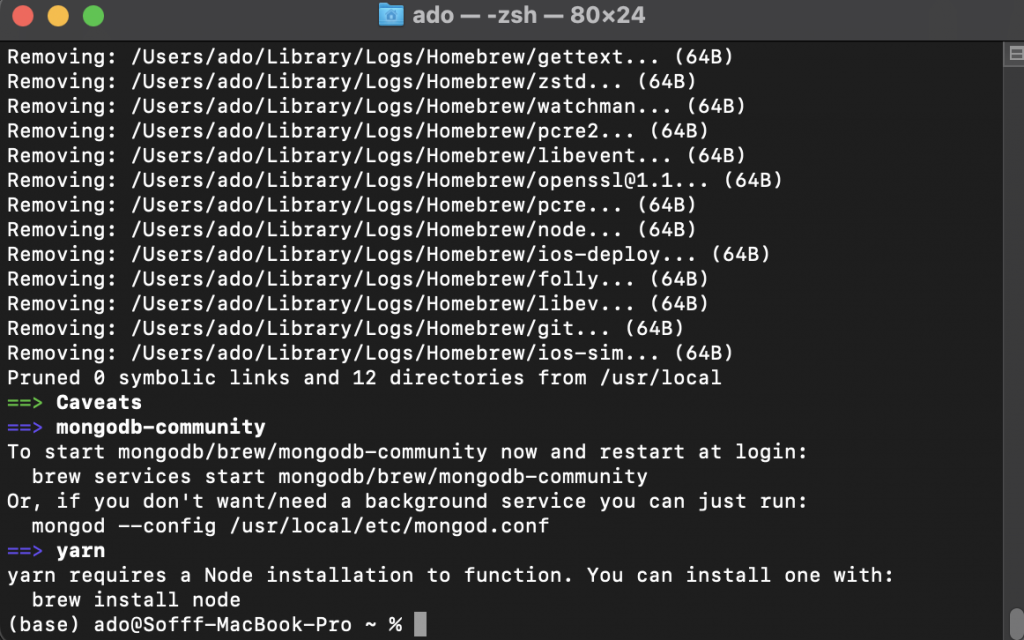
安裝完成後,根據官方文件設定手動執行的指令
mongod --config /usr/local/etc/mongod.conf --fork
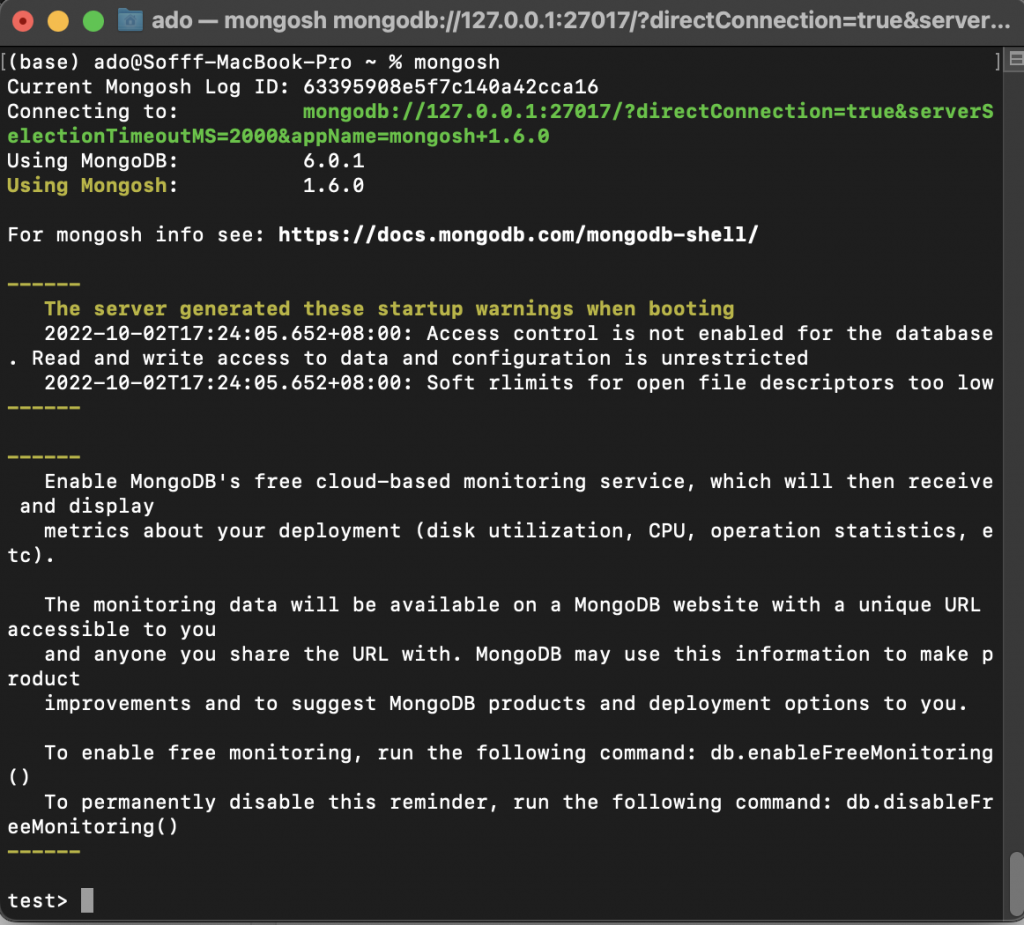
執行
mongosh
方式二、登入 MongoDB,使用 MongoDB Atlas 雲端方式連接
(之後會使用的方式,目前先使用 local 本地端方式)
回到 server/index.js ,新增以下程式碼,連接目前正在電腦背景執行的 MongoDB (mongodb://localhost:27017/資料庫名稱)
mongoose.connect('mongodb://localhost:27017/bb-log');
然後修改新增文章的 api:
req.body 傳入 Post.create() ,將前端的資料傳給資料庫const Post = require('./models/postModel');
app.post('/api/v1/posts', async (req, res) => {
try {
const post = await Post.create(req.body);
res.status(201).json({
status: 'success',
data: {
data: post,
},
});
} catch (err) {
console.log(err);
res.json({
status: 'error',
});
}
});
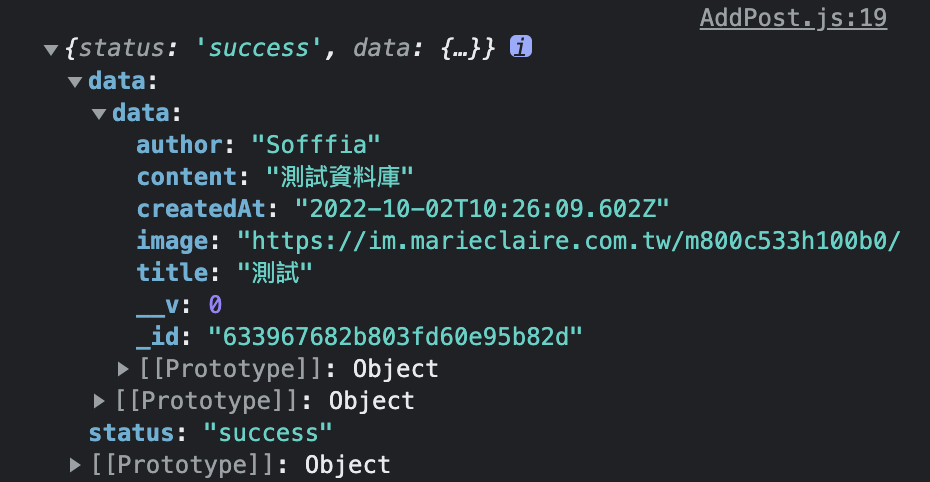
查看結果,成功!同時在 data 中也多了 __v 及 _id 欄位,這些是 MongoDB 在建立文件時會自動產生的~
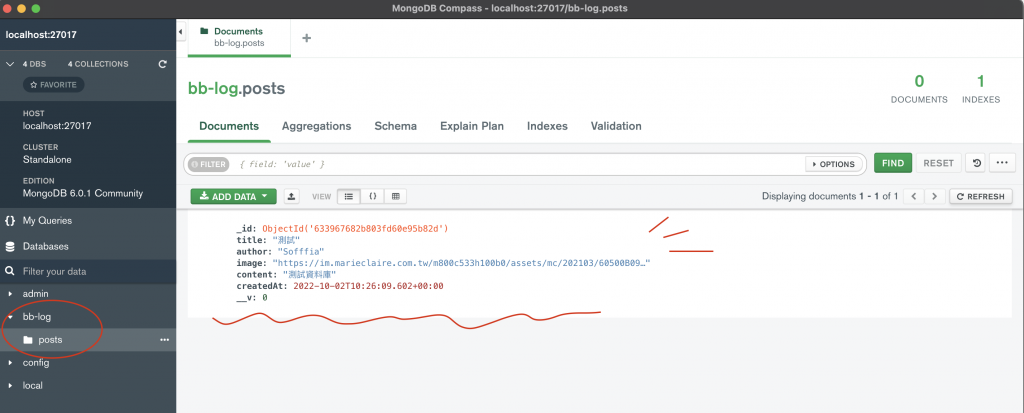
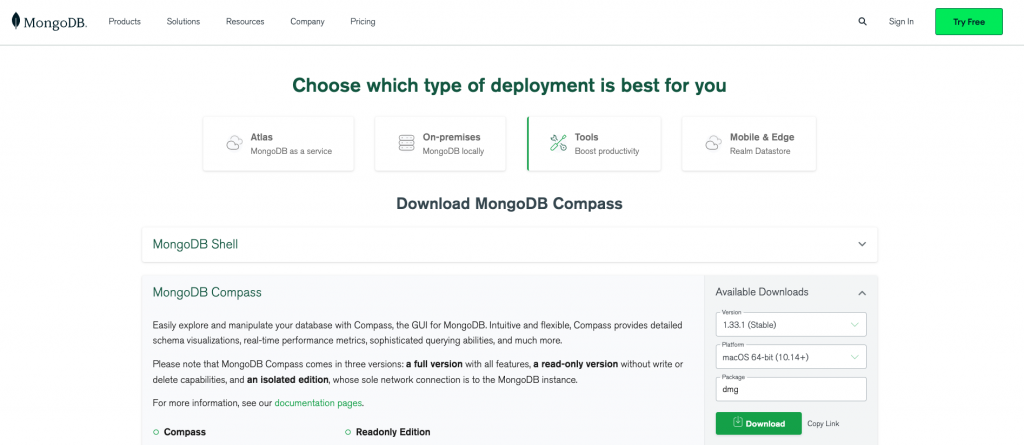
Compass 是 MongoDB 的圖形化介面工具,能幫我們以更直覺的方式查看及管理資料庫內容,直接到官網下載即可
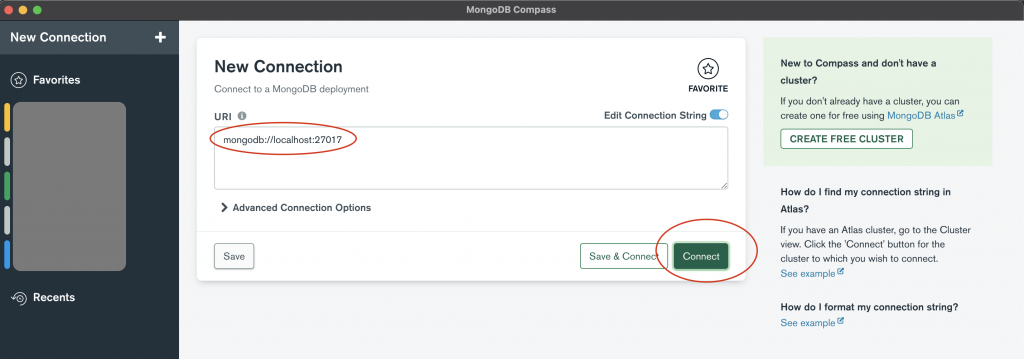
打開之後,點擊連接(本地端:mongodb://localhost:27017/ )
進到剛剛建立的 bb-log 資料庫,就能看到我們新增的文章了!