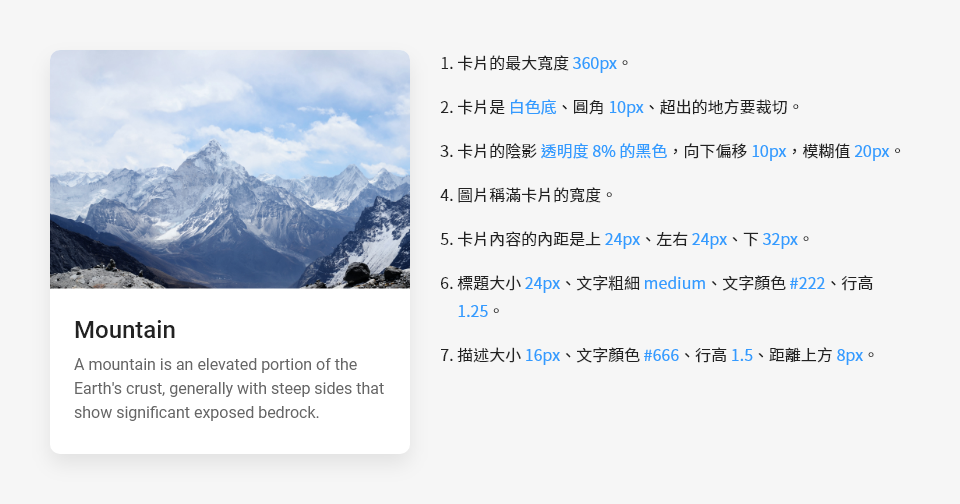
上個單元我們用一張卡片的案例讓大家了解 Master CSS 是如何應用的,程式碼如下:
<div class="max-w:360">
  <div class="bg:white r:10 overflow:hidden shadow:0|10|20|black/.08">
    <img
	  class="w:full"
	  src="https://images.unsplash.com/photo-1454496522488-7a8e488e8606?ixlib=rb-1.2.1&ixid=MnwxMjA3fDB8MHxwaG90by1wYWdlfHx8fGVufDB8fHx8&auto=format&fit=crop&w=1176&q=80"
	  alt="Mountain"
	/>
    <div class="p:24|24|32">
      <h2 class="f:24 f:medium f:#222 lh:1.25">Mountain</h2>
      <p class="f:#666 lh:1.5 mt:8">A mountain is an elevated portion of the Earth's crust, generally with steep sides that show significant exposed bedrock.</p>
    </div>
  </div>
</div>
可能有些人會感到疑惑,把樣式直接寫在 HTML 上不就是行內樣式嗎?這樣的寫法跟行內樣式有什麼差別?這邊就簡單列舉幾項:
我們把上方的程式碼轉換成行內樣式的形式來看看,會發現因為語法不夠簡練,CSS 規則一多就會充斥著單位及各種 CSS 語法標記。
<div style="max-width: 360px;">
  <div style="background-color: white; border-radius: 10px; overflow: hidden; box-shadow: 0 10px 20px rgba(0, 0, 0, .08);">
    <img
	  src="https://images.unsplash.com/photo-1454496522488-7a8e488e8606?ixlib=rb-1.2.1&ixid=MnwxMjA3fDB8MHxwaG90by1wYWdlfHx8fGVufDB8fHx8&auto=format&fit=crop&w=1176&q=80"
	  alt="Mountain"
      style="width: 100%;"
    />
    <div style="padding: 24px 24px 32px;">
      <h2 style="font-size: 24px; font-weight: 500; color: #222; line-height: 1.25;">Mountain</h2>
      <p style="color: #666; line-height: 1.5; margin-top: 8px;">A mountain is an elevated portion of the Earth's crust, generally with steep sides that show significant exposed bedrock.</p>
    </div>
  </div>
</div>
希望視窗寬度在 768px 以上的時候,卡片寬度變成 640px,行內樣式沒有辦法做到。
而 Master CSS 可以這樣寫:max-w:640@>768
<div class="max-w:360 max-w:640@>768">
  ...
</div>
@media (min-width: 768.02px) {
  .max-w\:640\@\>768 {
    max-width: 40rem;
  }
}
希望卡片被 hover 的時候,向上位移 40px,行內樣式沒有辦法做到。
而 Master CSS 可以這樣寫:translateY(-40):hover
<div class="max-w:360 max-w:640@>768">
  <div class="... translateY(-40):hover">
    ...
  </div>
</div>
.translateY\(-40\)\:hover:hover {
  transform: translateY(-2.5rem);
}
與 Master CSS 相比,行內樣式可讀性差,且不能應用選取器、媒體查詢和諸多 CSS 功能,因此兩者的差異是相當大的,希望有解答到大家的疑惑。
